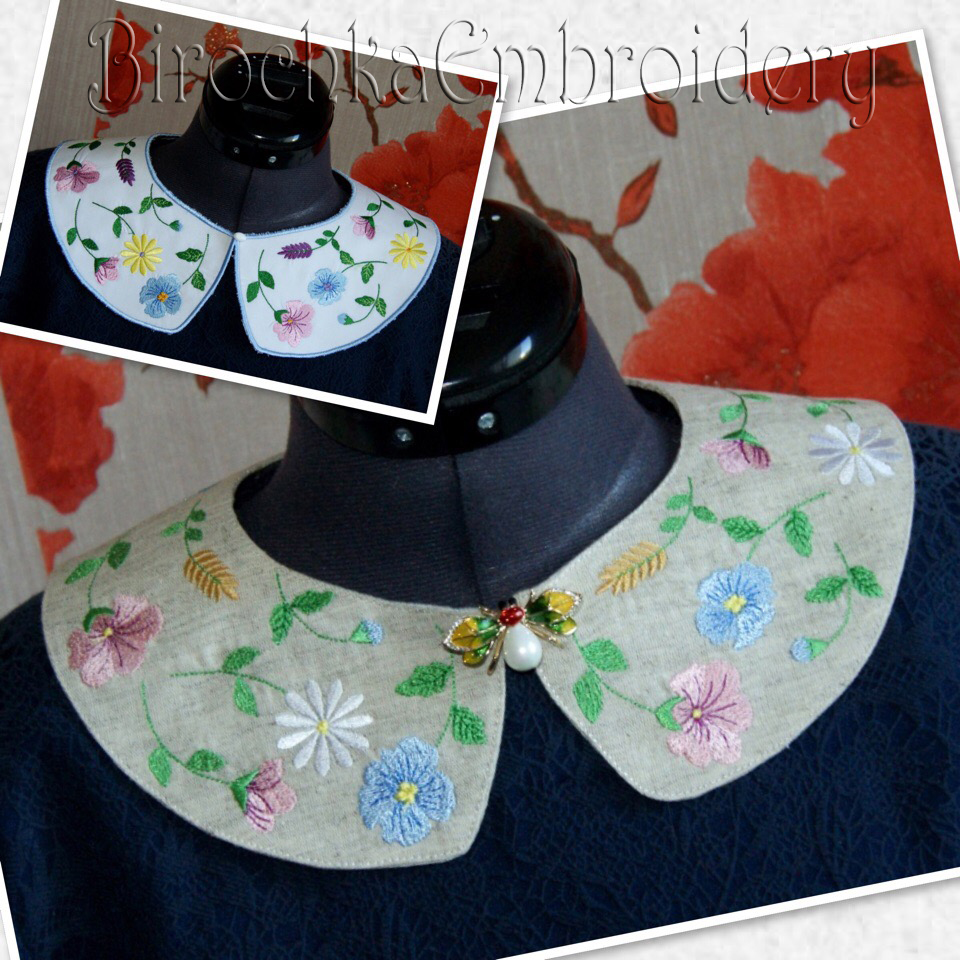
How to make Collar in the hoop
Option 1
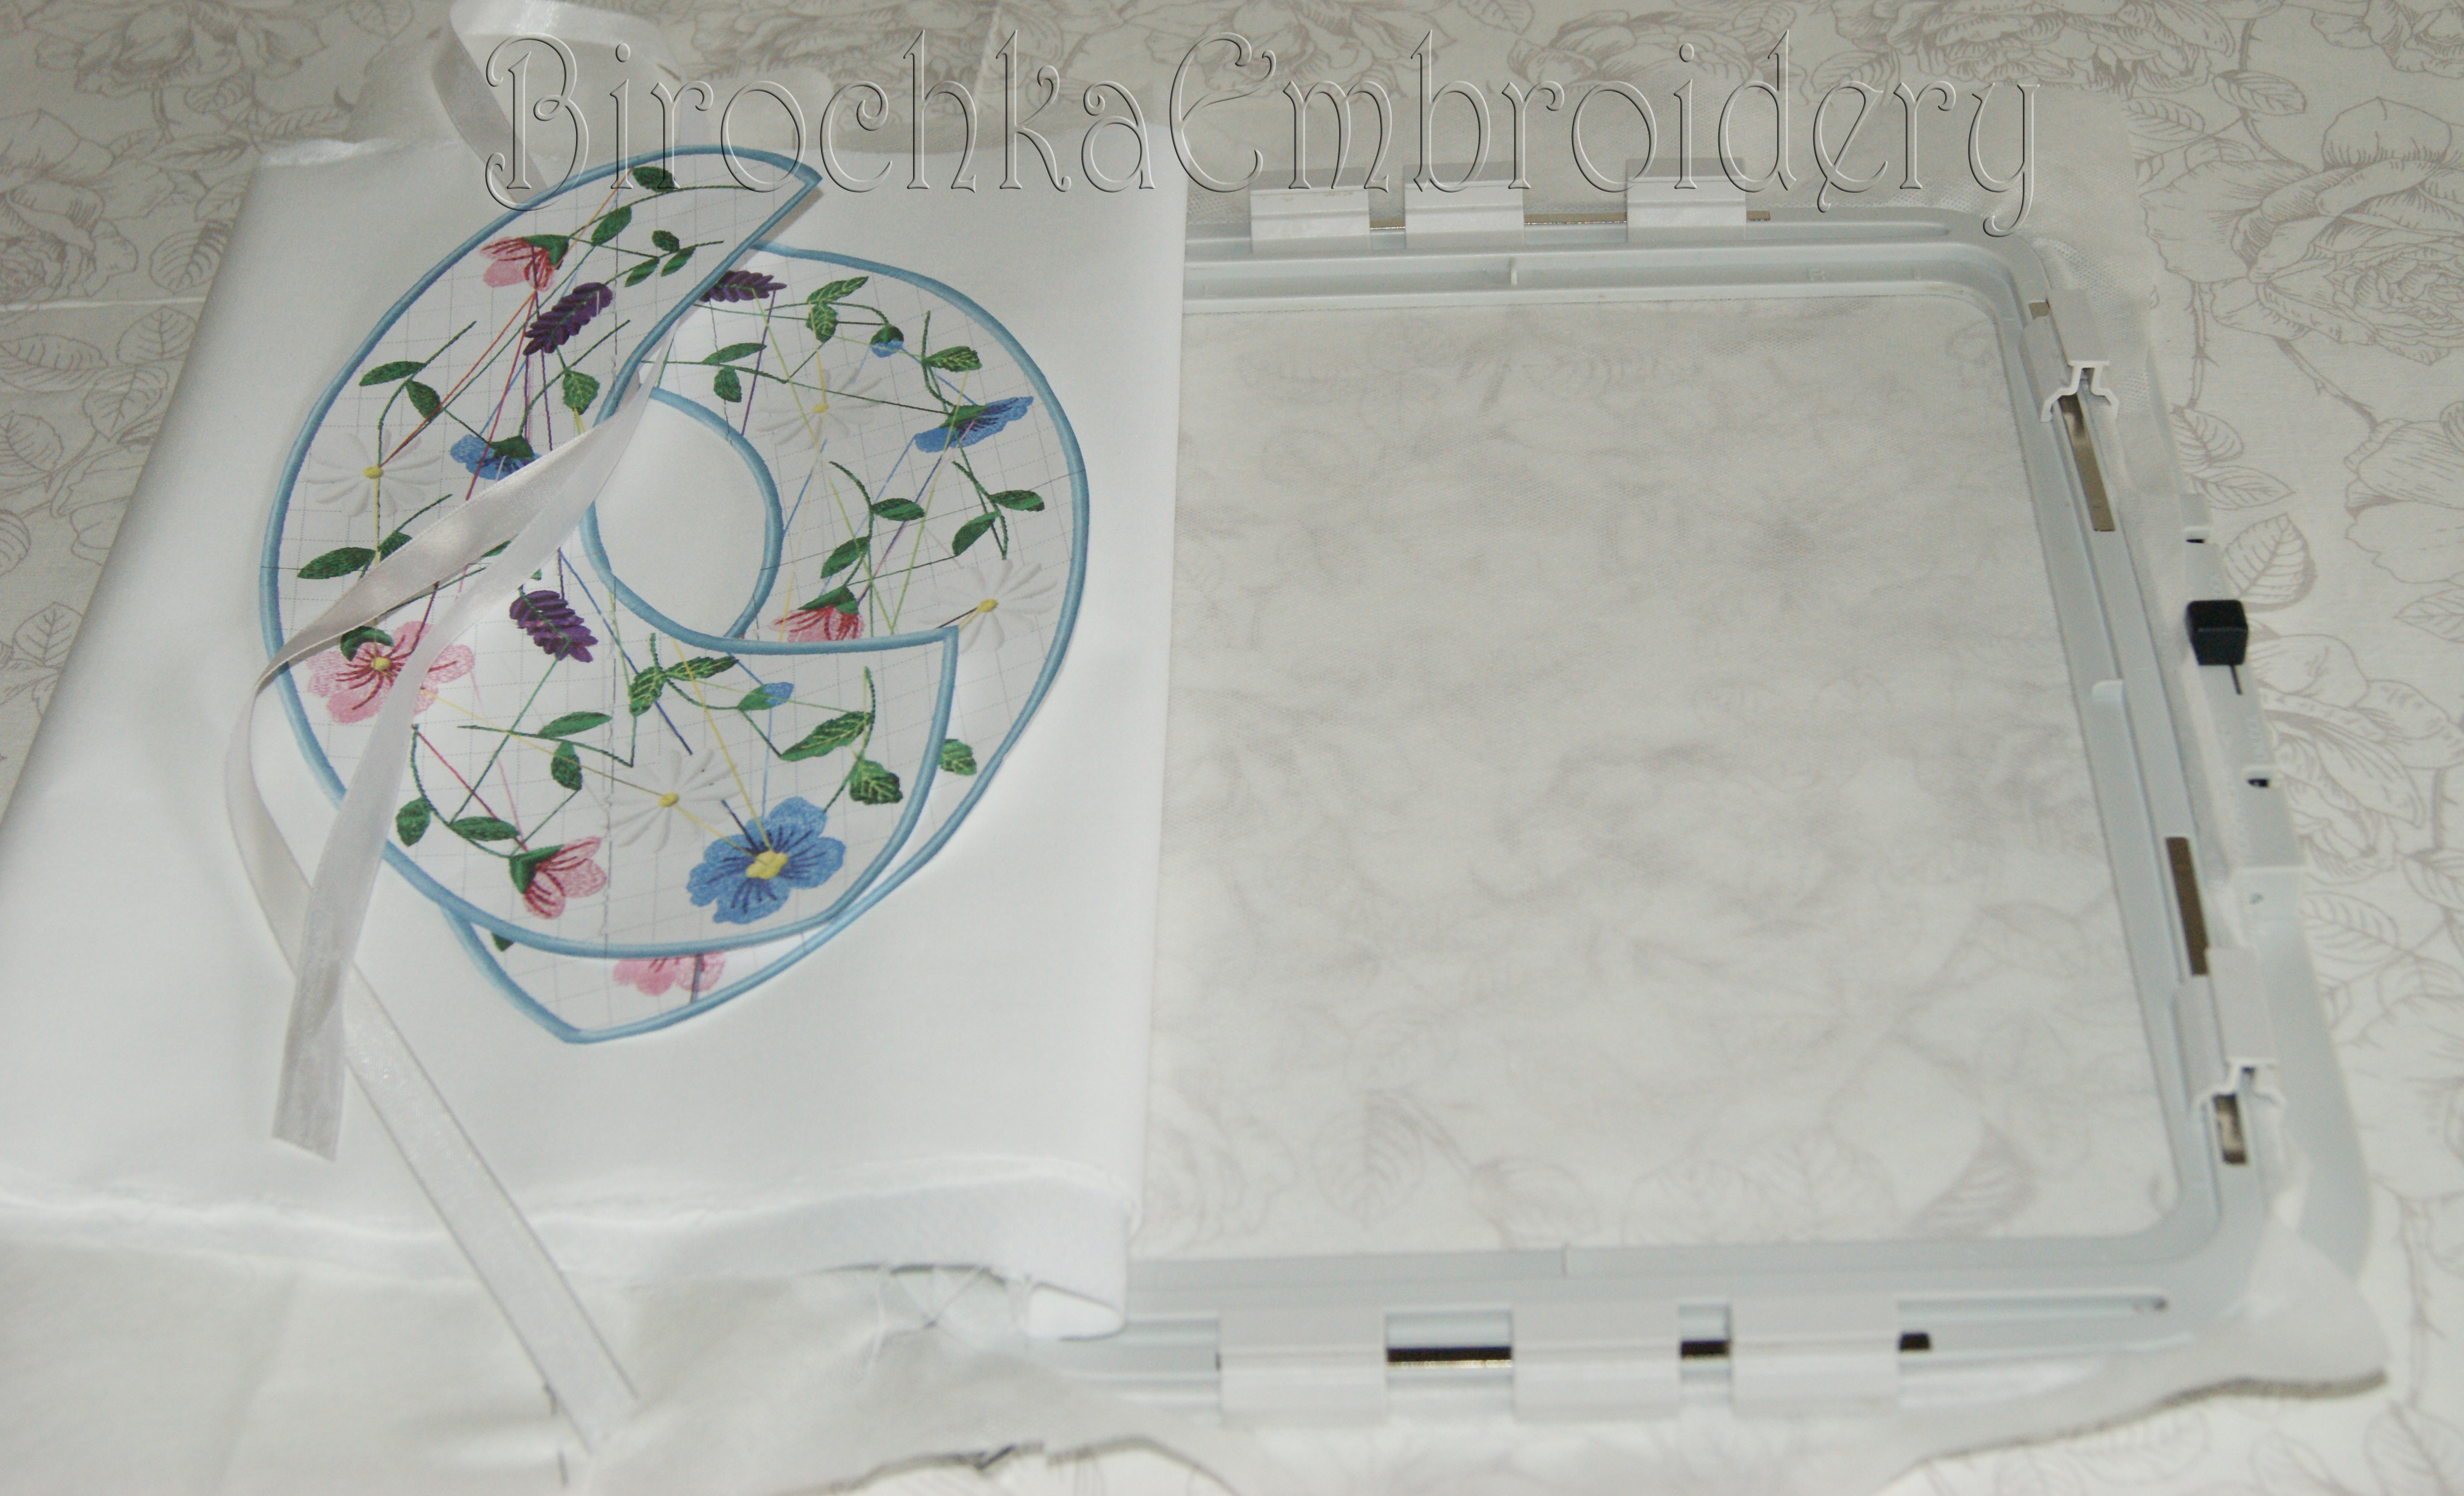
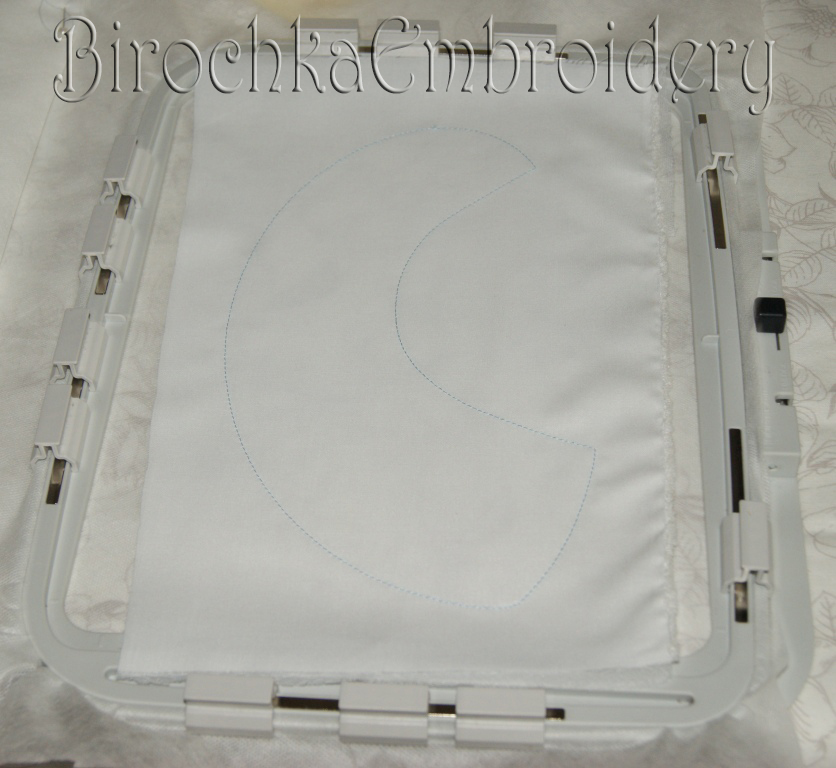
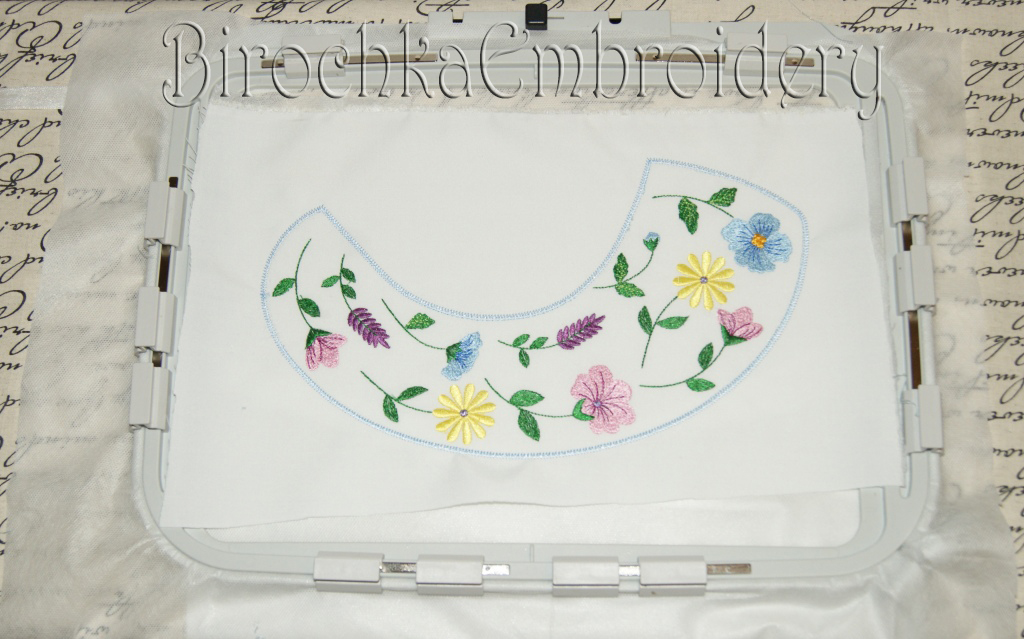
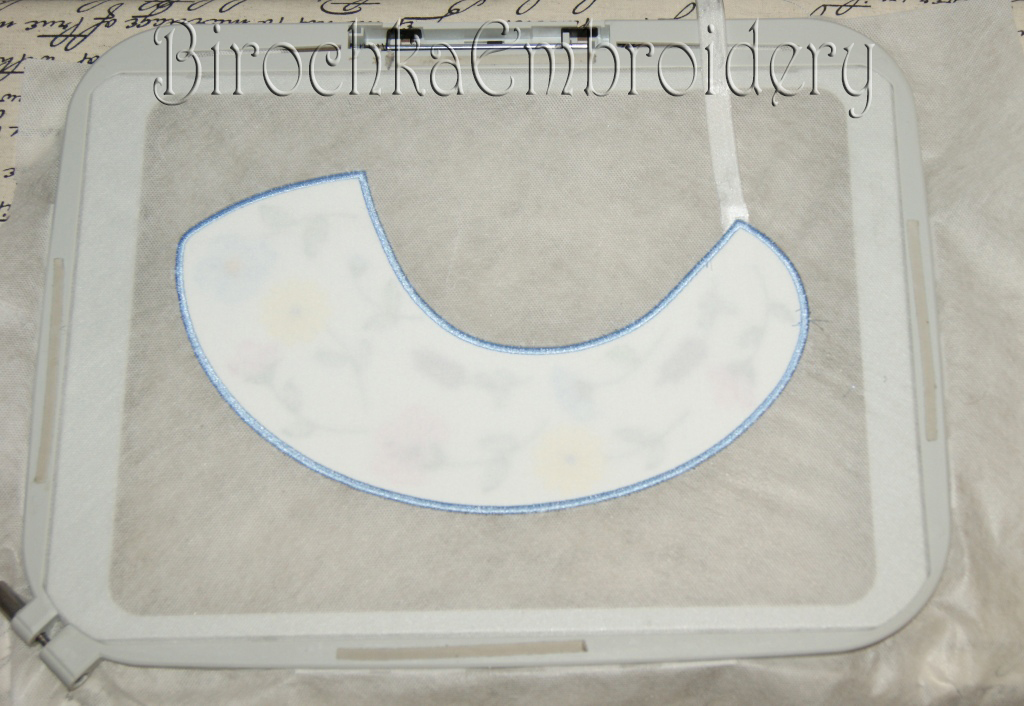
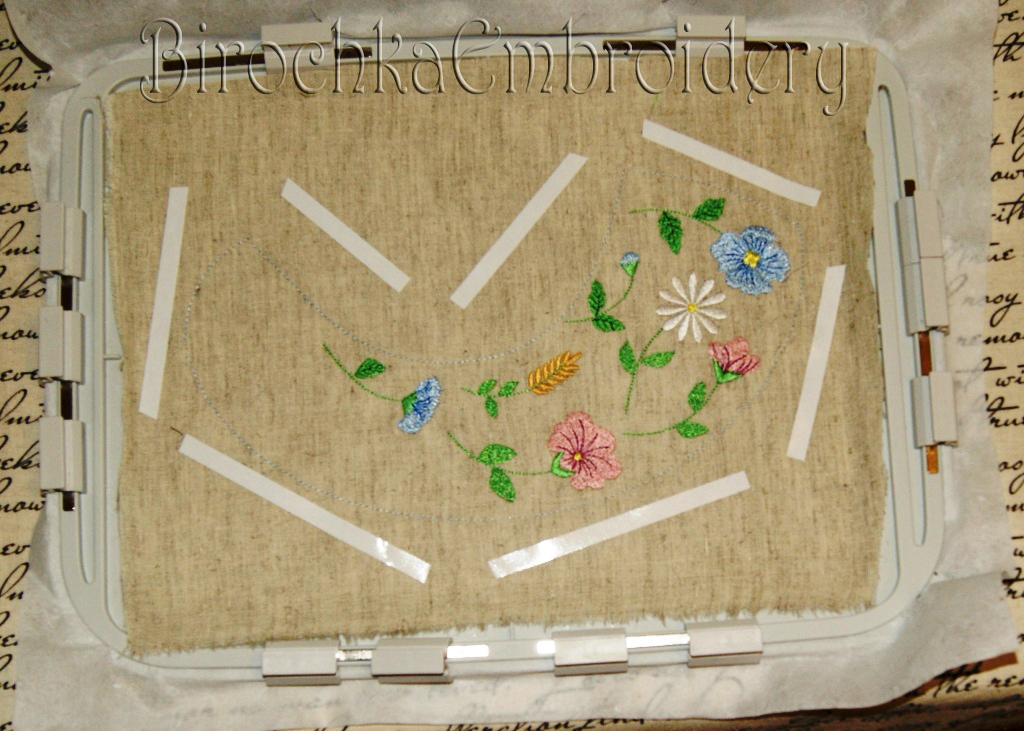
Preparation. In the hoop a water-soluble stabilizer. Cloth for the collar, with glue stabilizer for the fabric.
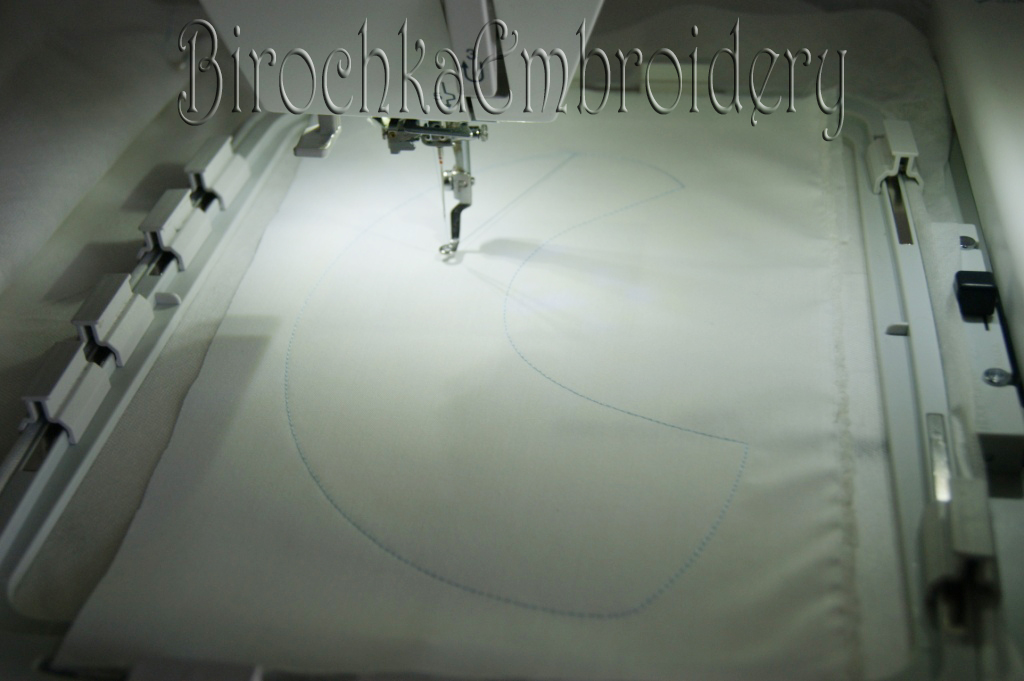
Contour stitch
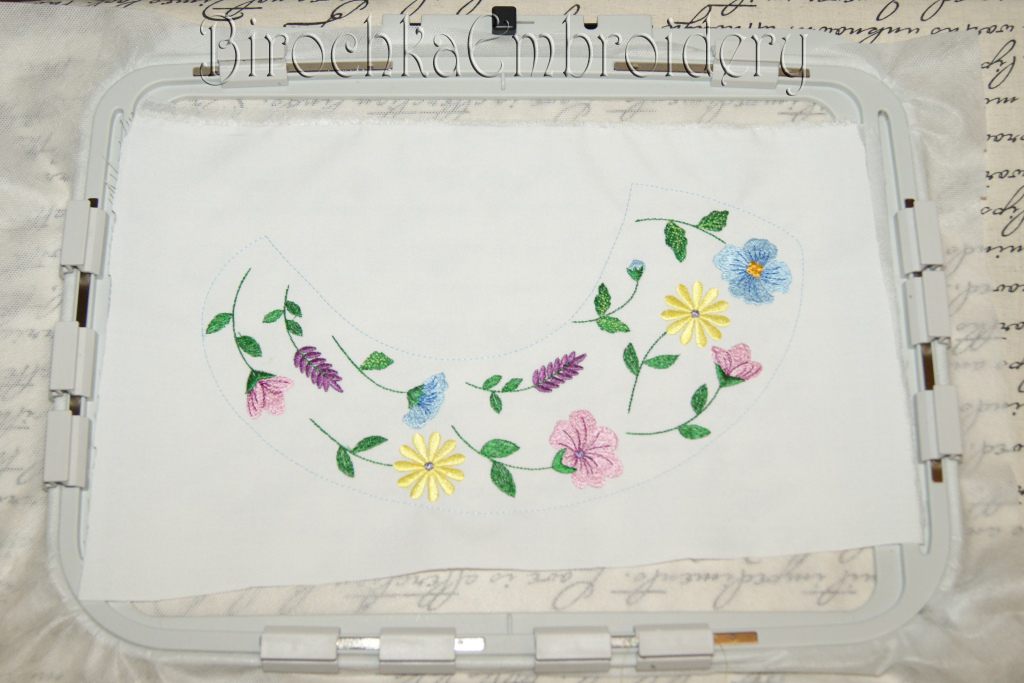
Embroidery of motifs on the collar
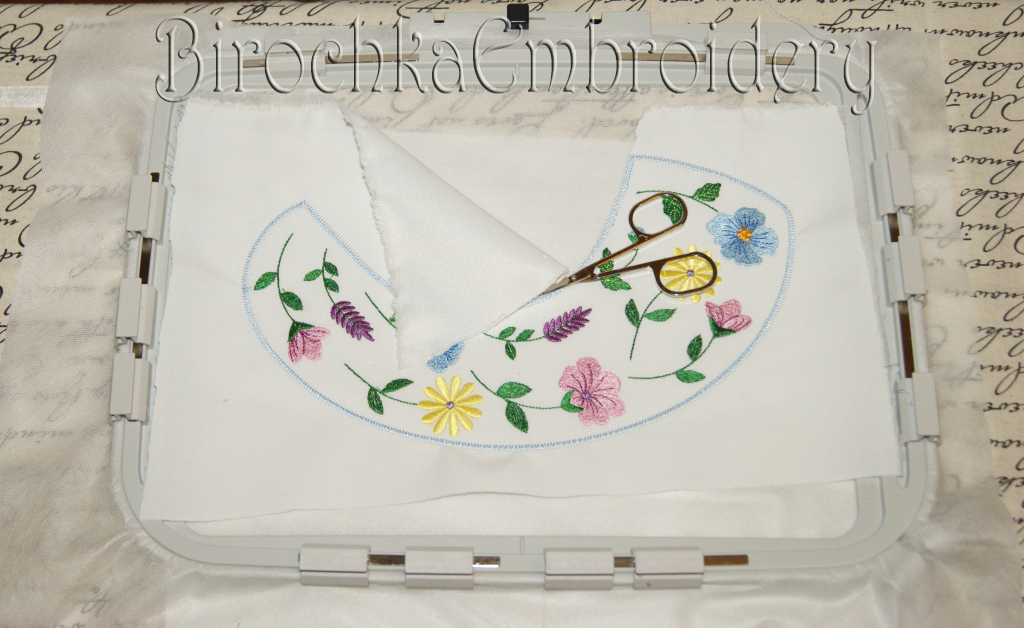
From the underside of the embroidery frame, put satin ribbon and fix it with scotch
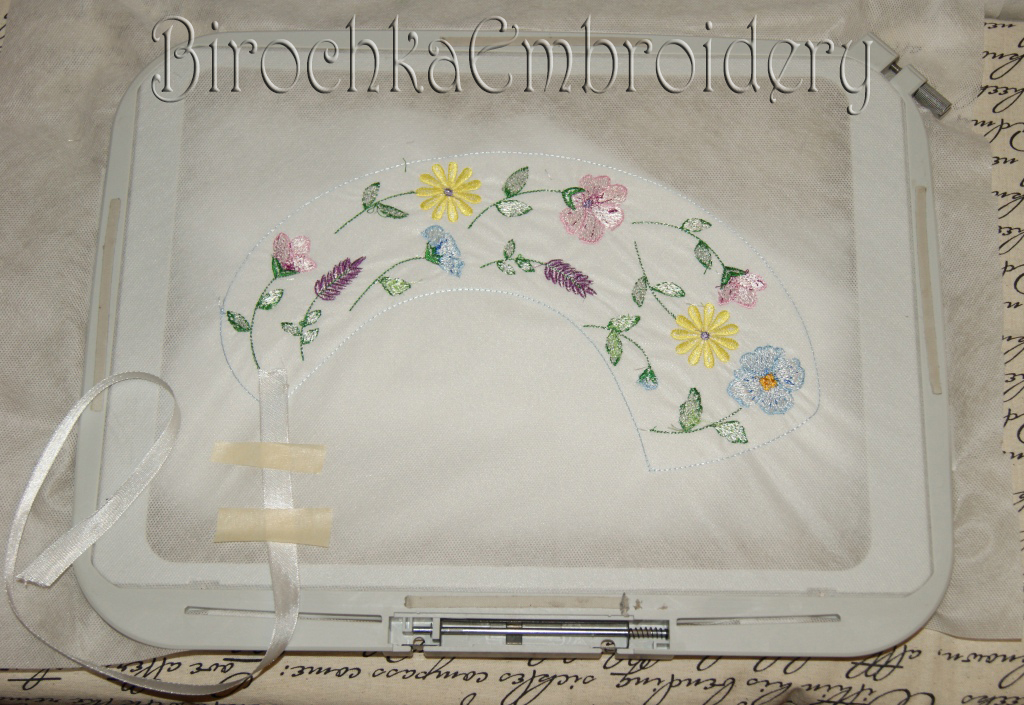
Then fix the fabric with temporary stabilization glue, this will be the bottom part of the collar.
For stitching, change the upper and lower thread (upper and lower one color)
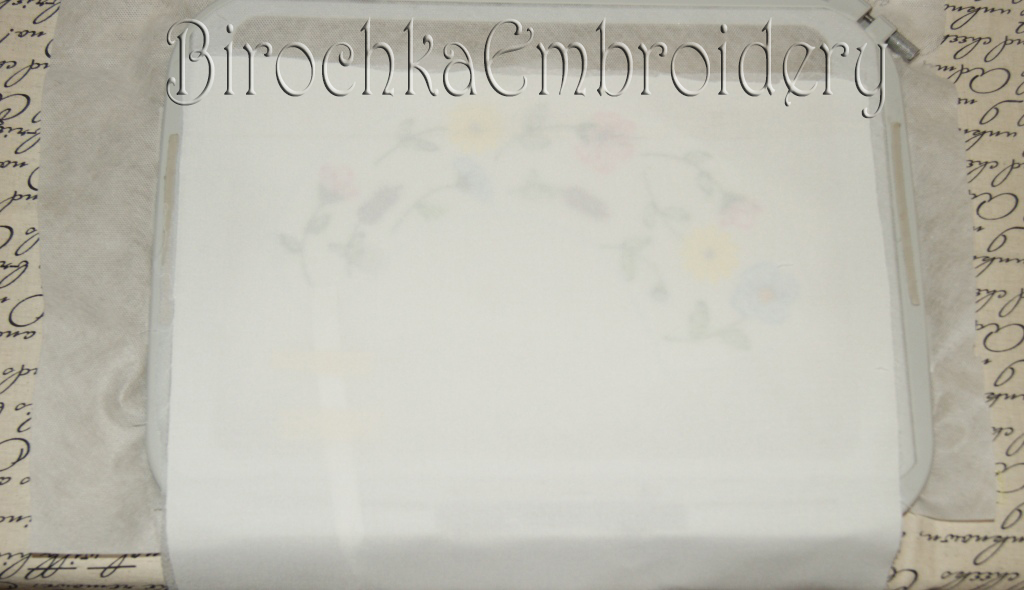
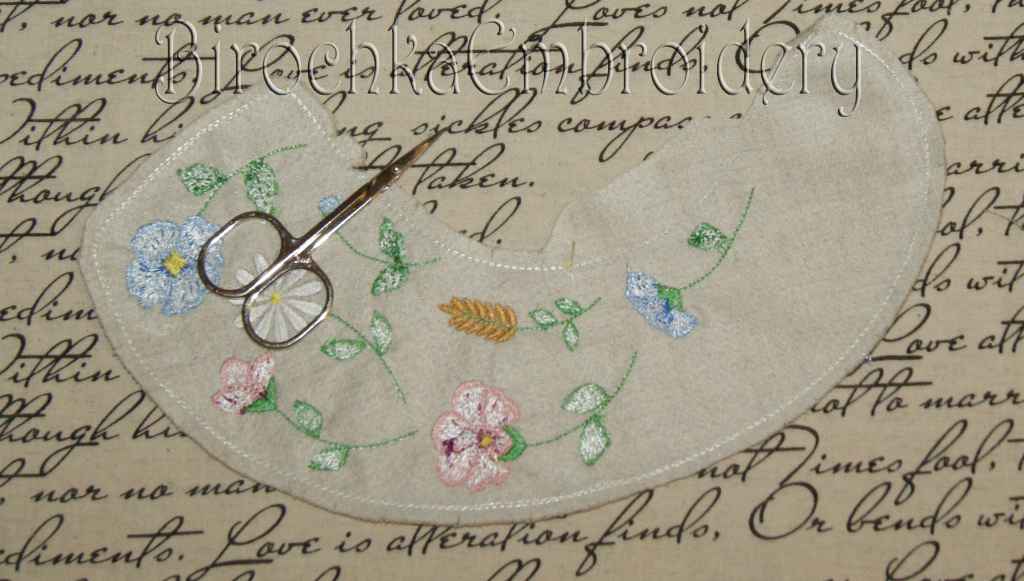
After stitching the zig-zag, remove the embroidery frame from the machine, and trim the lower and upper fabric along the contour, taking care not to cut the ribbon.
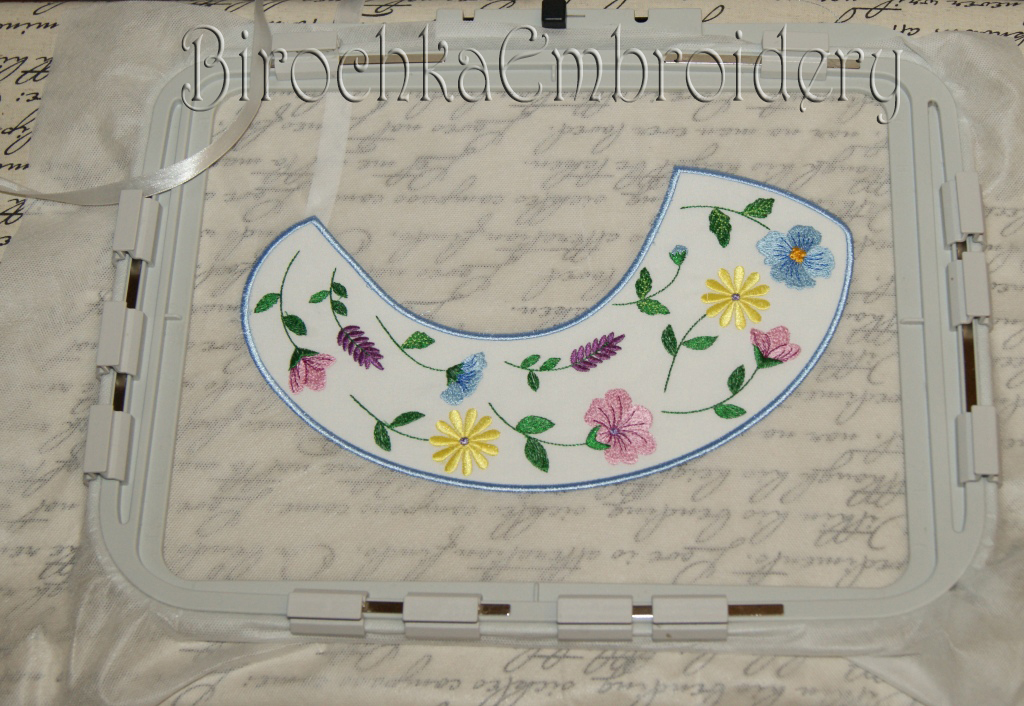
The embroidery is finished. Top and bottom of the collar in the frame

Option 2
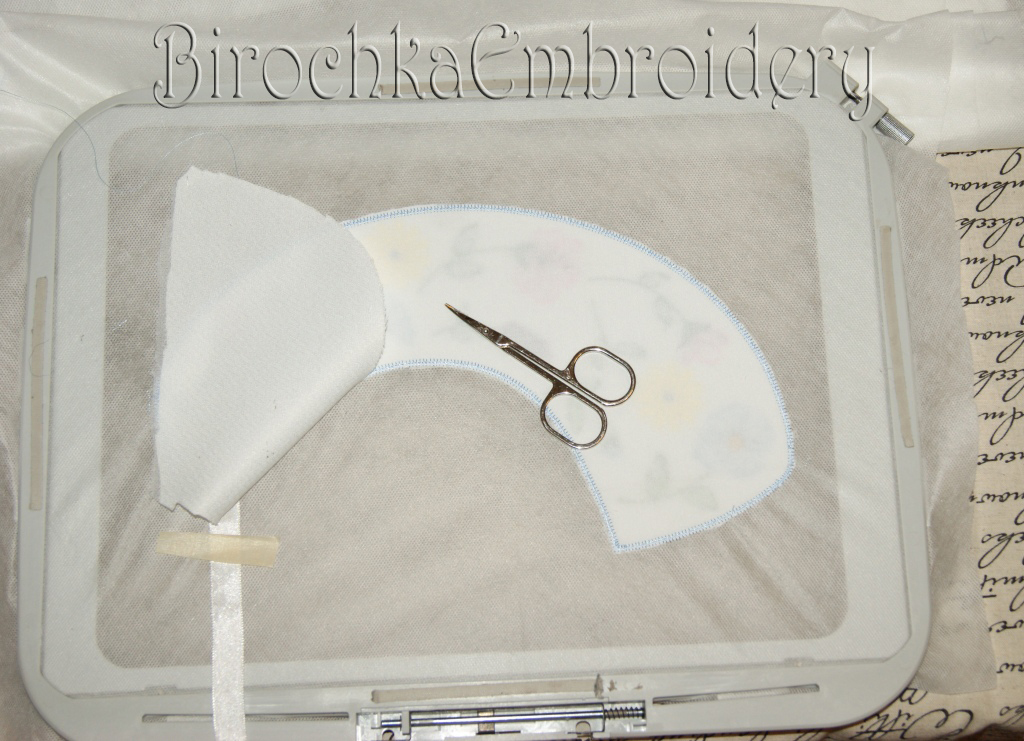
In the hoop – tear off stabilizer, double-sided scotch tape
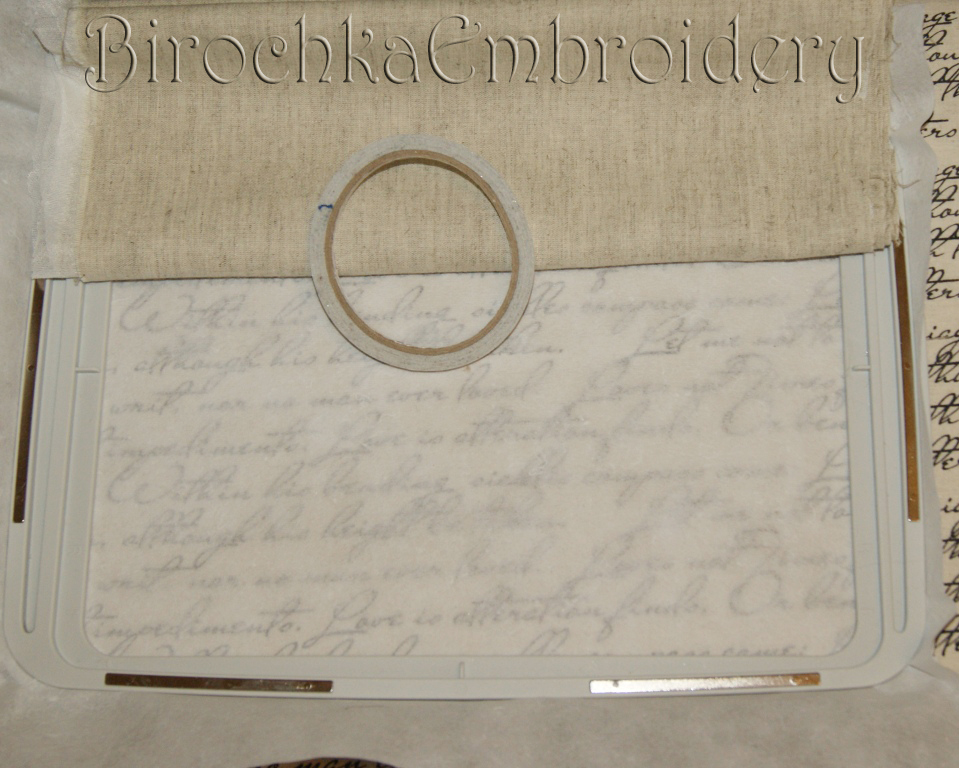
Adhesive tape on the perimeter of the hoop is glued, the upper protective layer is removed

From above put a fabric for embroidery
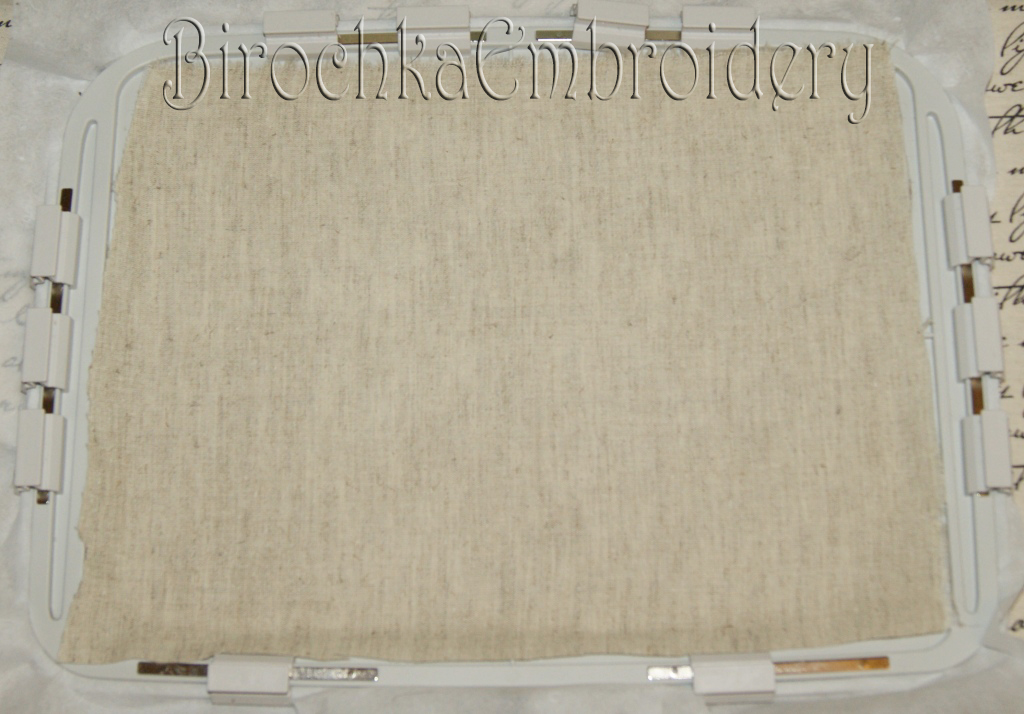
Embroidery motifs

Outside the embroidery double-sided scotch tape, to fasten the underside of the collar
On top of the embroidery, face down to glue the fabric, the underside of the collar

The contour stitch connecting both sides is sewn, with a cut for eversion of the collar

Trim the collar away from the contour 0.7 cm, next to the cut – a little more

Remove the remnants of the stabilizer from the underside, which is easily detached along the contour
Turn out the collar, iron it, sew the cut
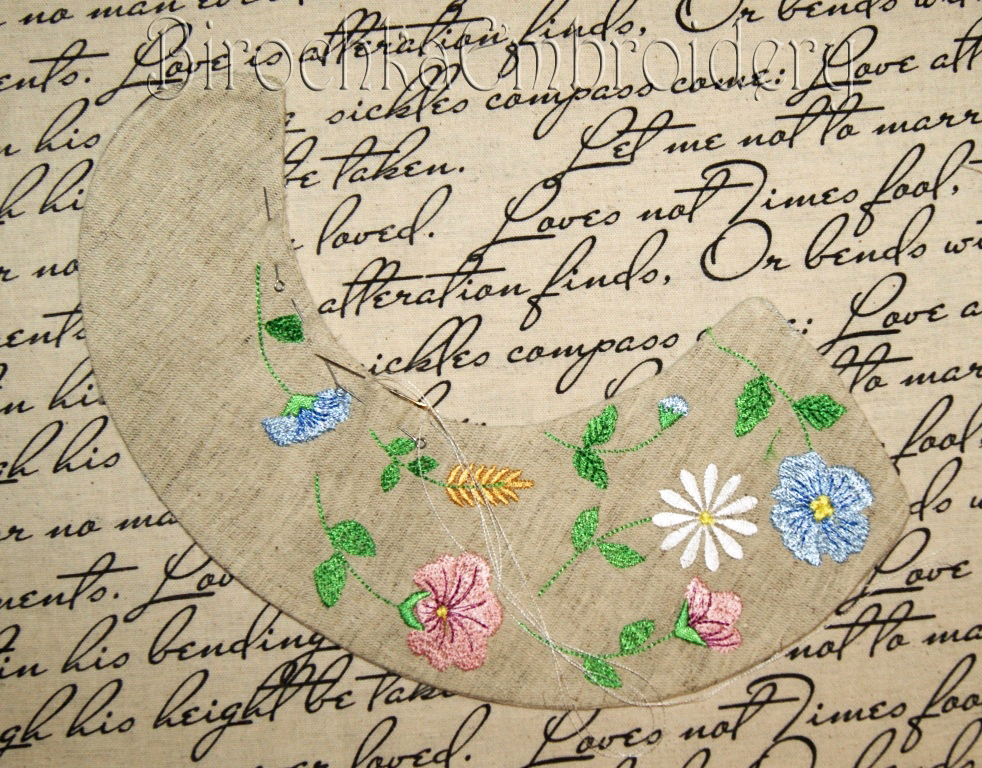

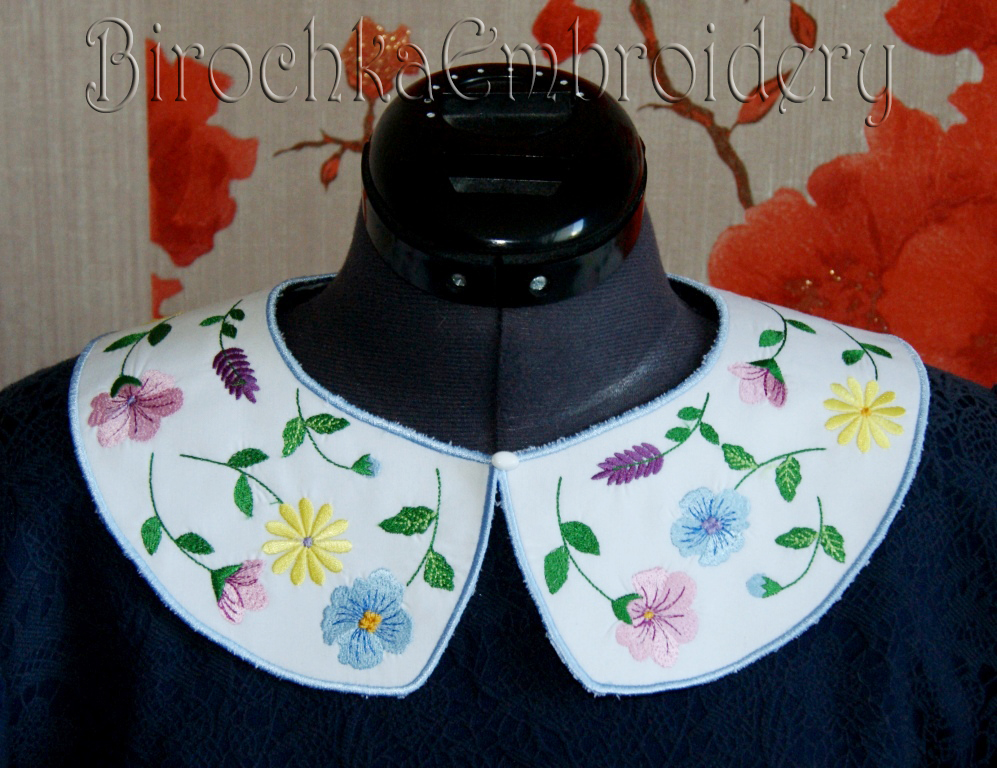
The collar is ready! We admire and rejoice in the result!
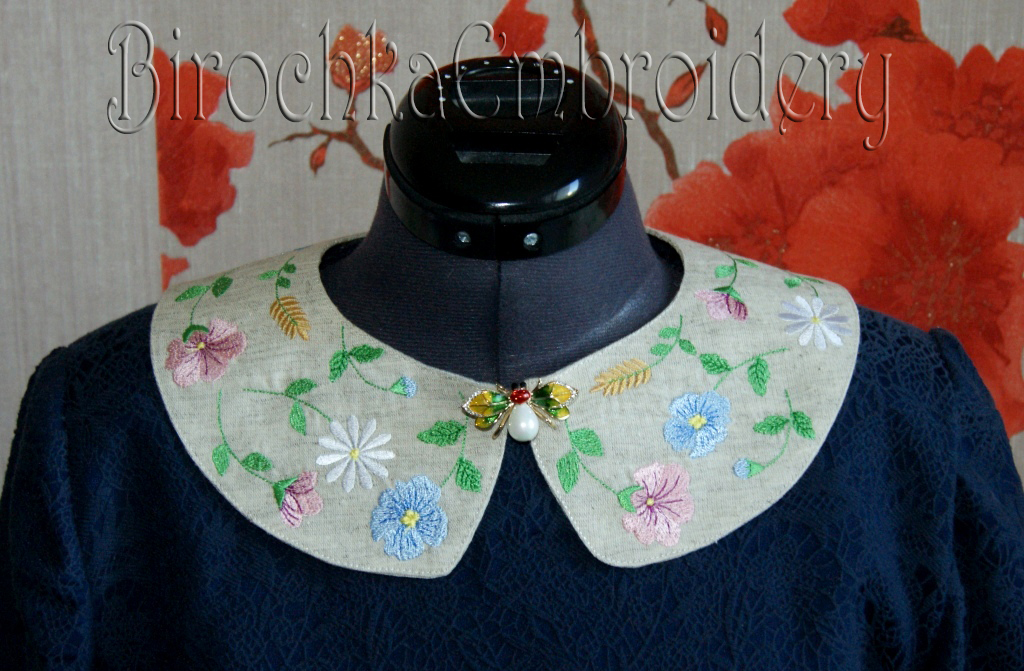
To Buy a Collar Design: