
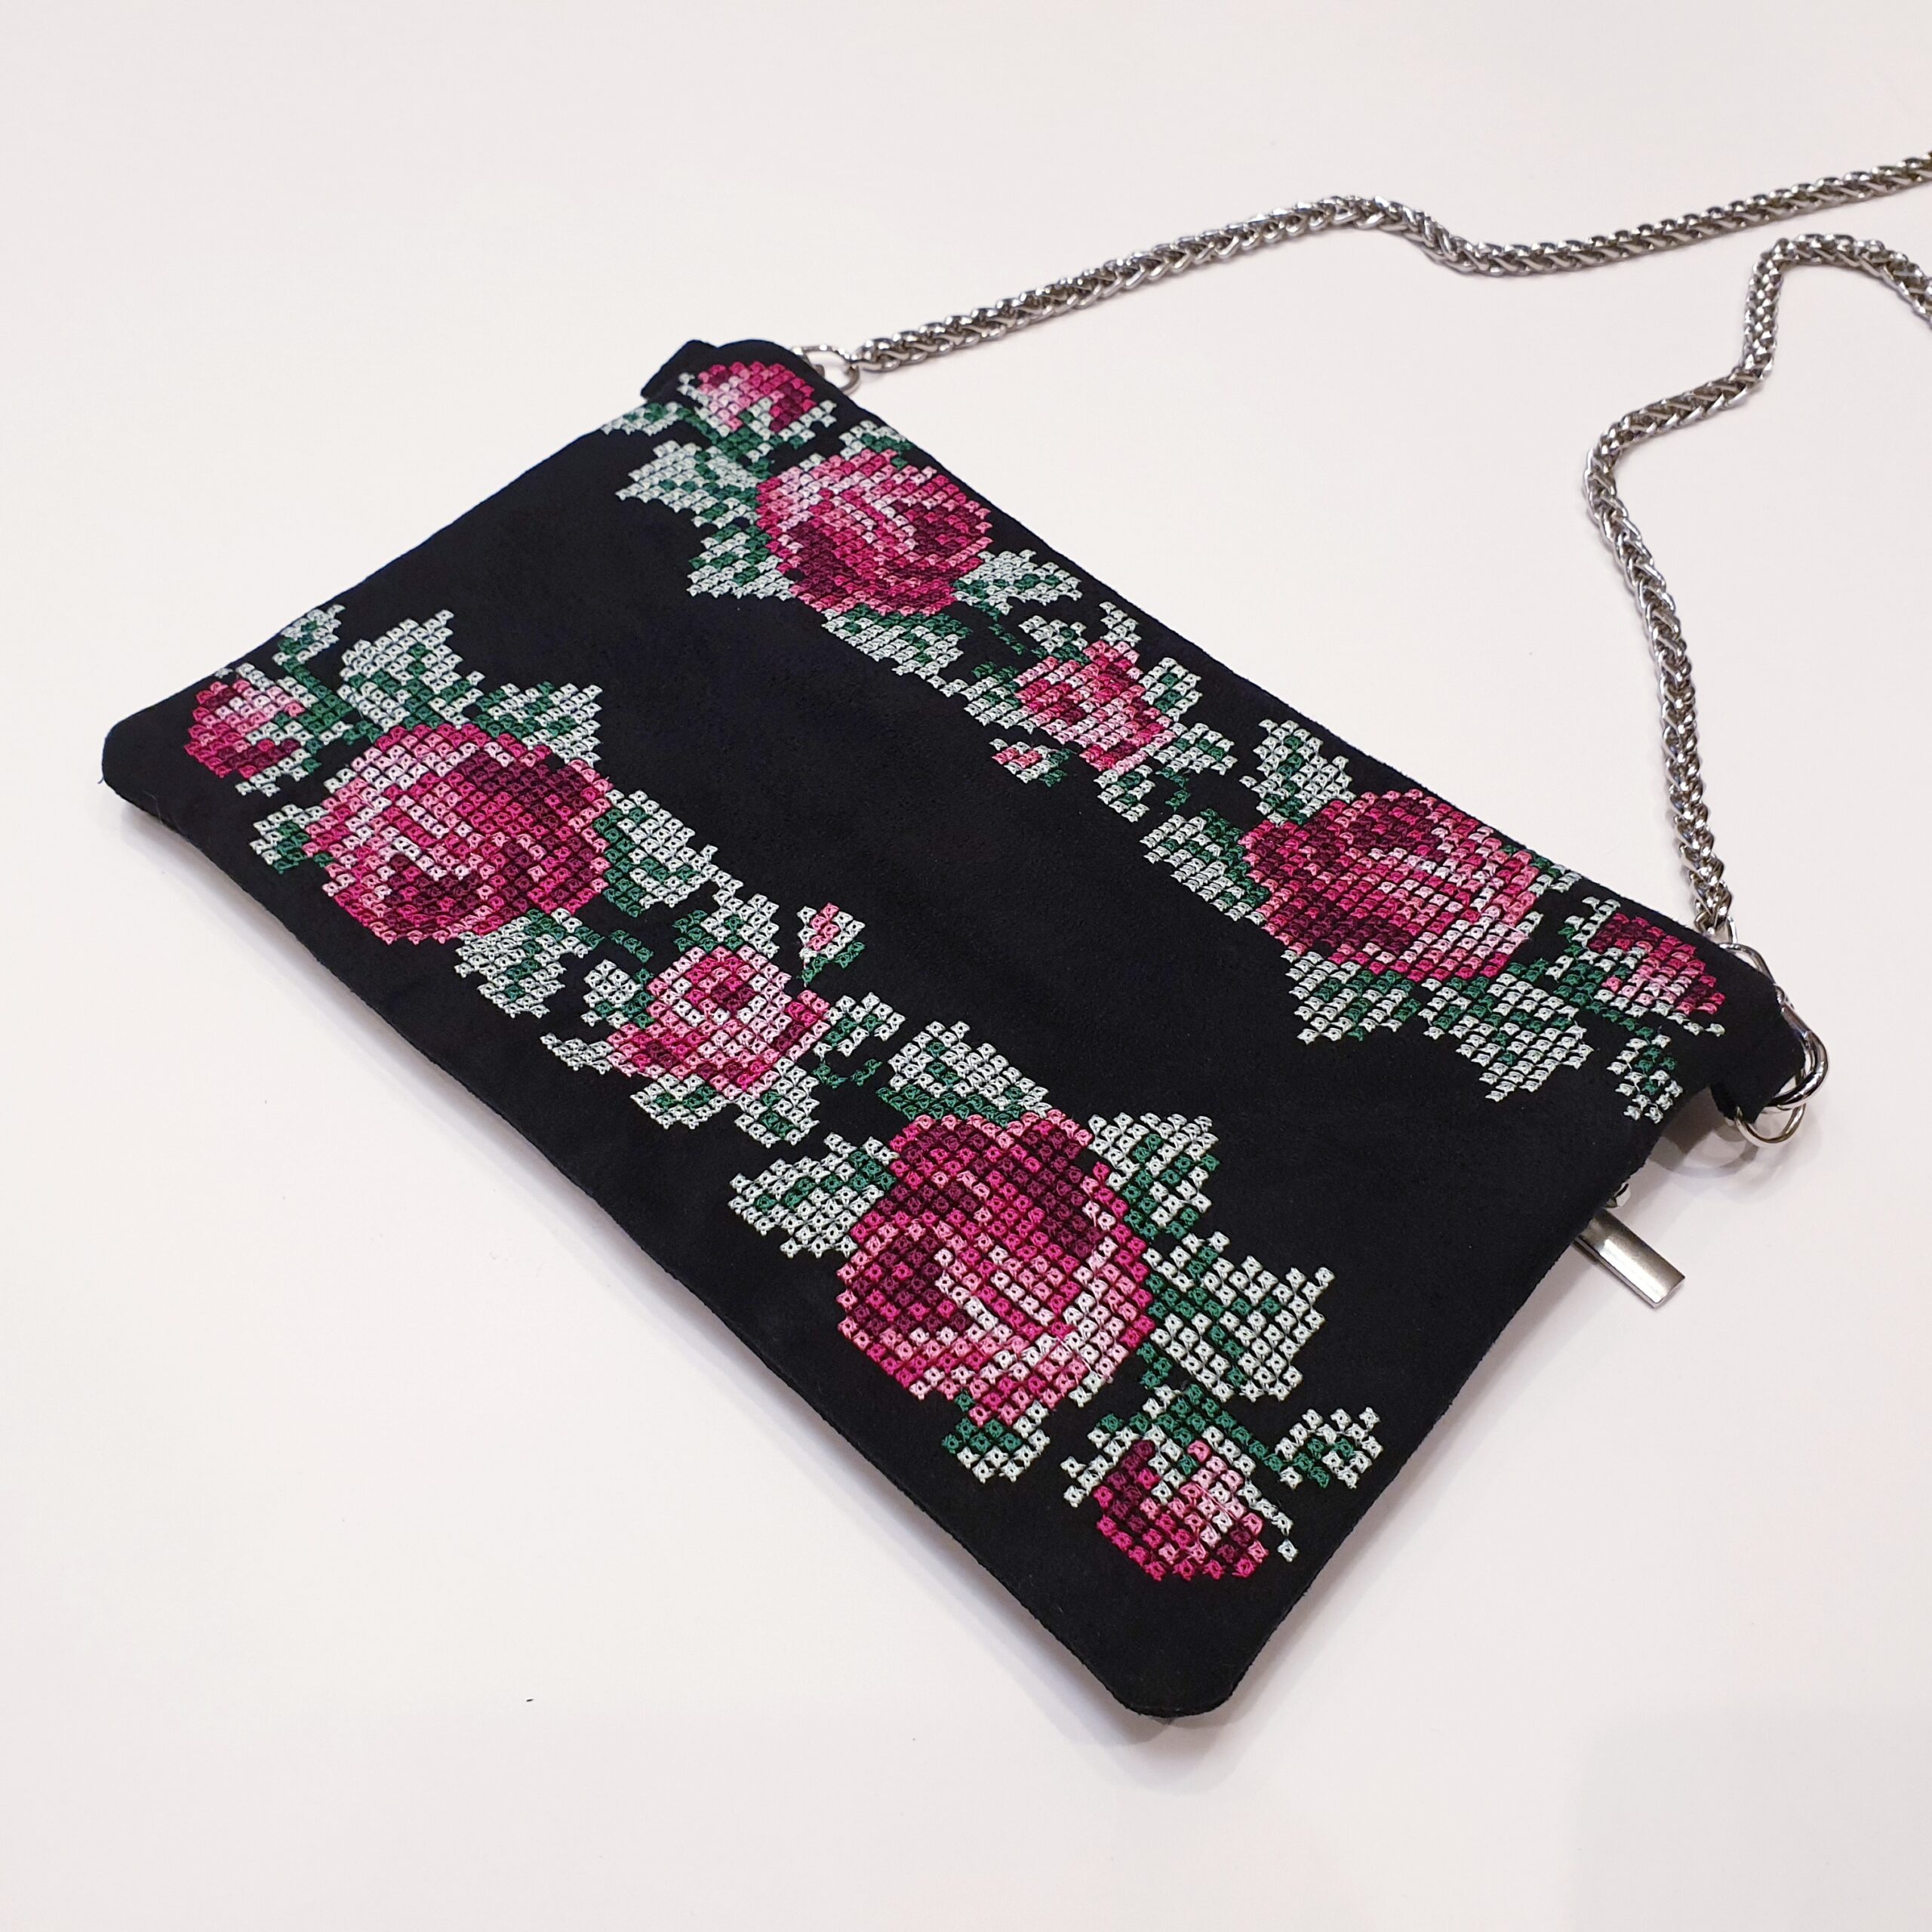
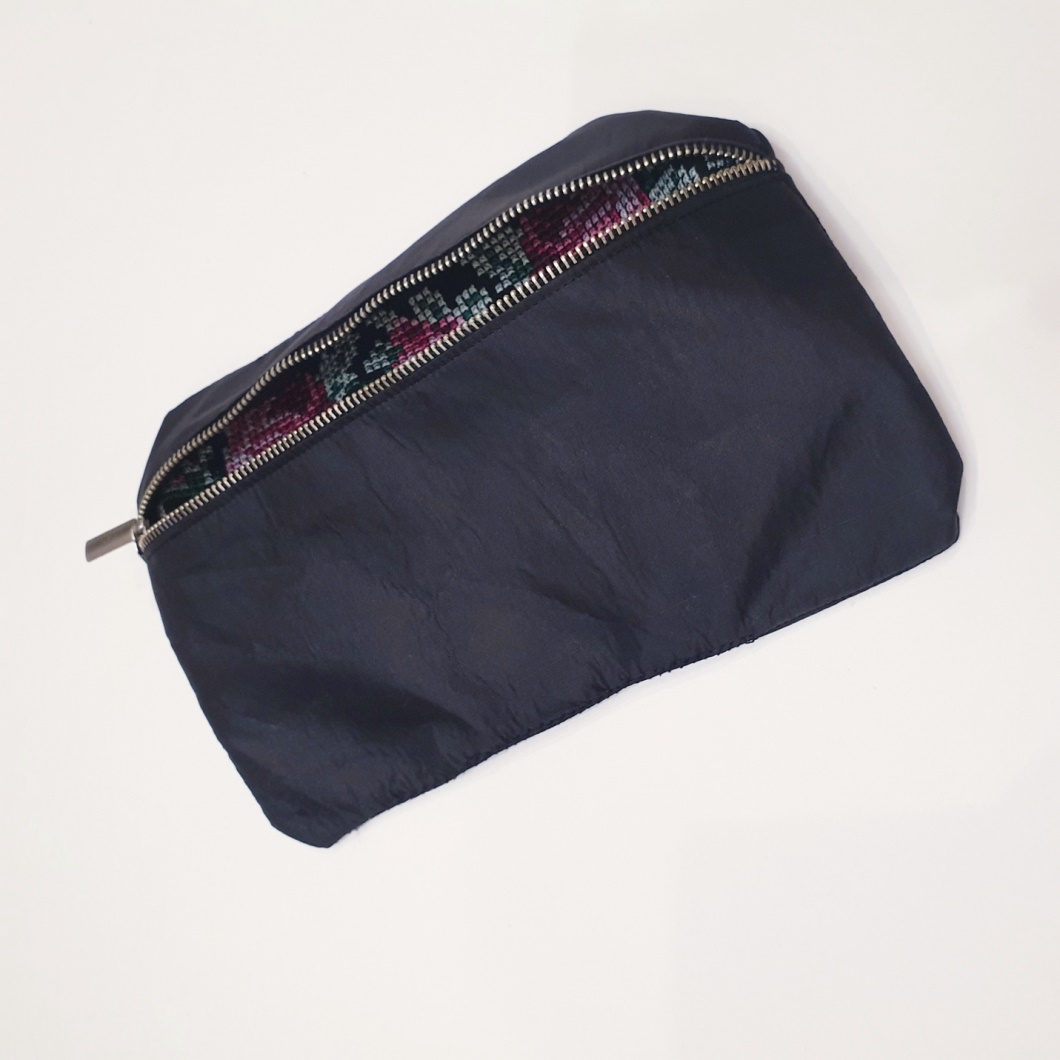
Stylish and bright cross-stitch roses clutch. Look here how to make it!
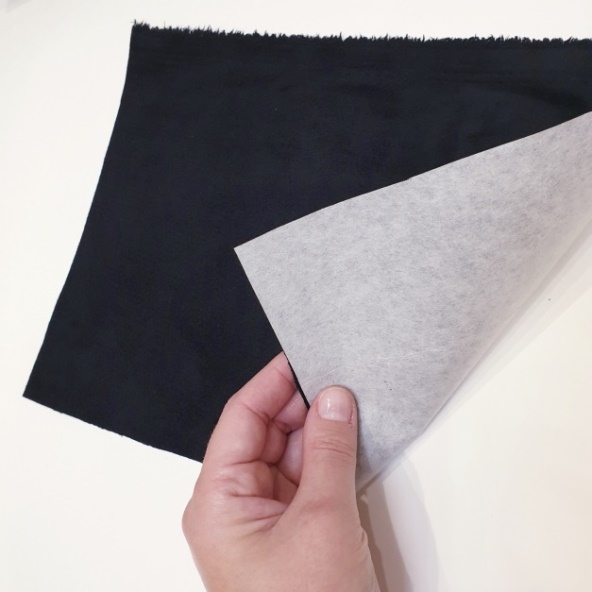
To make a clutch, it is better to use a dense but not too thick fabric, so that the machine can sew several layers. It is better to use a plastic zipper, so that not to break the needle.
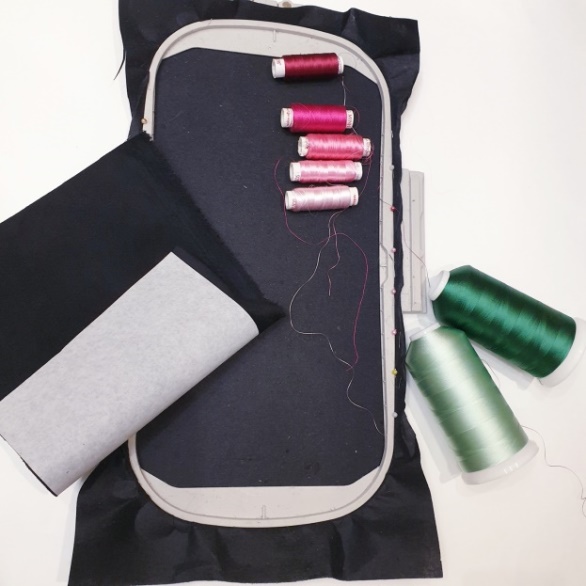
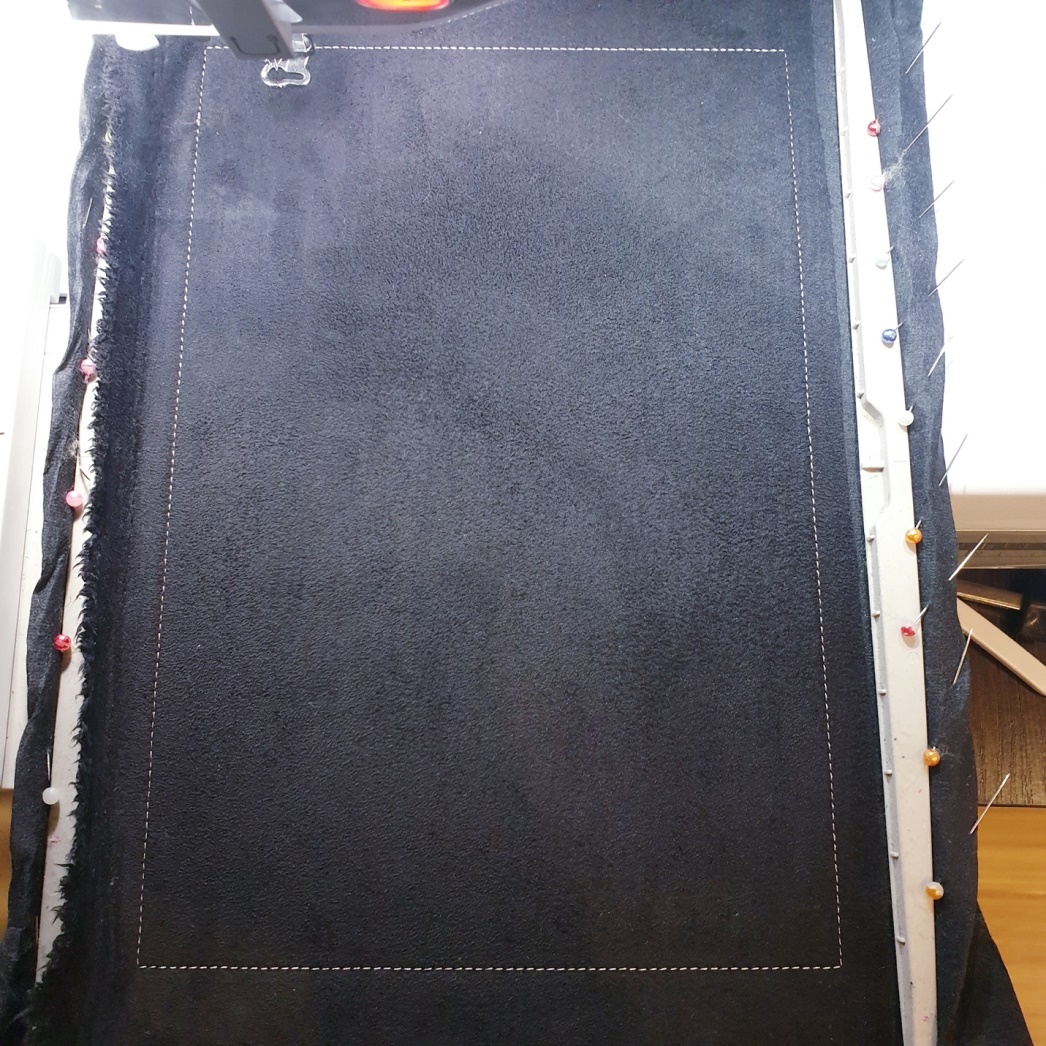
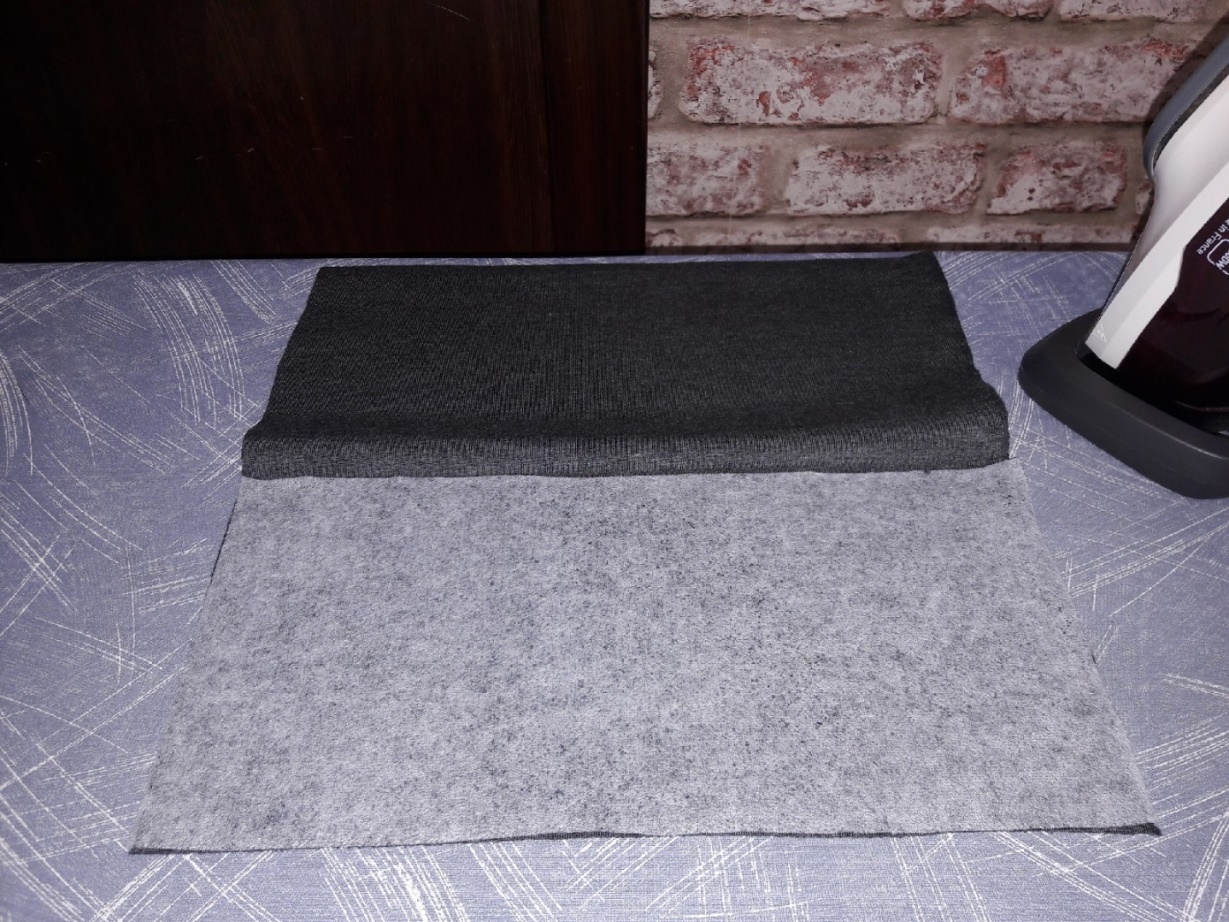
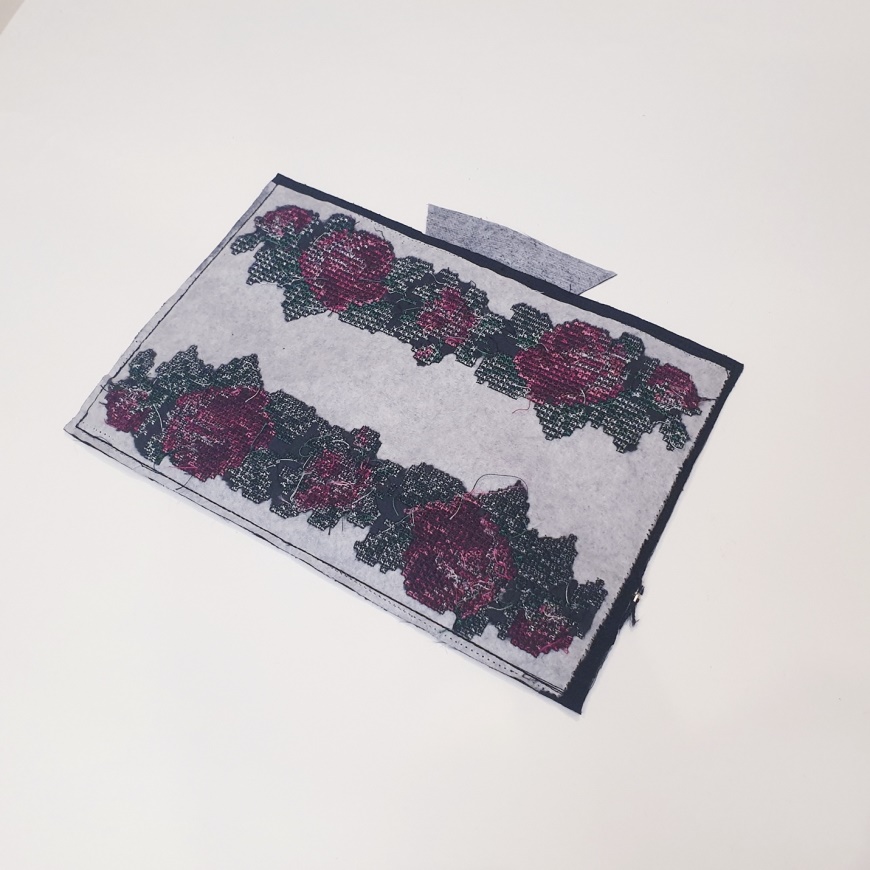
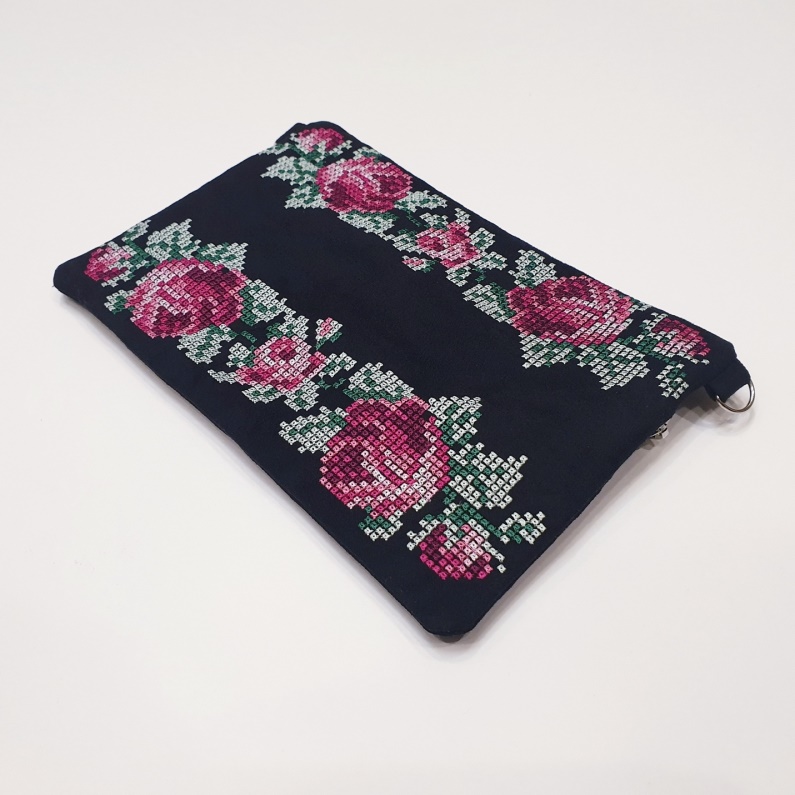
1.Embroider the first part of the design (cross roses) – this will be the front side of the clutch. Fill the Hoop with a dense tear-off stabilizer; the fabric can be glued with interlining
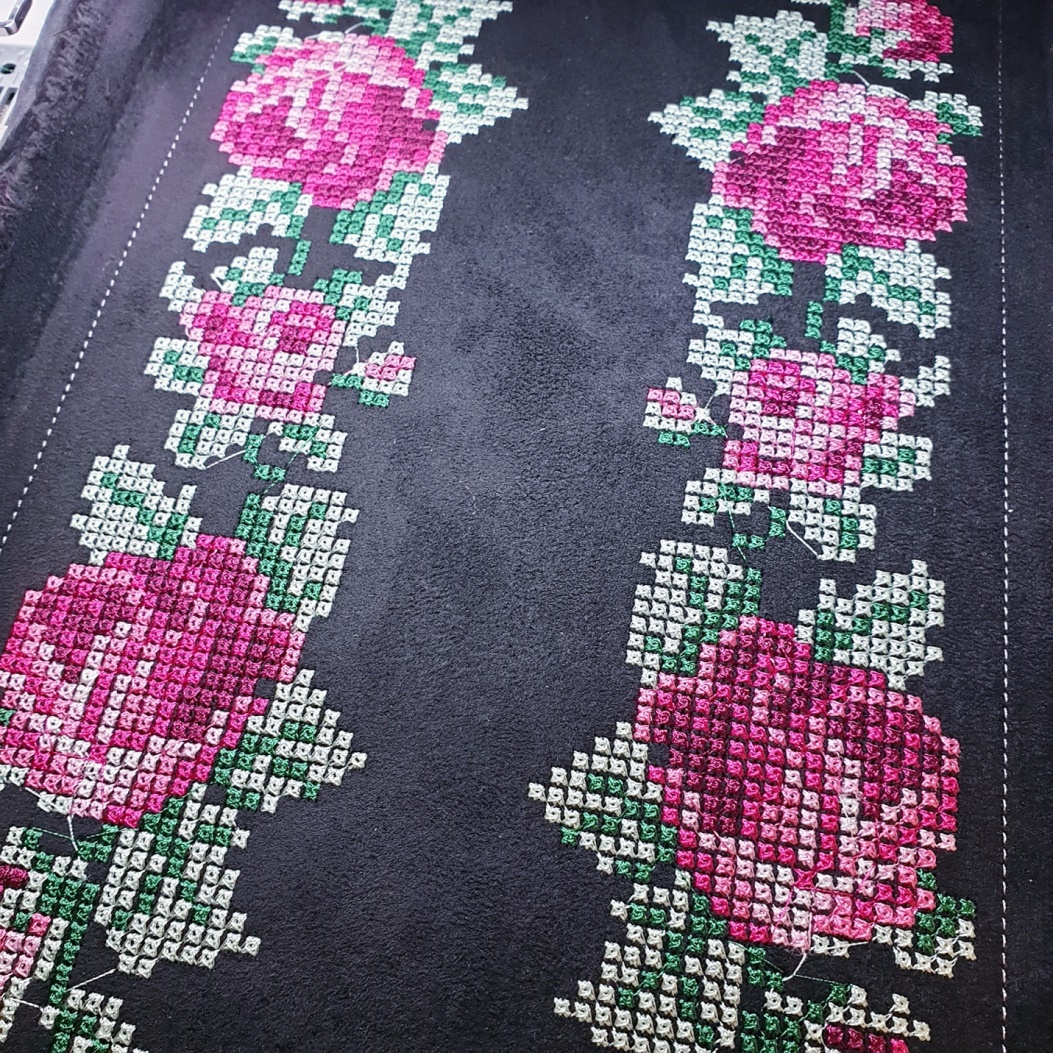
2.Take the embroidery from the hoop and cut off the excess fabric, leaving allowances for seams
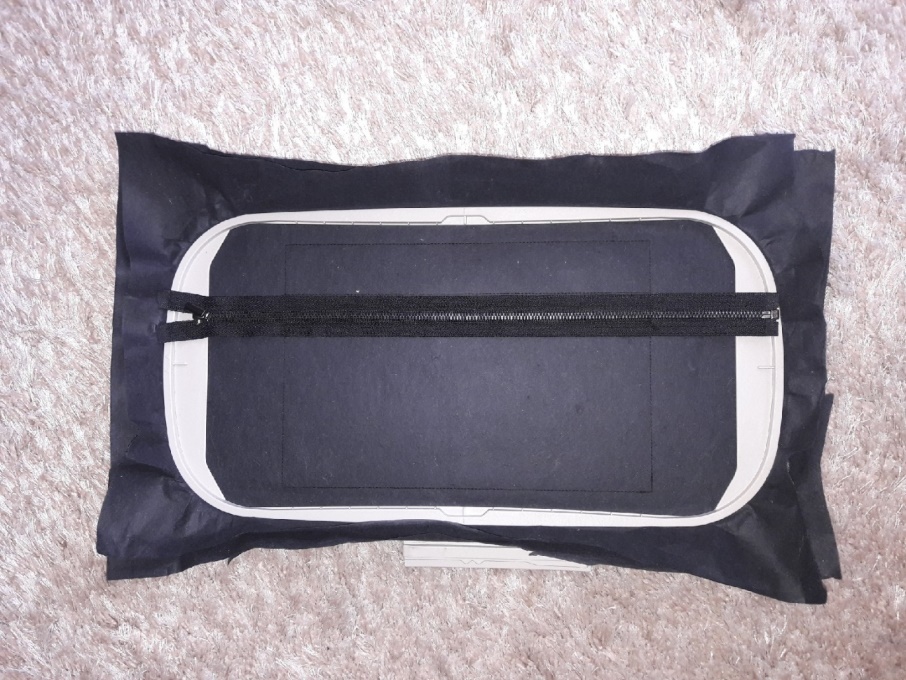
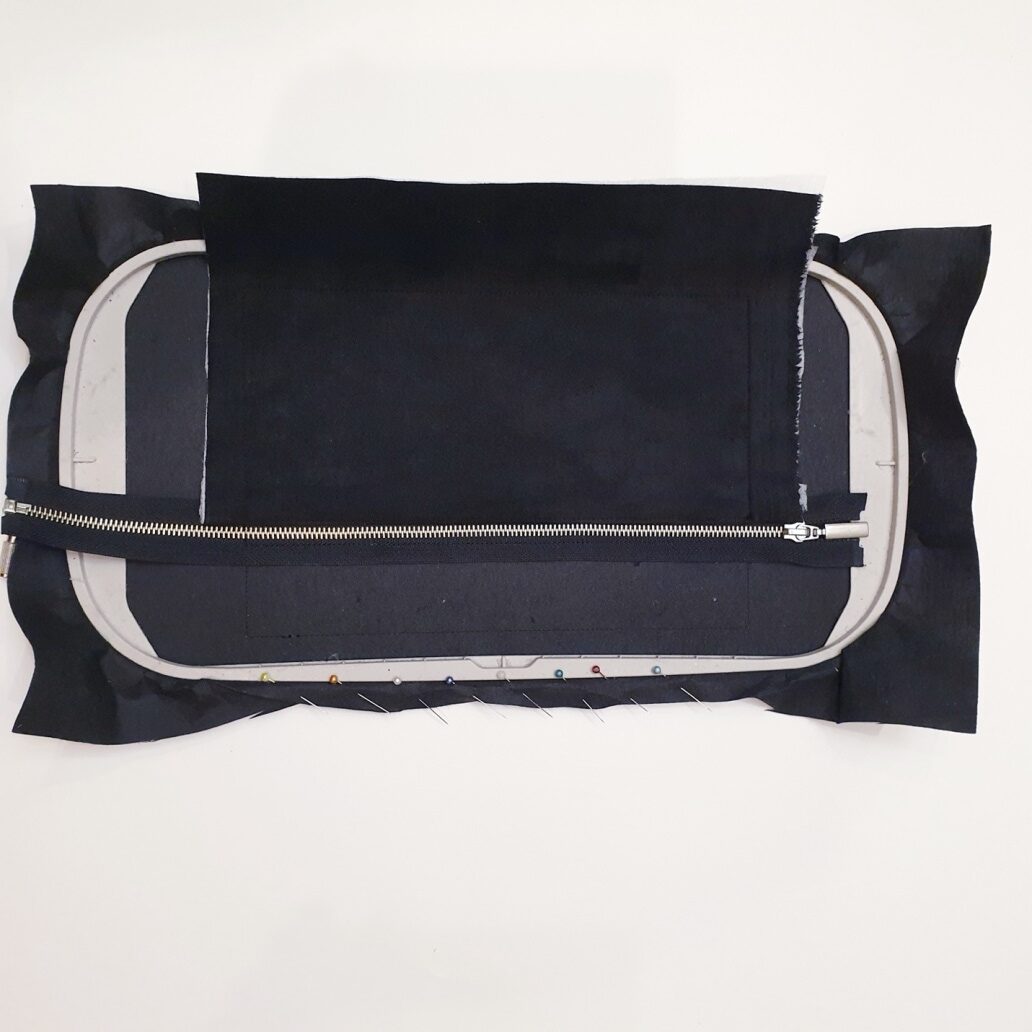
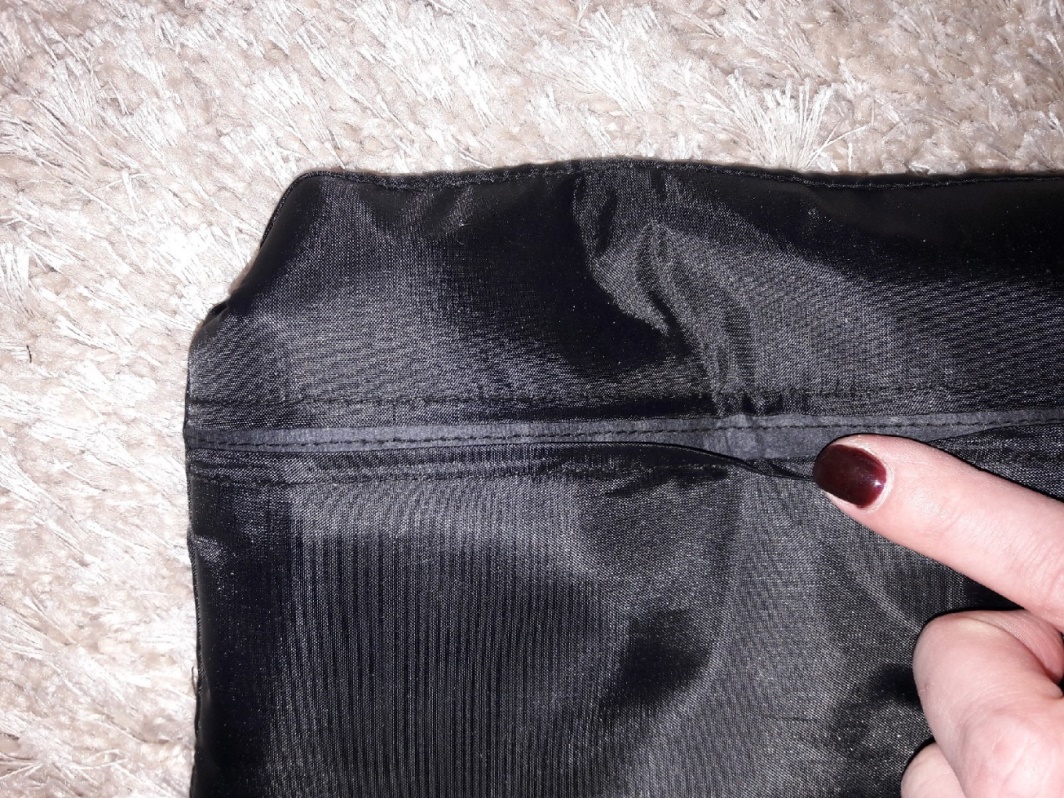
3.Fix the tear-off stabilizer in the hoop. Embroider the first color that will show the location of the parts of the clutch and the zipper, apply and fix the zipper with temporary fixation glue. The center of the zipper must match the center line. Embroider the second color that will sew the zipper
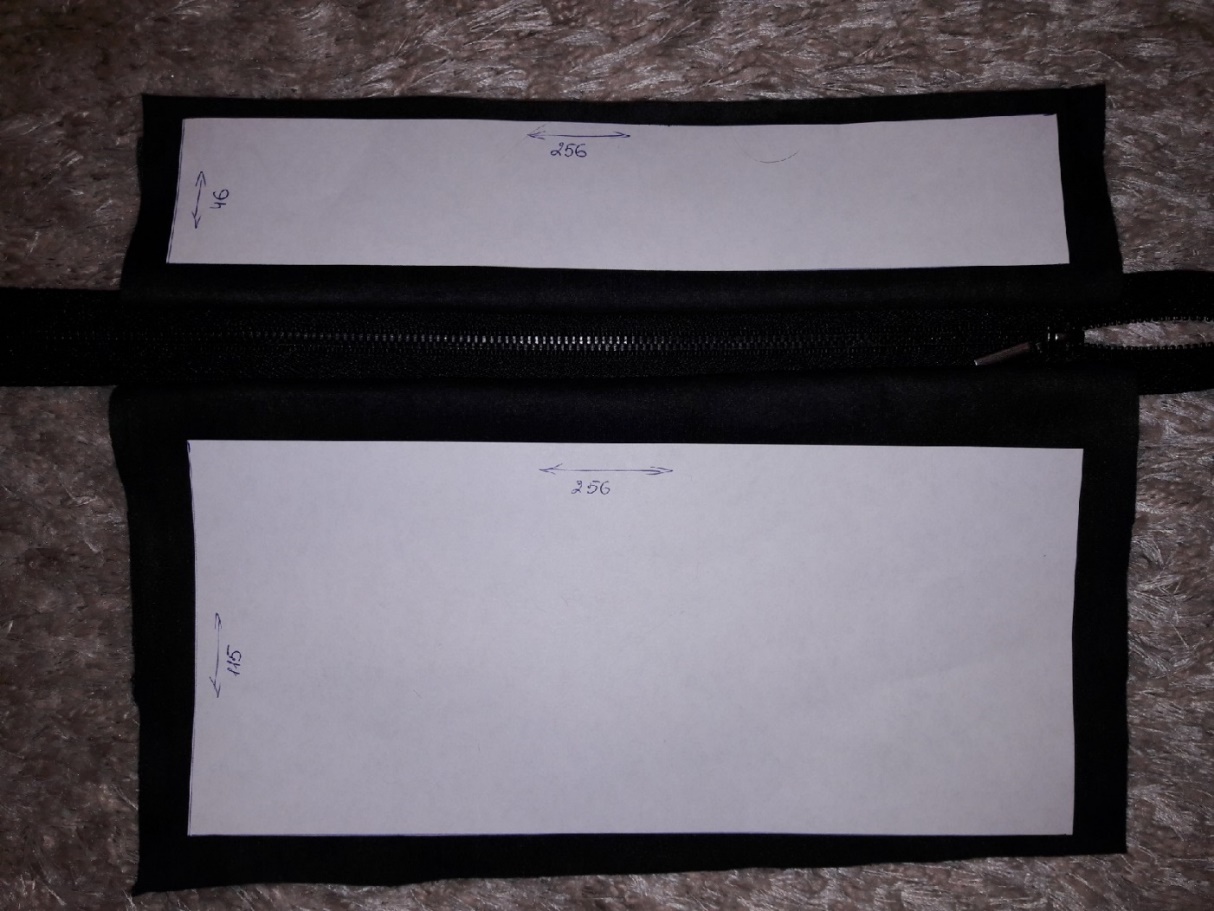
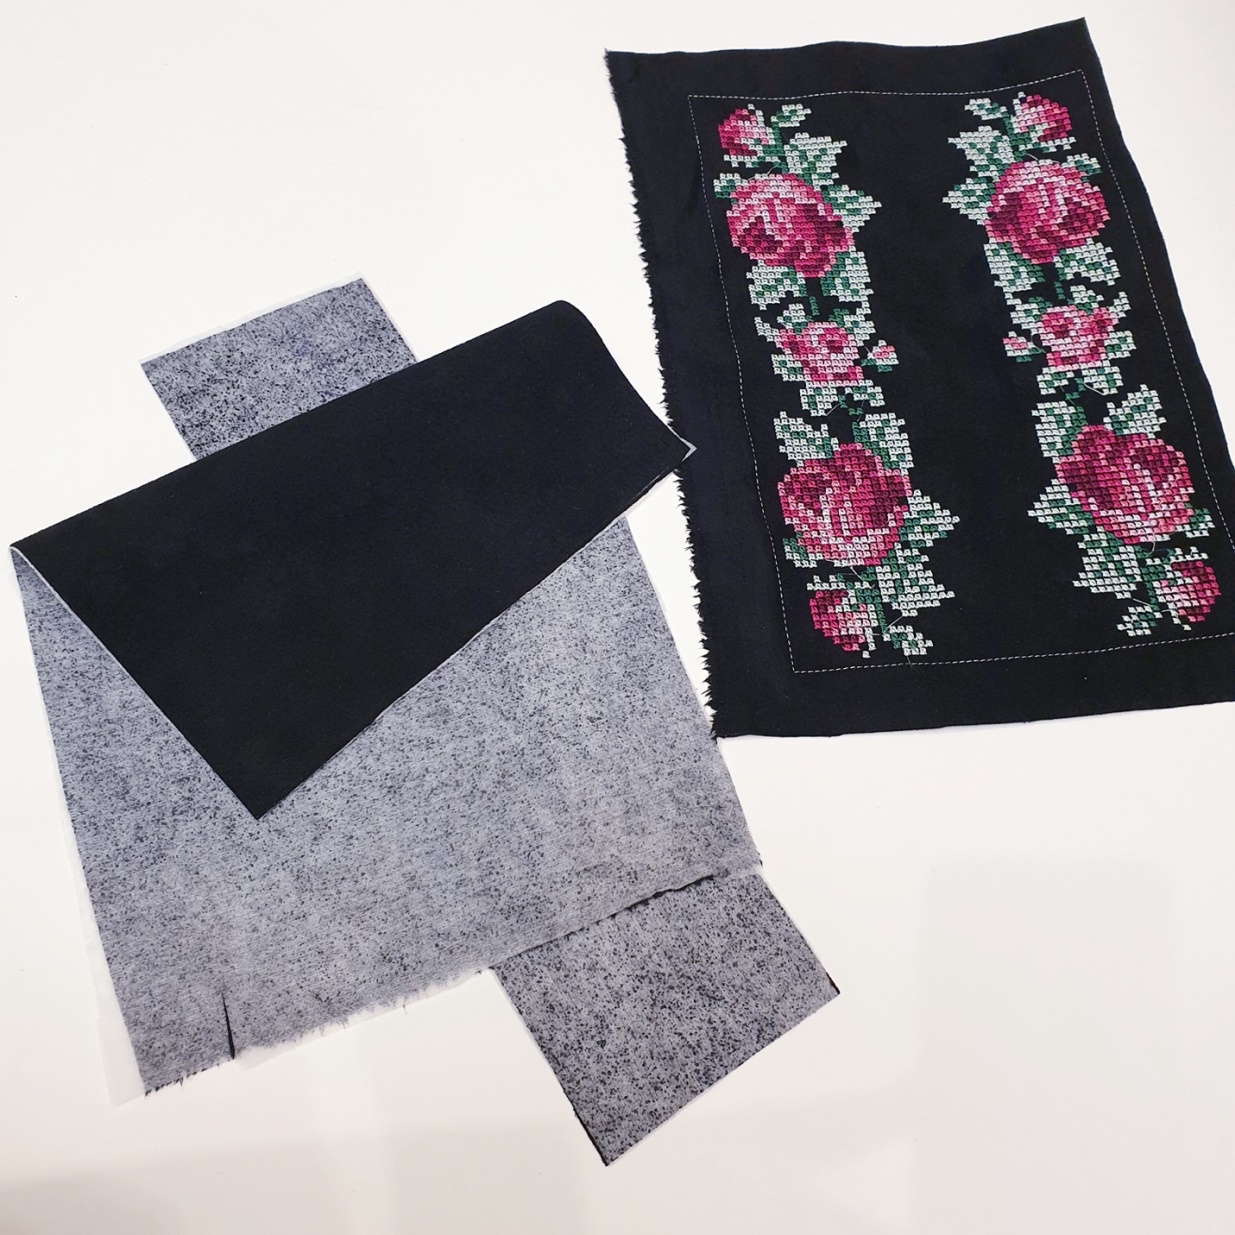
4.Cut out the blanks for the clutch and its lining. Before that, you can measure the size of the necessary blanks using lines showing the contours of the location of the clutch parts. It is advisable to glue the fabric for the clutch back with a sewing interlining so that the clutch holds its shape.
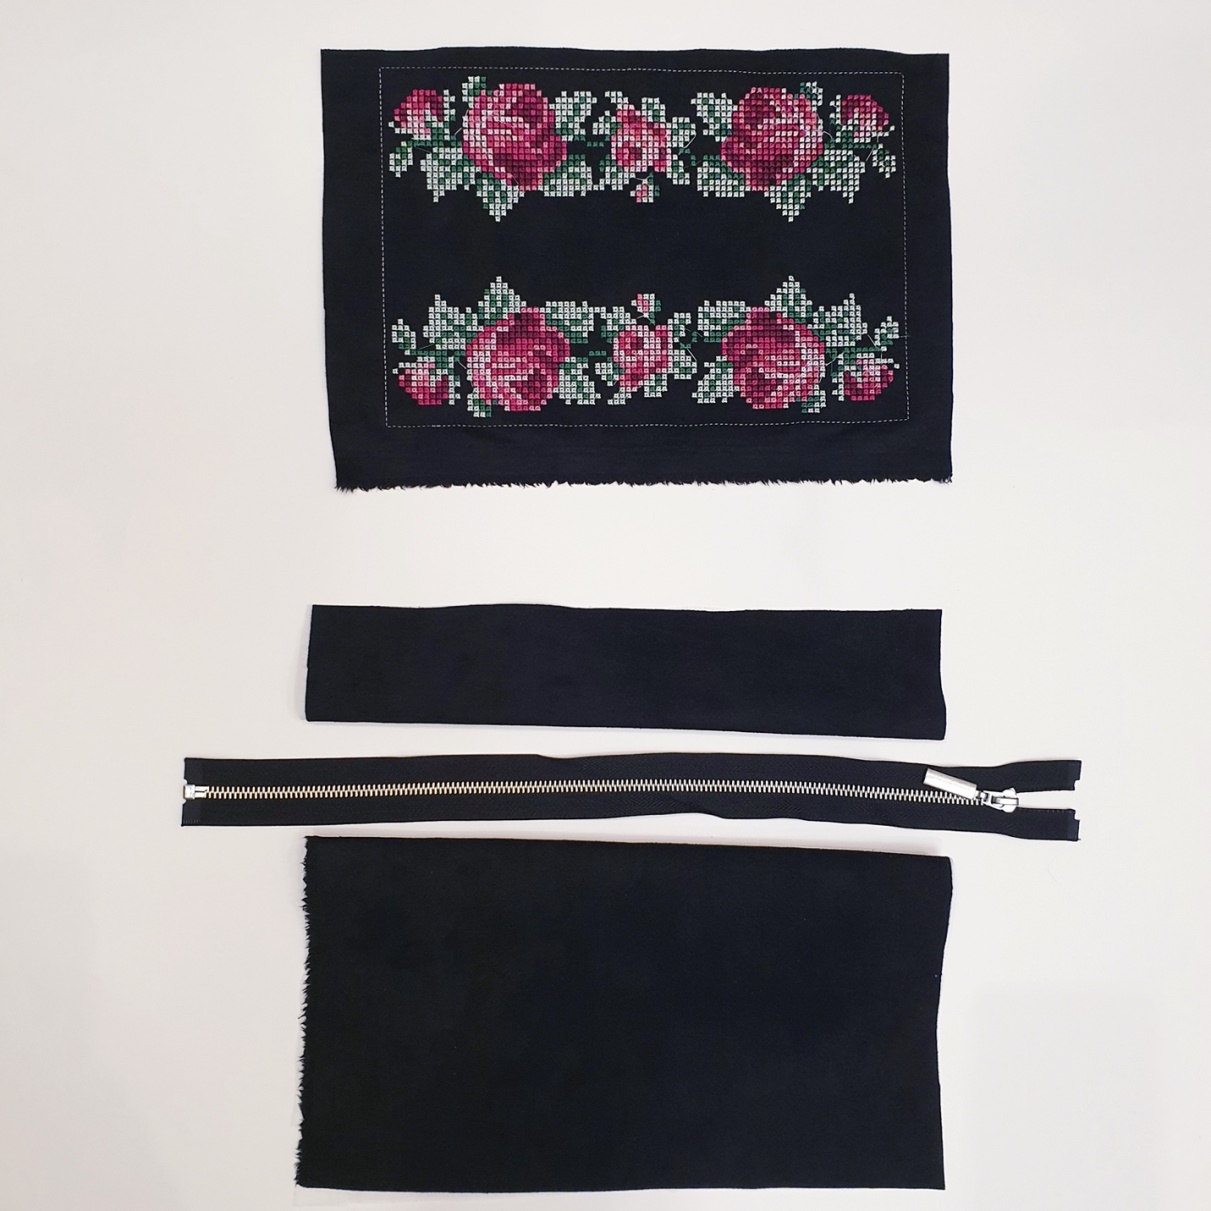
As a result you should get: a blank of the front side of the bag (cross stitch roses), its size is equal to the size of the entire perimeter of the first line; two blanks for the back of the clutch and the same number of blanks from the lining fabric. All the blanks are cut with a small allowance.
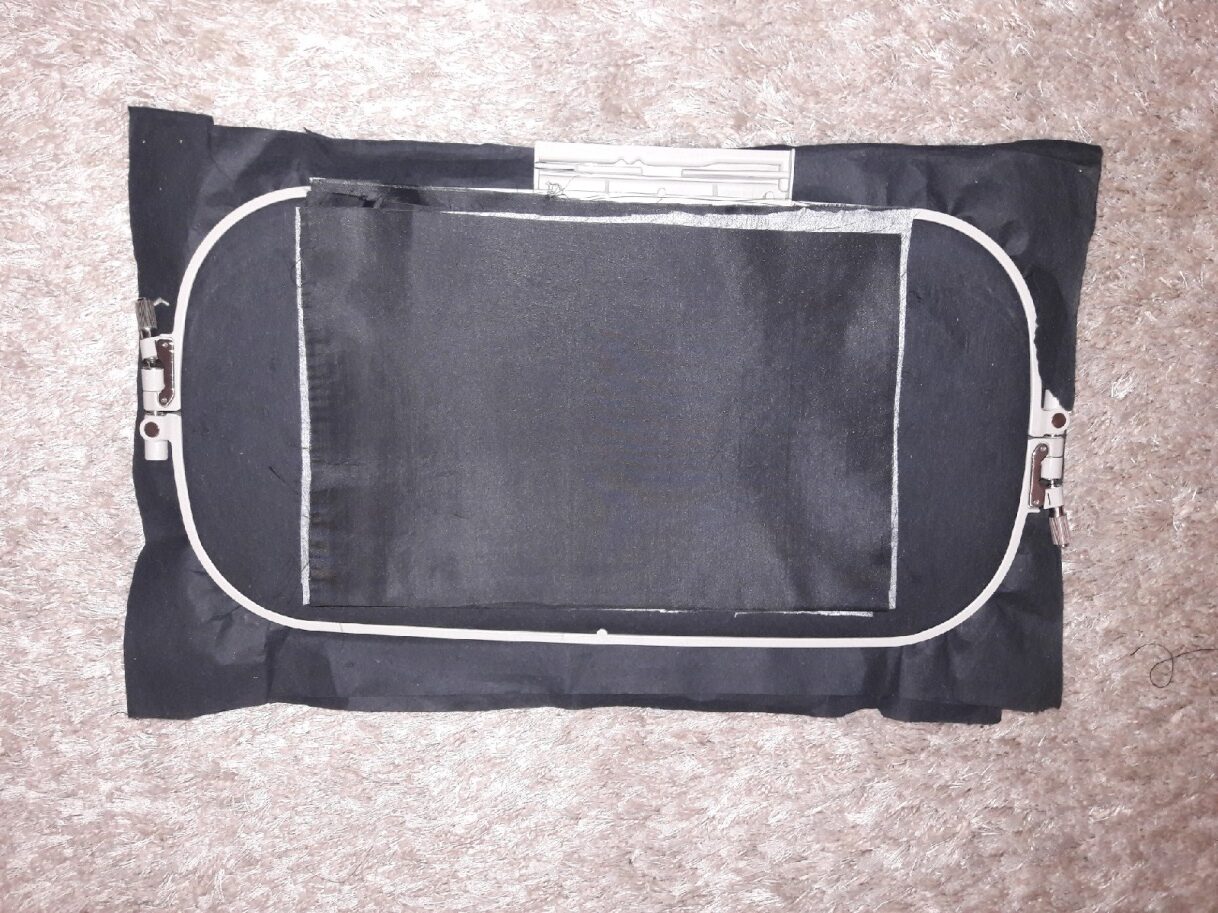
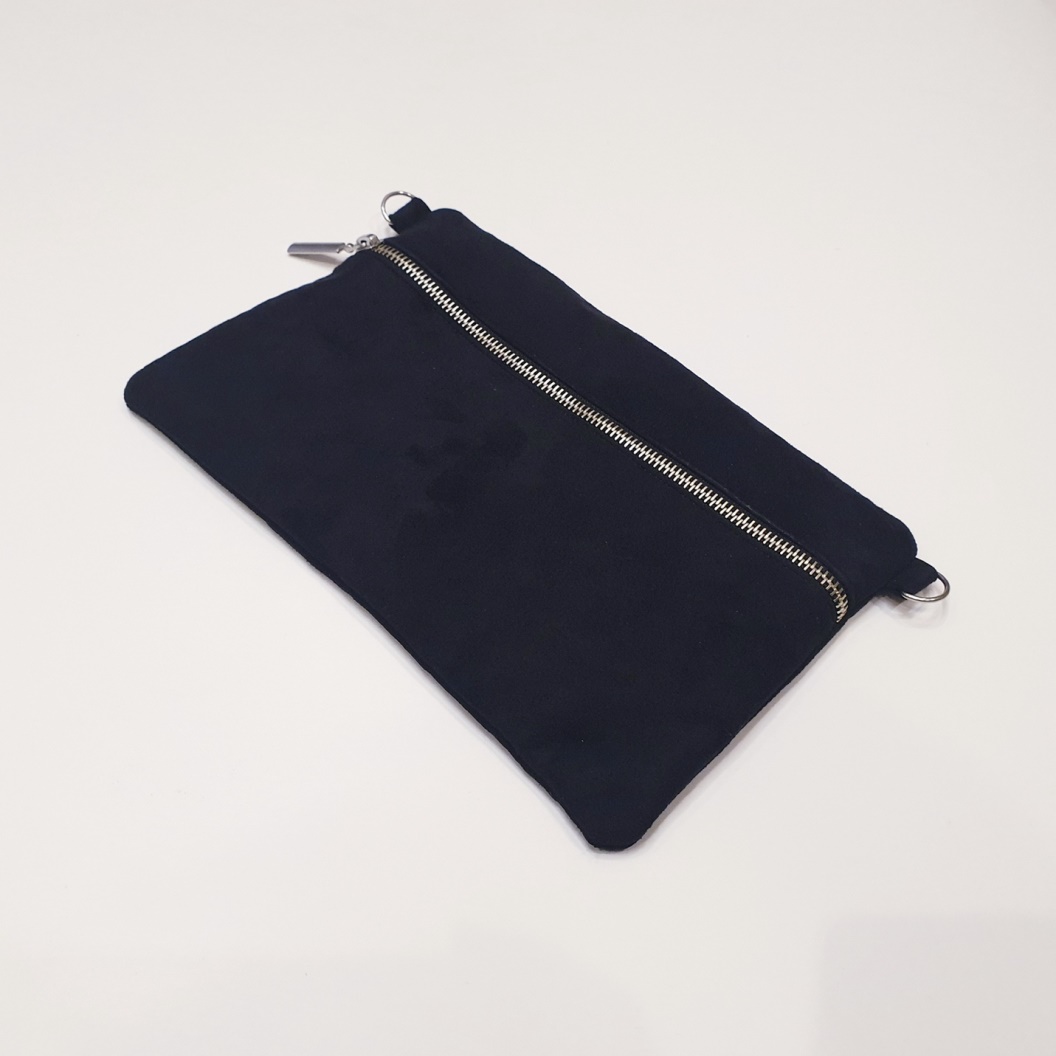
5.Apply a large blank to the back of the clutch and sew it
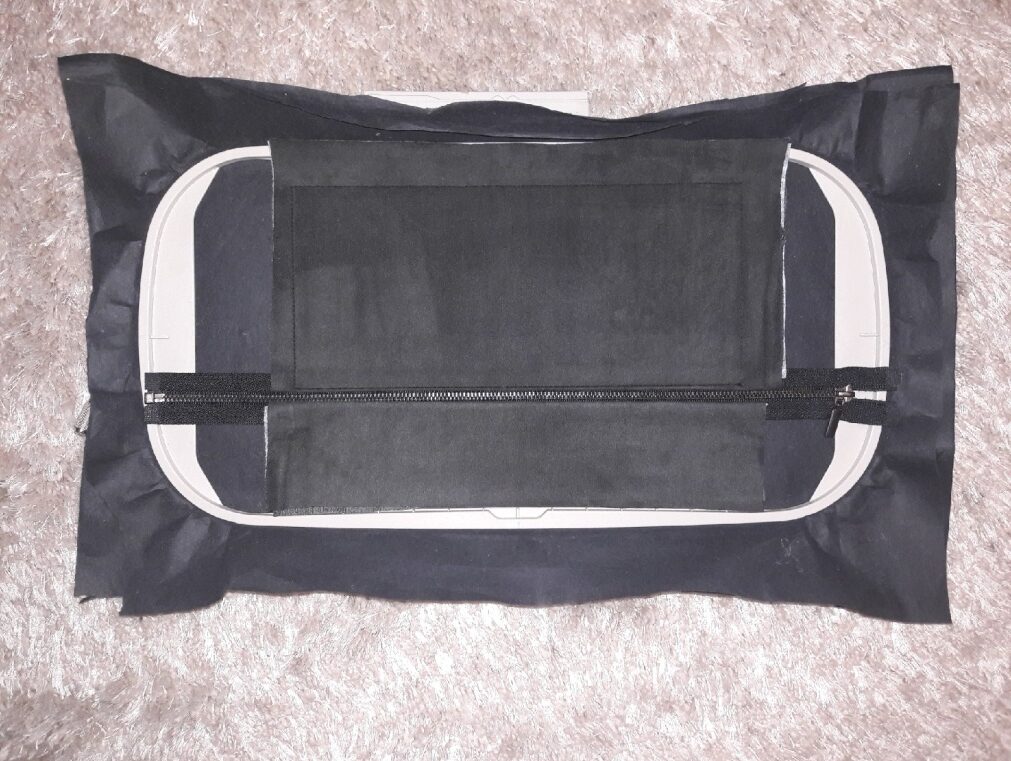
6.Apply a small blank to the back of the clutch and sew it
7.Next, turn the hoop and alternately apply parts of the lining fabric and sew them
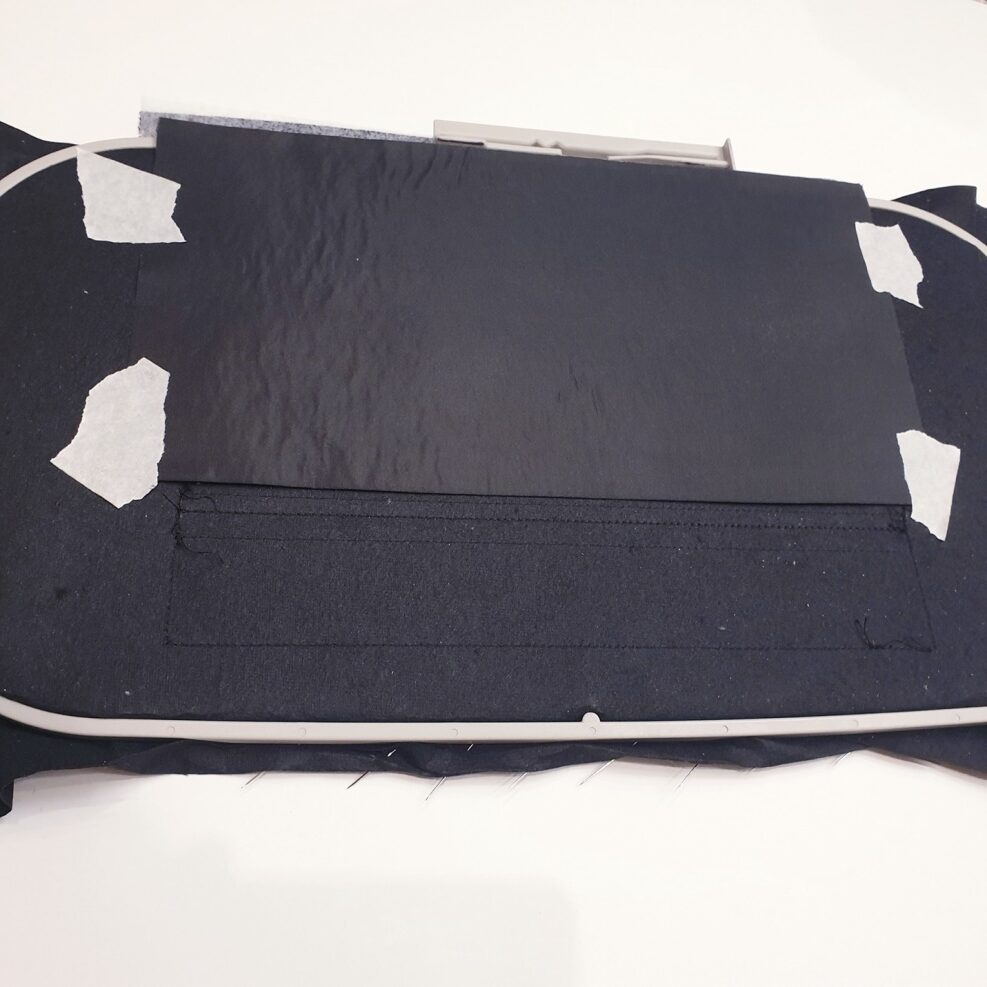

8.Attach the loop for the handle to the double-sided tape. Move the zipper lock closer to the center. Fix the fabric for the front of the clutch face down on top and sew it


9.Turn the hoop over again, fix a large blank for the lining on the other side and sew the last line.
10.Take it out of the hoop, break the stabilizer off and cut the excess fabric off
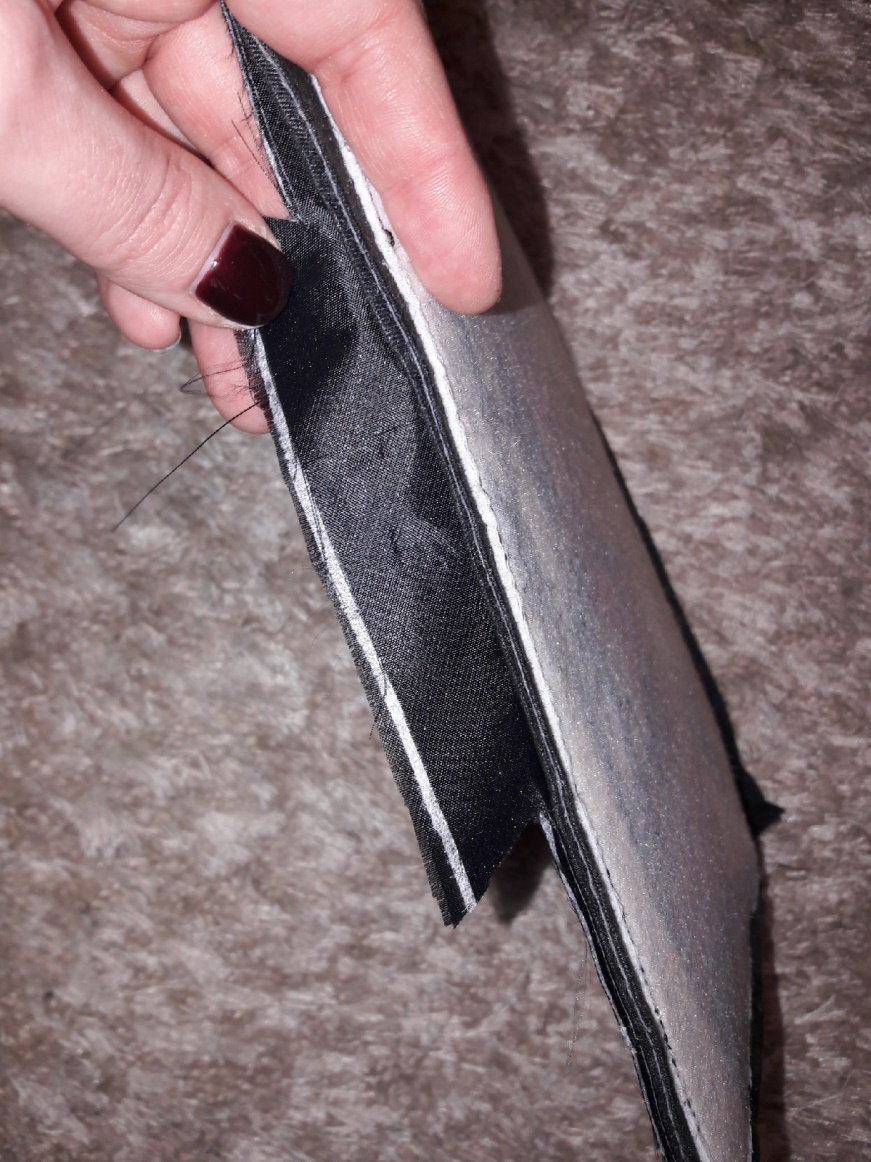
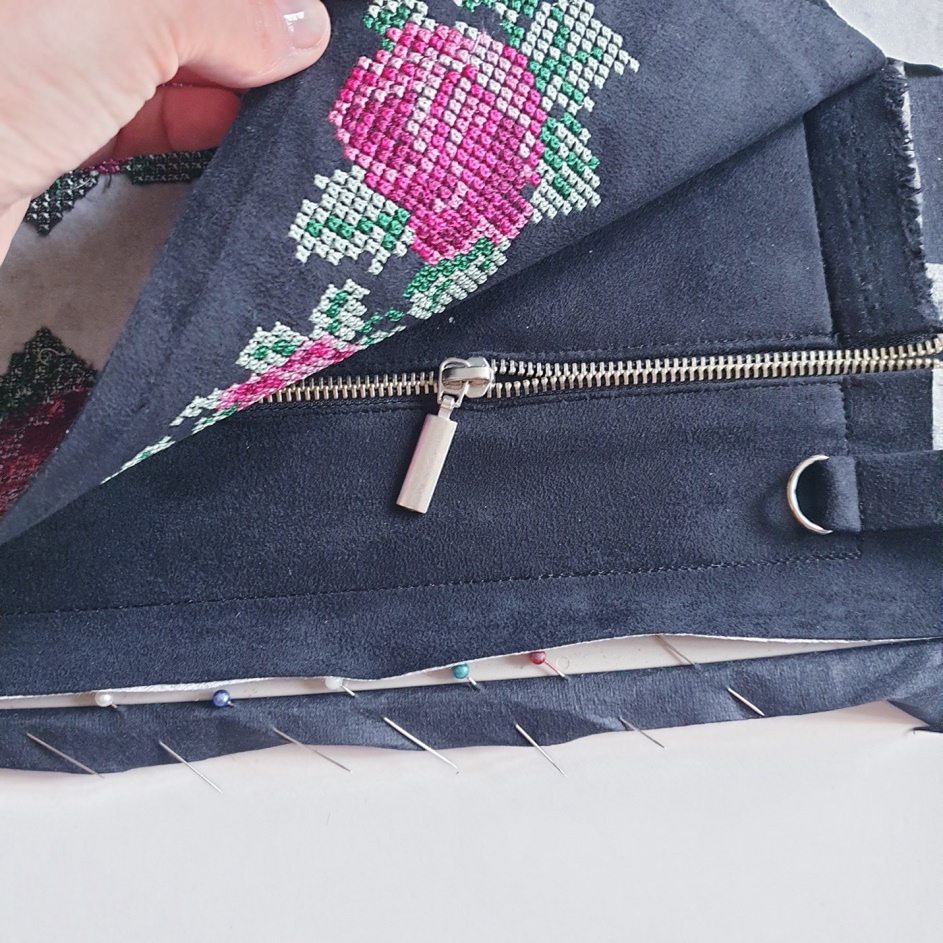
11.Turn out the clutch through the hole in the lining. After that, you can immediately sew up the remaining hole
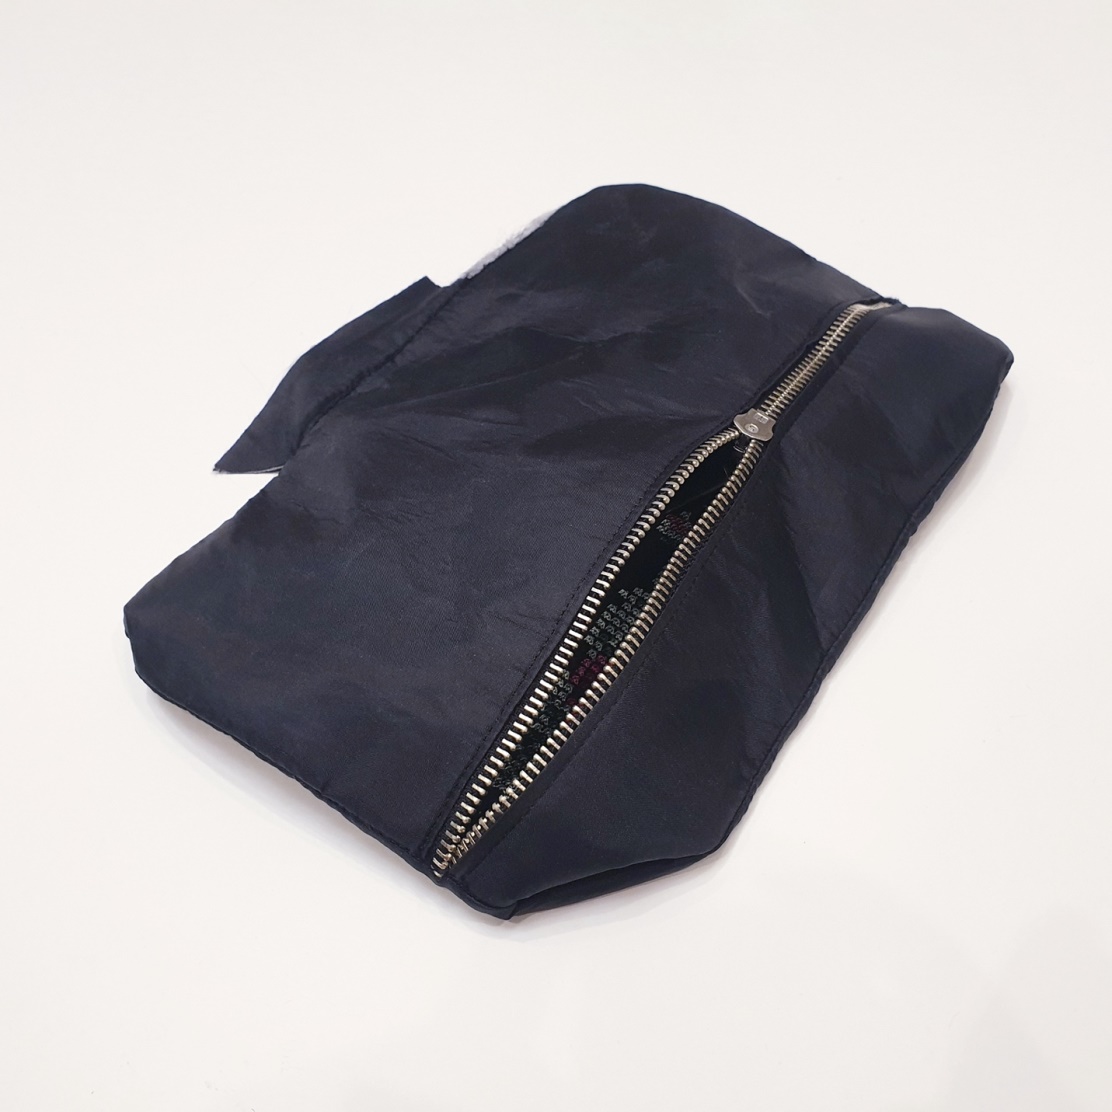
12.Remove the stabilizer near the zipper
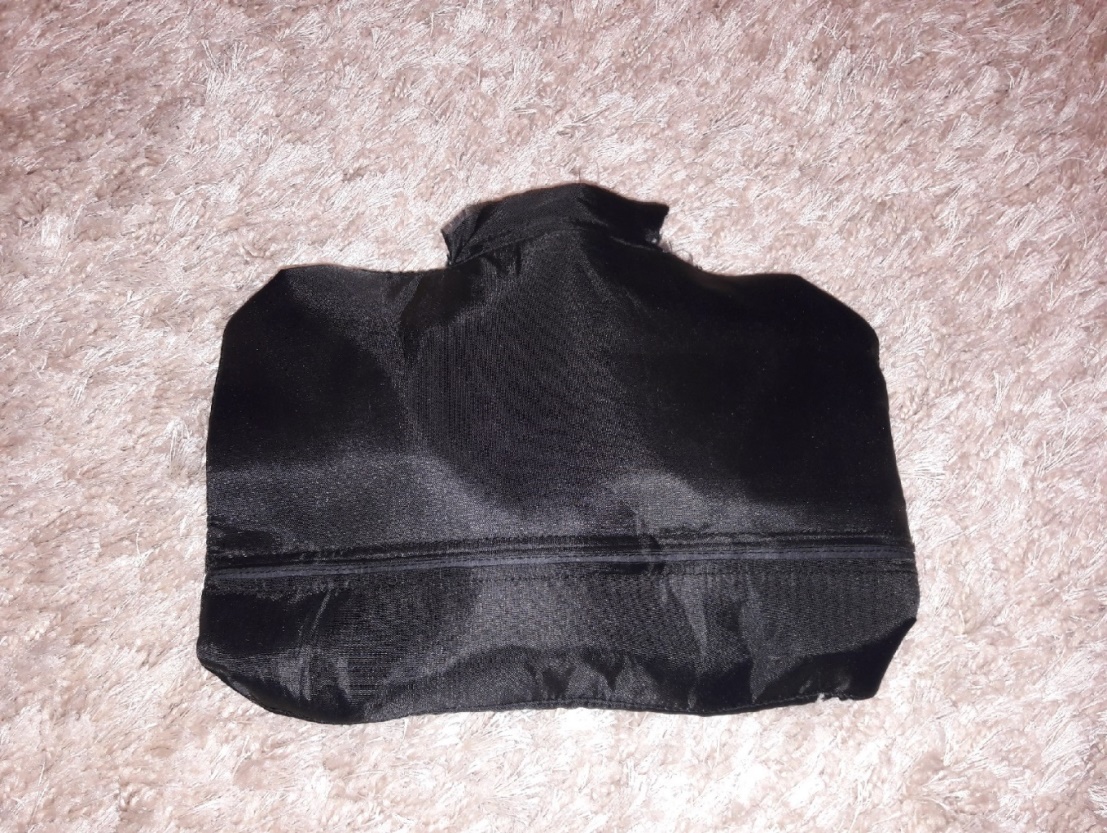
13.We turn out the clutch with a pencil or a thin stick, straighten the corners
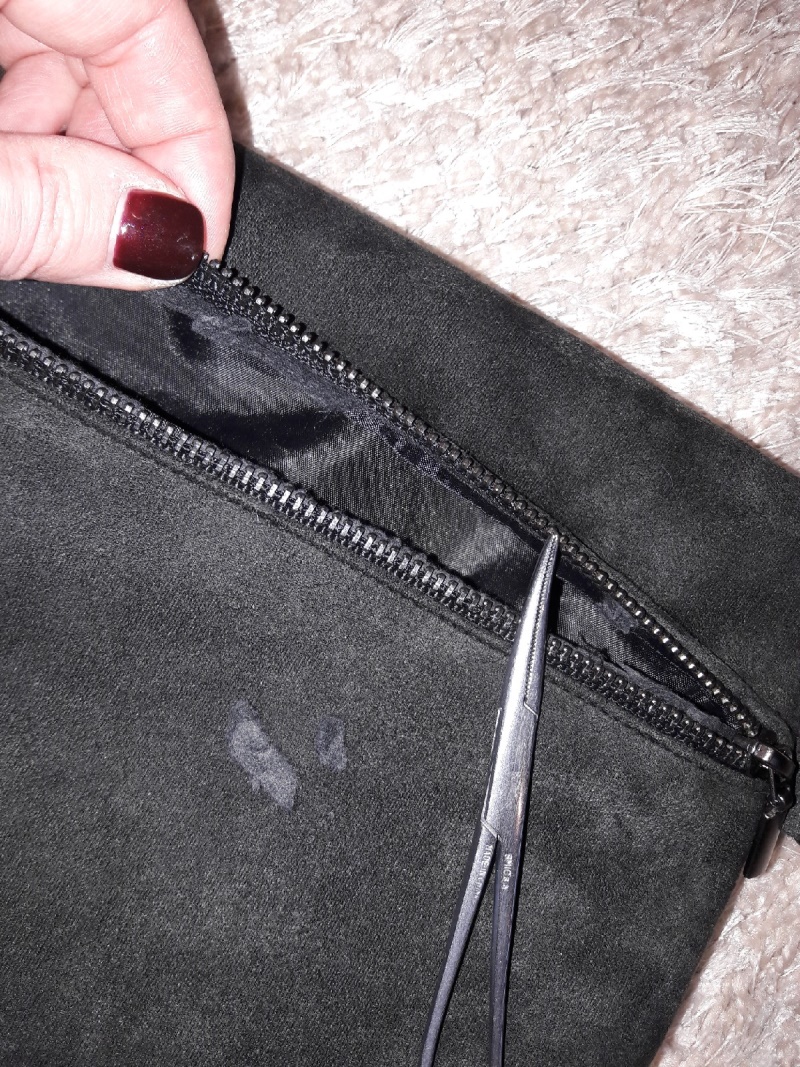
14.Remove the remnants of the stabilizer on the zipper using tweezers
Enjoy this beautiful clutch!!!
Cross-stitch roses clutch bag Project in the Hoop + photo manual