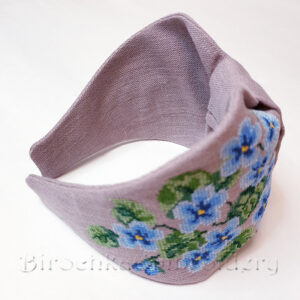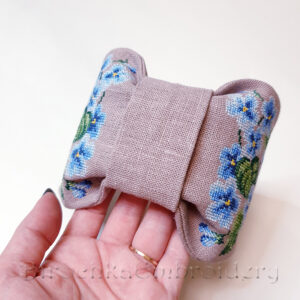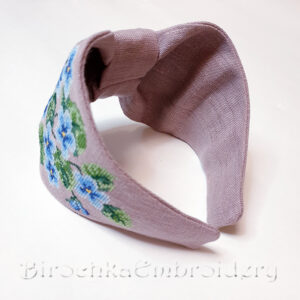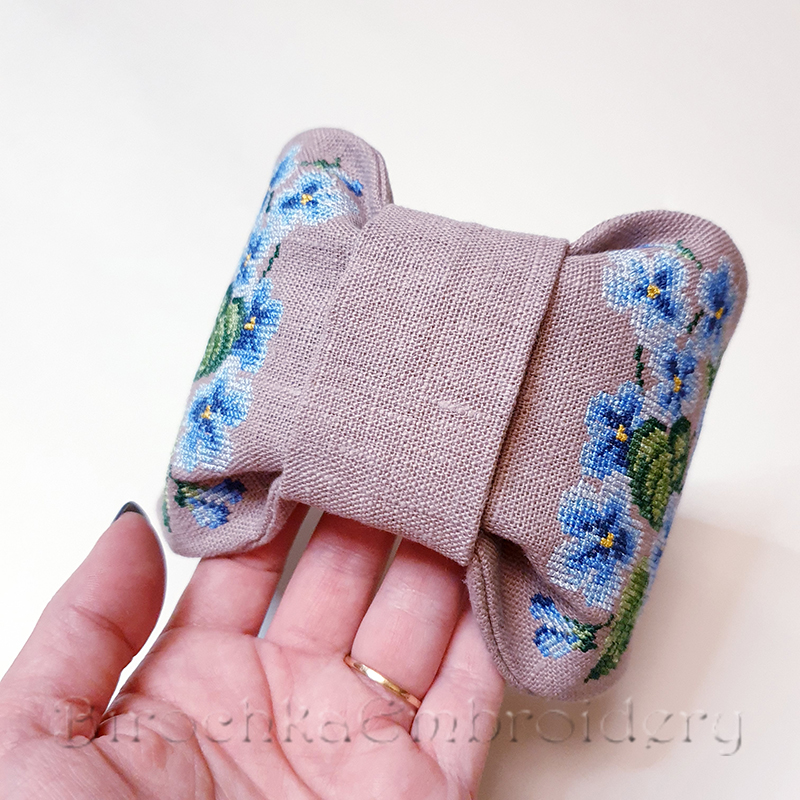
This is a very detailed master-class on how to make a stylish headband
Prepare for work:
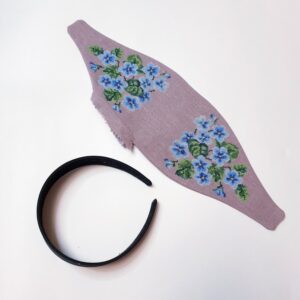
1. the headband, which is approximately 3 cm wide in the widest part (the length of the headband is 38 cm)
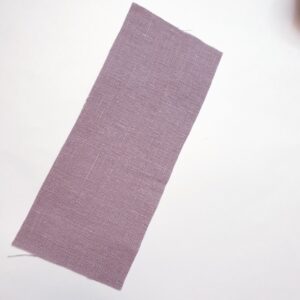
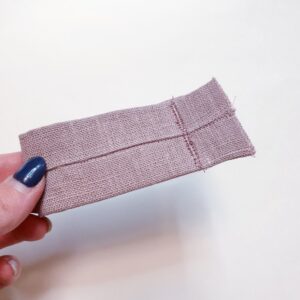
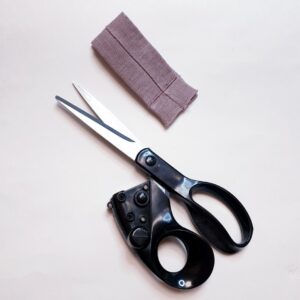
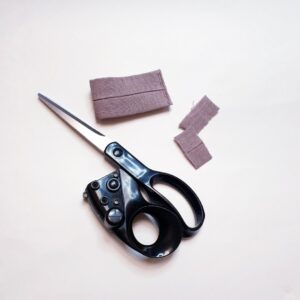
2. fabric: cotton fabric, linen, jeans, suede, and other dense fabrics, two cuts of 20 X 46 cm, a cut for a jumper of approximately 14×8 cm
3. Tight tear-off stabilizer
4. Scissors
Working stages
1. Embroider the first color of the first part of the headband design, which will show the location of the embroidery
2.Put the fabric (face up) with the lower cut to the lower frame of the hoop at the location of the embroidery and embroider the first color that will sew the fabric to the stabilizer again
3.Embroider the pattern
4.Put the second piece of fabric on the top, face inside and embroider the last two colors
5.Remove the embroidery from the hoop and tear off the stabilizer
6.Put a detachable stabilizer to the hoop and embroider the first color of the second part of the design on it
7.Carefully put the fabric connecting both parts of the contour of the headband; the upper part of the fabric is thrown back
8.Embroider the first color of the second part of the design one more time to sew the fabric to the stabilizer
9.If you want a pattern on both sides of the headband, then embroider the pattern next. Or skip this part of the design.
10.Put the second part of the fabric face down and embroider the last two colors of the design
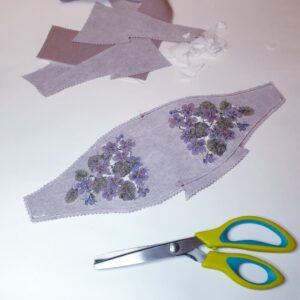
11.Remove the embroidery from the hoop, tear off the stabilizer, cut out the headband retreating from the zigzag 0.5 cm
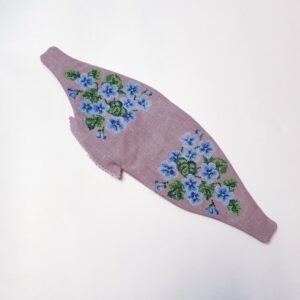
12.Turn the headband through the hole
13.Insert the headband inside and sew up the hole
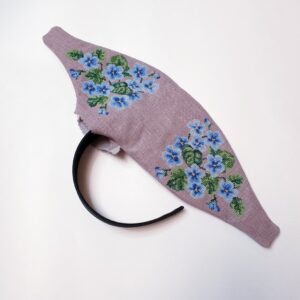
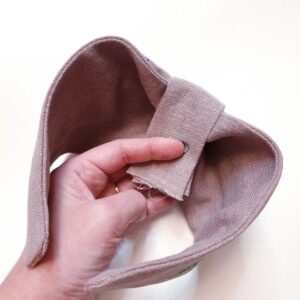
14.Make pinches in the center of the headband and fix the shape of the headband.
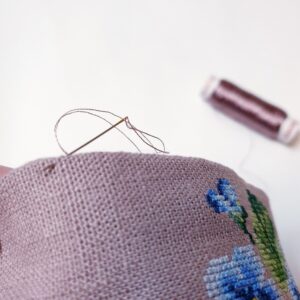
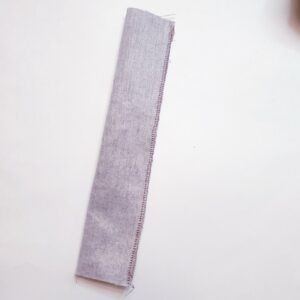
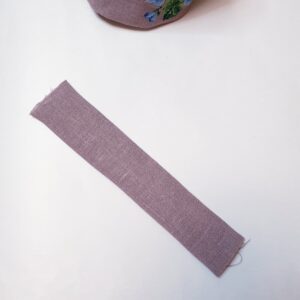
15.Close the center of the headband with a fabric jumper and sew it on the wrong side with a neat hand seam.
Enjoy this gorgeous accessory!


