Comforter is a toy for the little ones. It is so important for kids that the mom is always there. If the mother takes the toy close to the body, it absorbs the mother’s scent. Babies have a very delicate sense of smell. If you put a toy with the mother’s scent in the bed, the child will sleep longer and more peacefully.
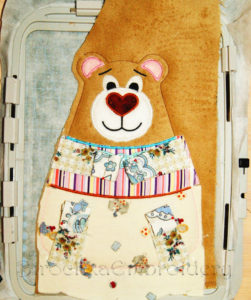
Toys Comforters for babies Bear and Kitty are embroidered using appliqué technique and are assembled completely in hoops. The technology of embroidery toys is the same.
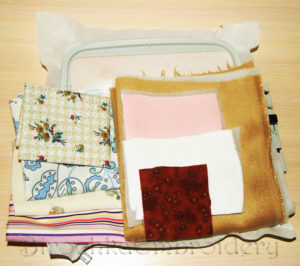
For a toy, you can use any materials, if you sew for children, it is better natural. In the toys presented for example, fleece and cotton fabrics are used, the stabilizer in the hoop is tear-off paper, embroidery polyester threads.
Instructions for embroidery comforter toys:
1.Prepare a flap of colored fabrics, pre-glued with glue interlining, for stability and shaping a toy, who has experience in embroidery, you can glue the body parts of the toy with a thin glue synthetic padding (it is used in this toy). In the hoop tear-off stabilizer, polyester thread.
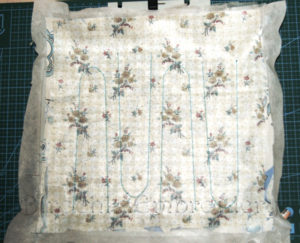
2.At the initial stage, embroider the paws of a toy; to do this, fold two fabric cuts with the front sides inward. The first color in the design is a marking line, then attach fabric to temporary stabilization glue or double-sided tape around the perimeter of the hoop to the stabilizer. The second color is embroidery on the fabric.
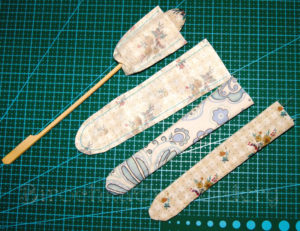
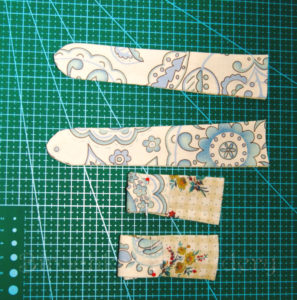
3.Remove the embroidery from the hoop, remove the excess stabilizer and cut the details, leaving a margin of 0.5 cm from the line in the area of the rounding, make notches without reaching the line a little.
4.Turn out the details of the legs on the front side.
5. Iron the details of the legs.
6.For further fastening to the fabric, the details are folded and fastened with a pin – this is an option if the legs are long and in the future, will be tied in a knot. If you need short legs, then at this stage, cut off the excess.
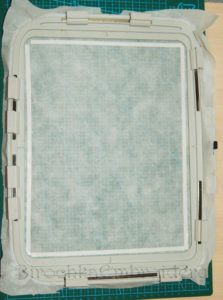
7.Secure tear-off paper in the hoop, lay double-sided tape around the hoop perimeter or use temporary fix adhesive.
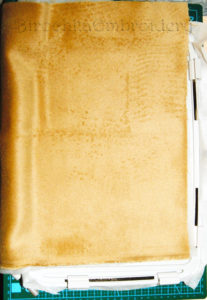
8.Place the fabric of the toy’s body face up on the stabilizer.
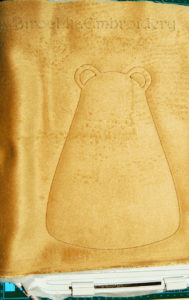
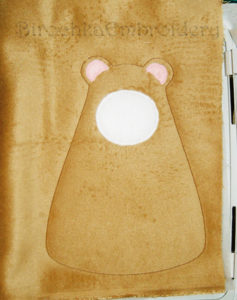
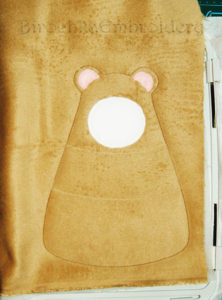
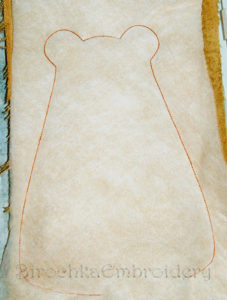
9.Embroider the contour of the toy, it is not necessary to remove excess fabric. You can immediately embroider the next color – the contour of the ears.
10.Put a fabric for the ears and make a zigzag reinforcement stitch.
11.Remove excess fabric.
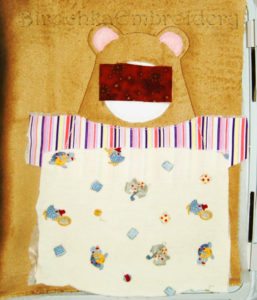
12.Embroider the contour of the face.
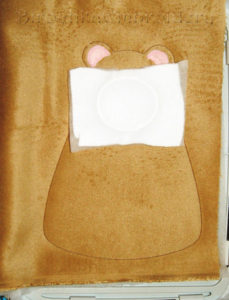
13.Put the fabric for the face on the contour, and make a zigzag
14.Remove excess fabric.
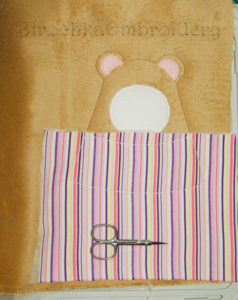
15.Line contour for “clothes” toys.
16-17.Put the fabric and lay the zigzag stitching line.
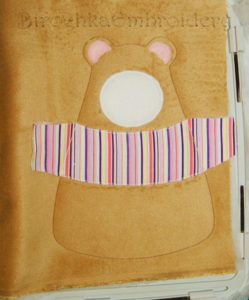
18.Remove excess fabric only at the top and bottom, do not remove the fabric from the sides.
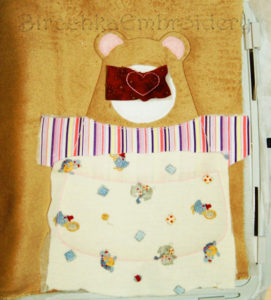
19.On the contour stitches of the nose and “clothes” also put a fabric.
20-21.Make a fixing zig-zag line, remove excess fabric, remove only fabric from the top element of the “clothes” from the top, do not remove it from below.
22.Eye embroidery.
23.Finishing line the top of the “clothes”.
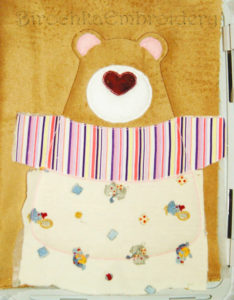
24.Embroidery faces.
25.Finishing stitches of the nose, details of the “clothes” at the bottom, and butterfly embroidery.
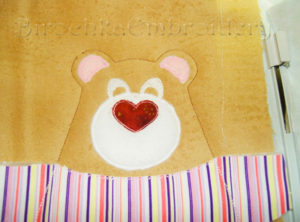
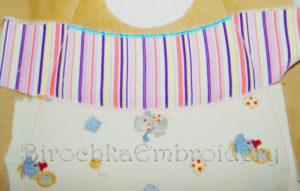
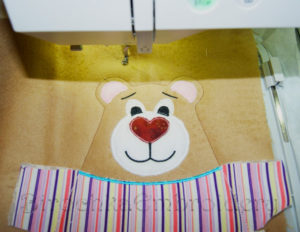
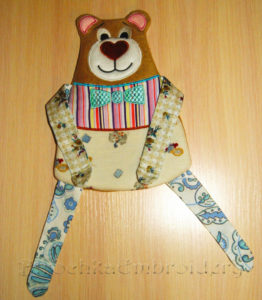
26-27.At the final stage (before the last color), it is necessary to secure the pads for sewing, for this, lay double-sided tape at the attachment points, behind the outline of the toy. Secure the details of the legs on the tape.
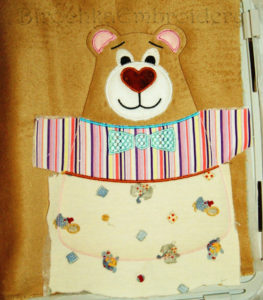
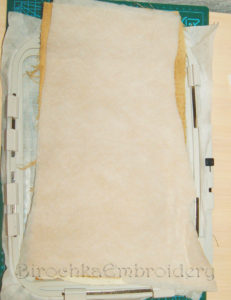
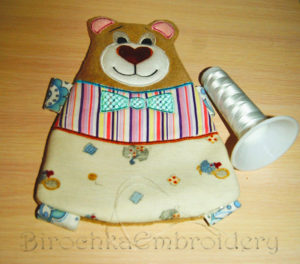
28.From above to impose a back part of a toy, the face side inside.
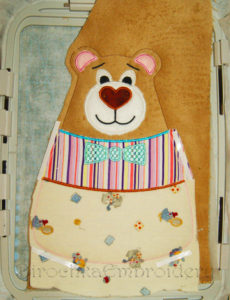
29.Embroider the last color that holds both layers of the toy’s body.
30. Remove the toy from the hoop, remove excess stabilizer, just remove-cut off the excess fabric, stepping back from the contour 0.5 cm, make notches in the corners and roundings, in order to avoid folds in the finished toy, on the front side
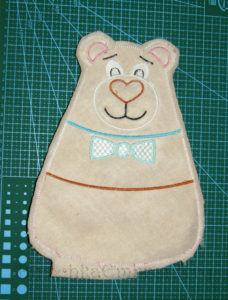
31.Turn out the toy on the front side through an unwired area, straighten everything.
32.Sew into the manual open area of the fabric, iron and tie the long legs with a bundle.
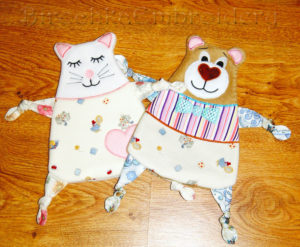
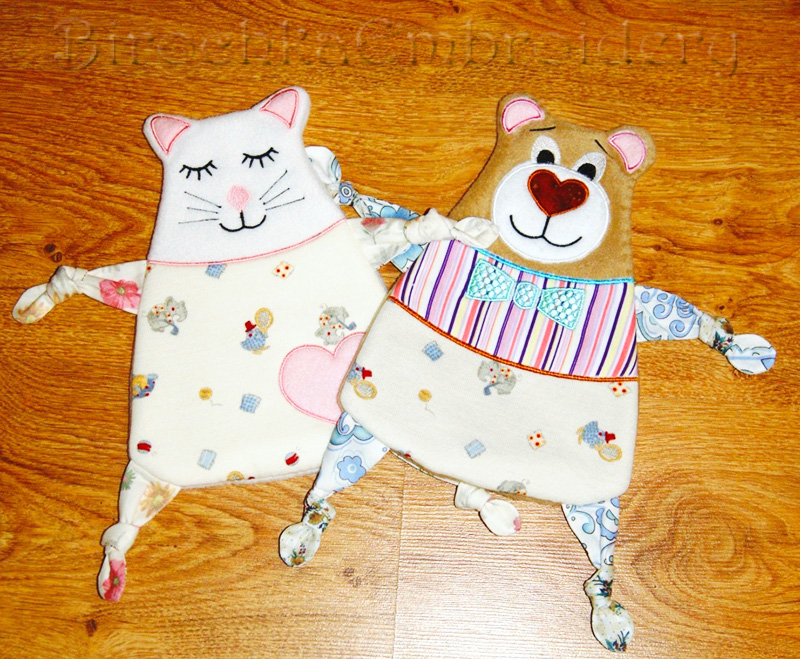
We admire the finished toy!)
You can buy these designs here:
Baby Comforter Toy Bear Machine Embroidery Design In The Hoop
Baby Comforter Toy Cat Machine Embroidery Design In The Hoop

