

Today I suggest you to make a charming handbag. Nobody has the same! I guarantee!
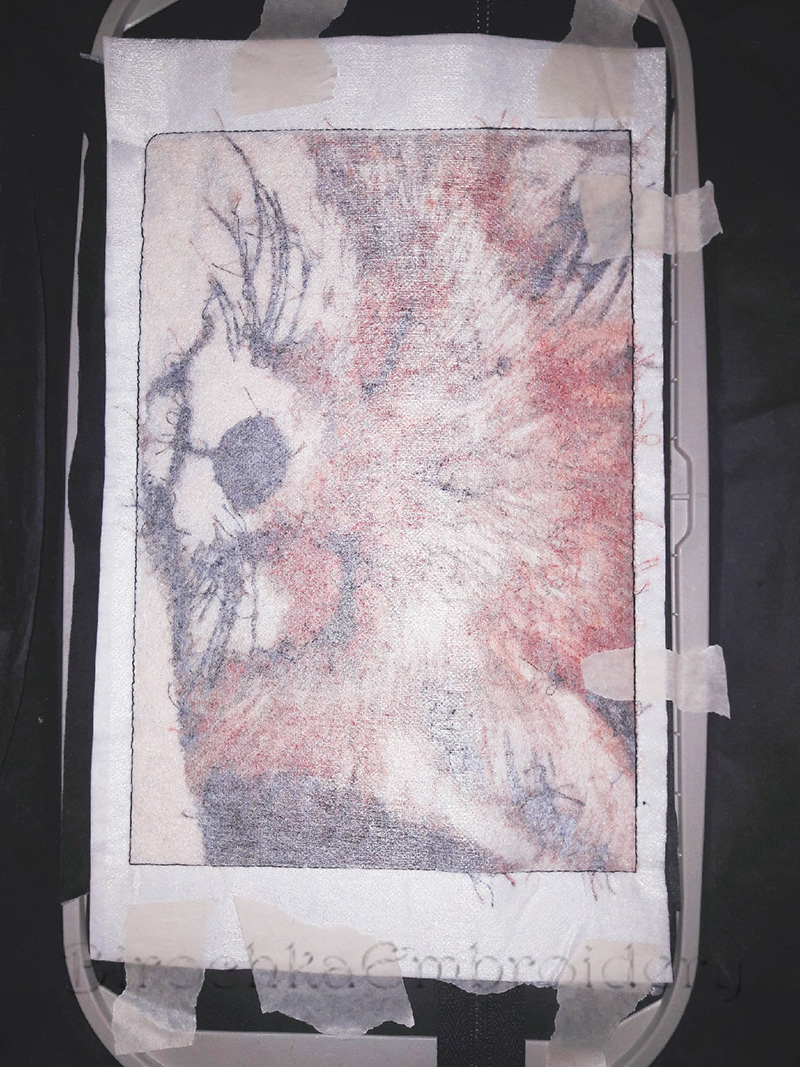
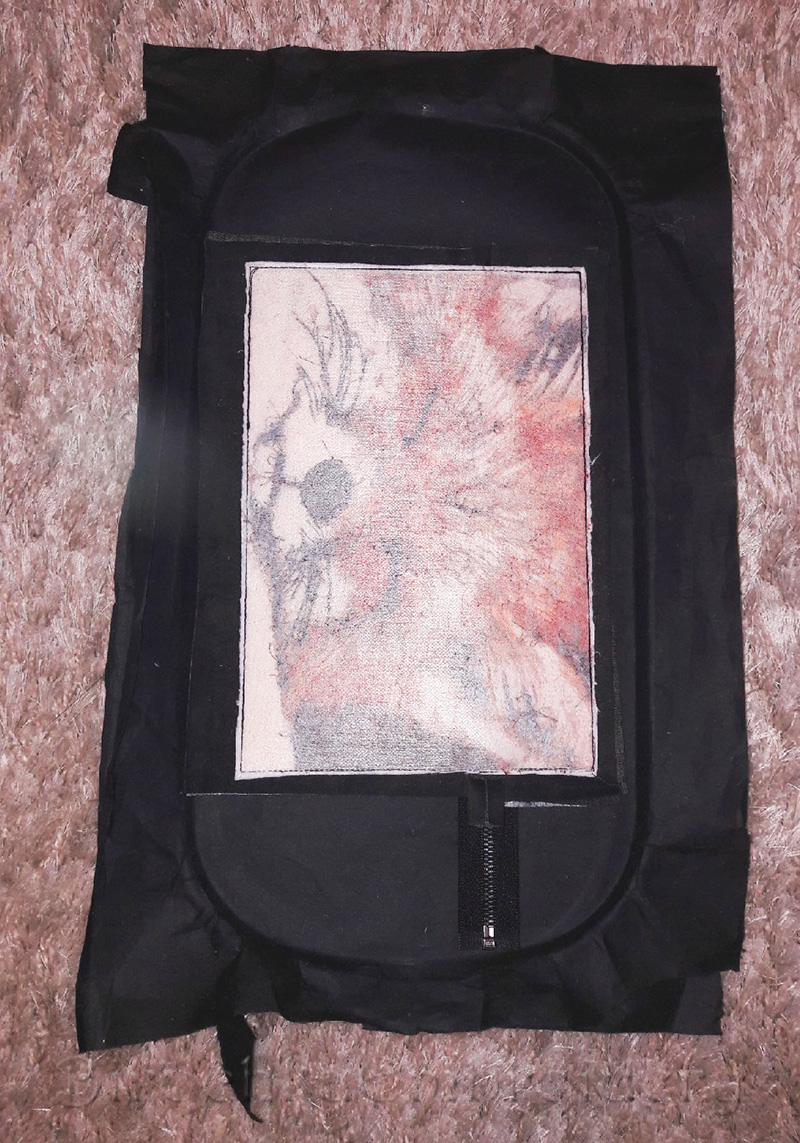
1.Embroider a picture using a photo-stitch technique – this will be the front side of the clutch bag. Before embroidery, stabilize the fabric with a tight tear-off stabilizer. Fabric for embroidery photo stitch is desirable to use a dense.
2.Prepare a zipper, fabric for the reverse side of the bag and lining fabric. Since the bag, is fully assembled in the hoop, do not use fabrics that are too thick.
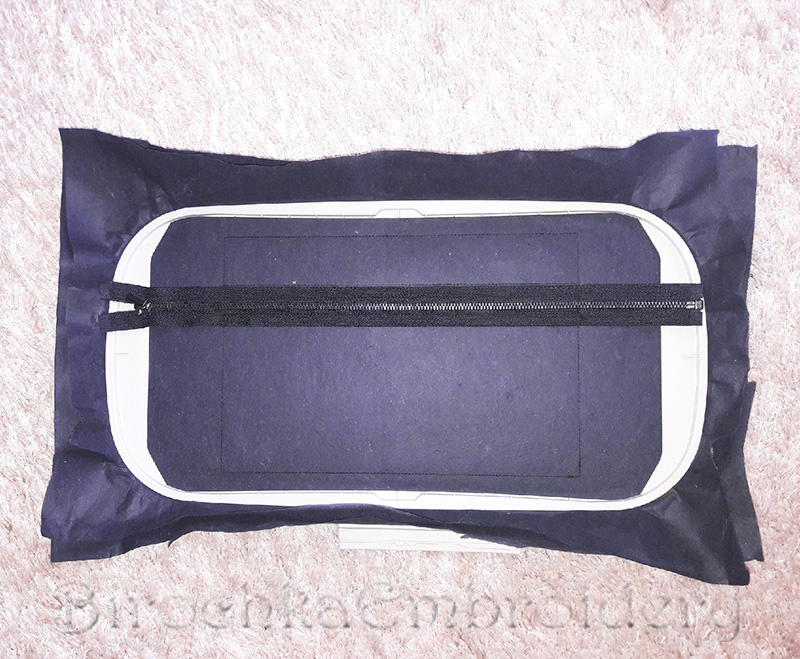
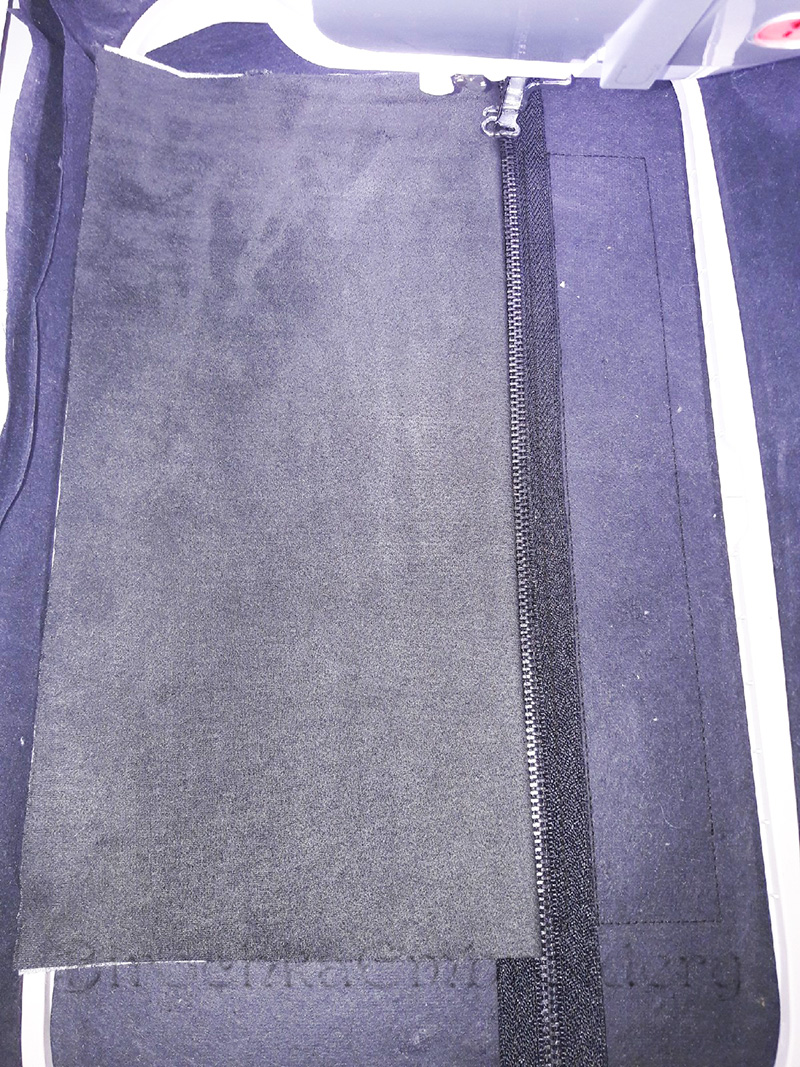
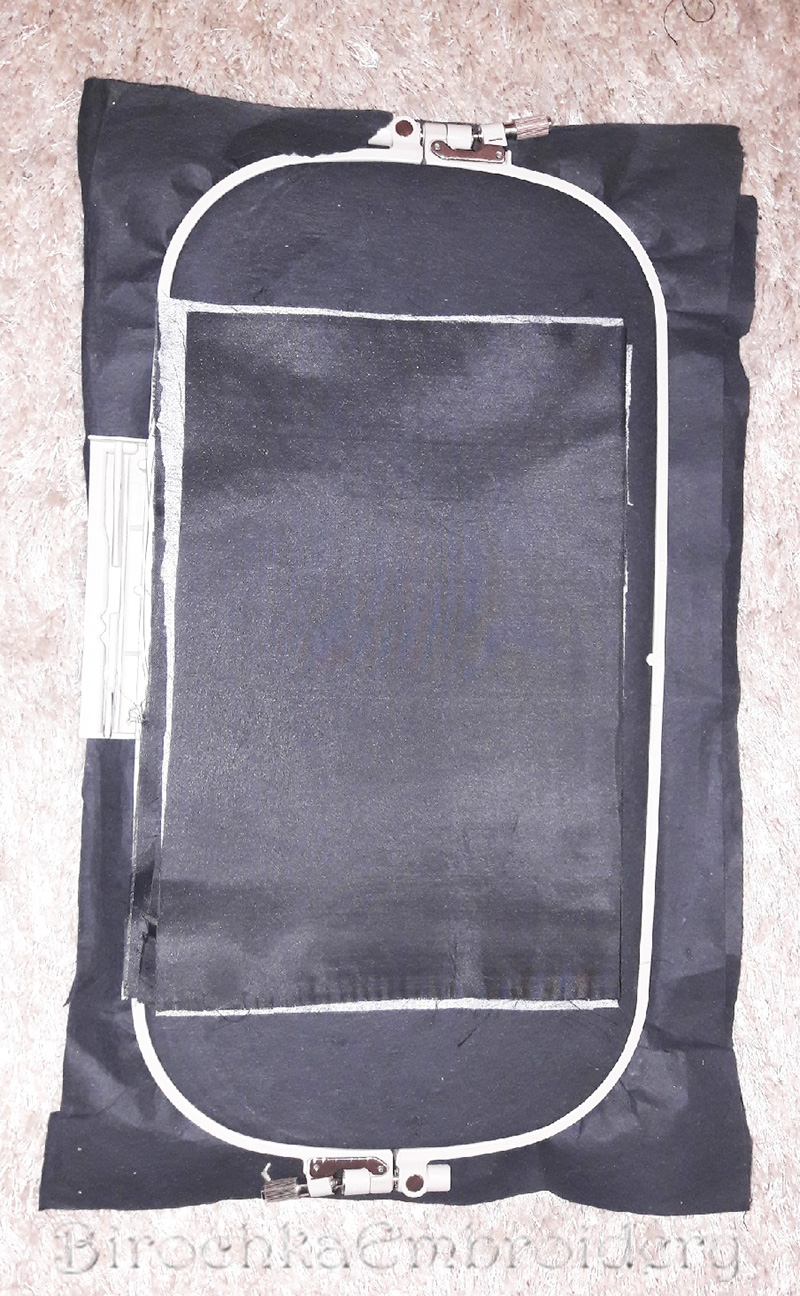
3. Put the tear-off stabilizer in the embroidery frame. Embroider the first color, which shows the location of the parts of the bag and the zipper, attach and fix the zipper with temporary glue. The center of the zipper should coincide with the central line. Embroider the second color, which will sew a zipper.
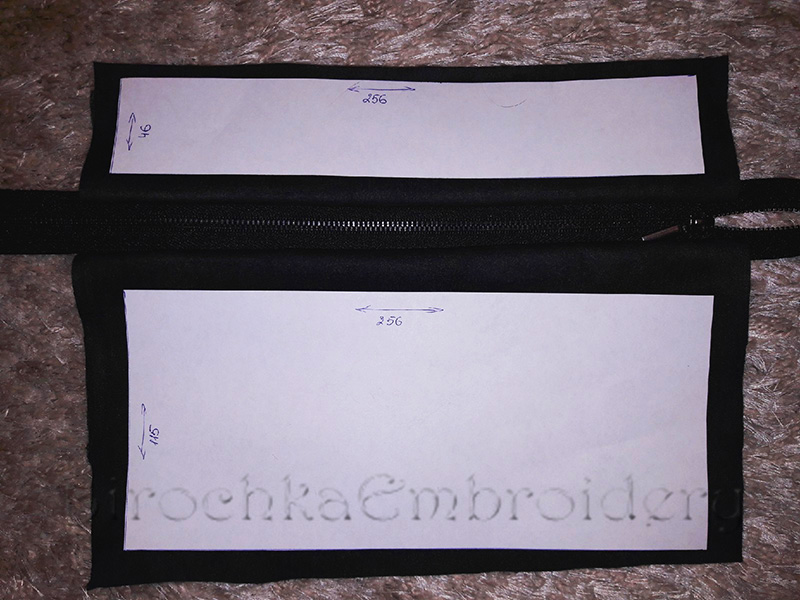
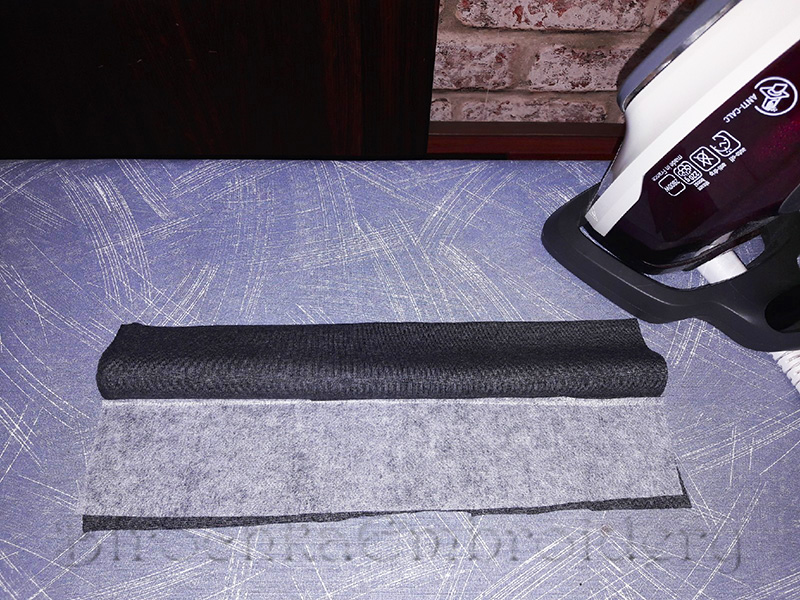
4. Cut out blanks for bag and lining. Before this, you can measure the size of the required blanks using lines showing the contours of the location of the parts of the bag. It is advisable to glue the fabric for the back of the clutch with sewing interlining to keep the bag in shape.
The total should be: a front side of the bag (photo stitch embroidery), its size is equal to the size of the entire perimeter of the first line, two blanks for the back of the clutch and the same amount of blanks from lining fabric. All blanks are cut with small allowances.
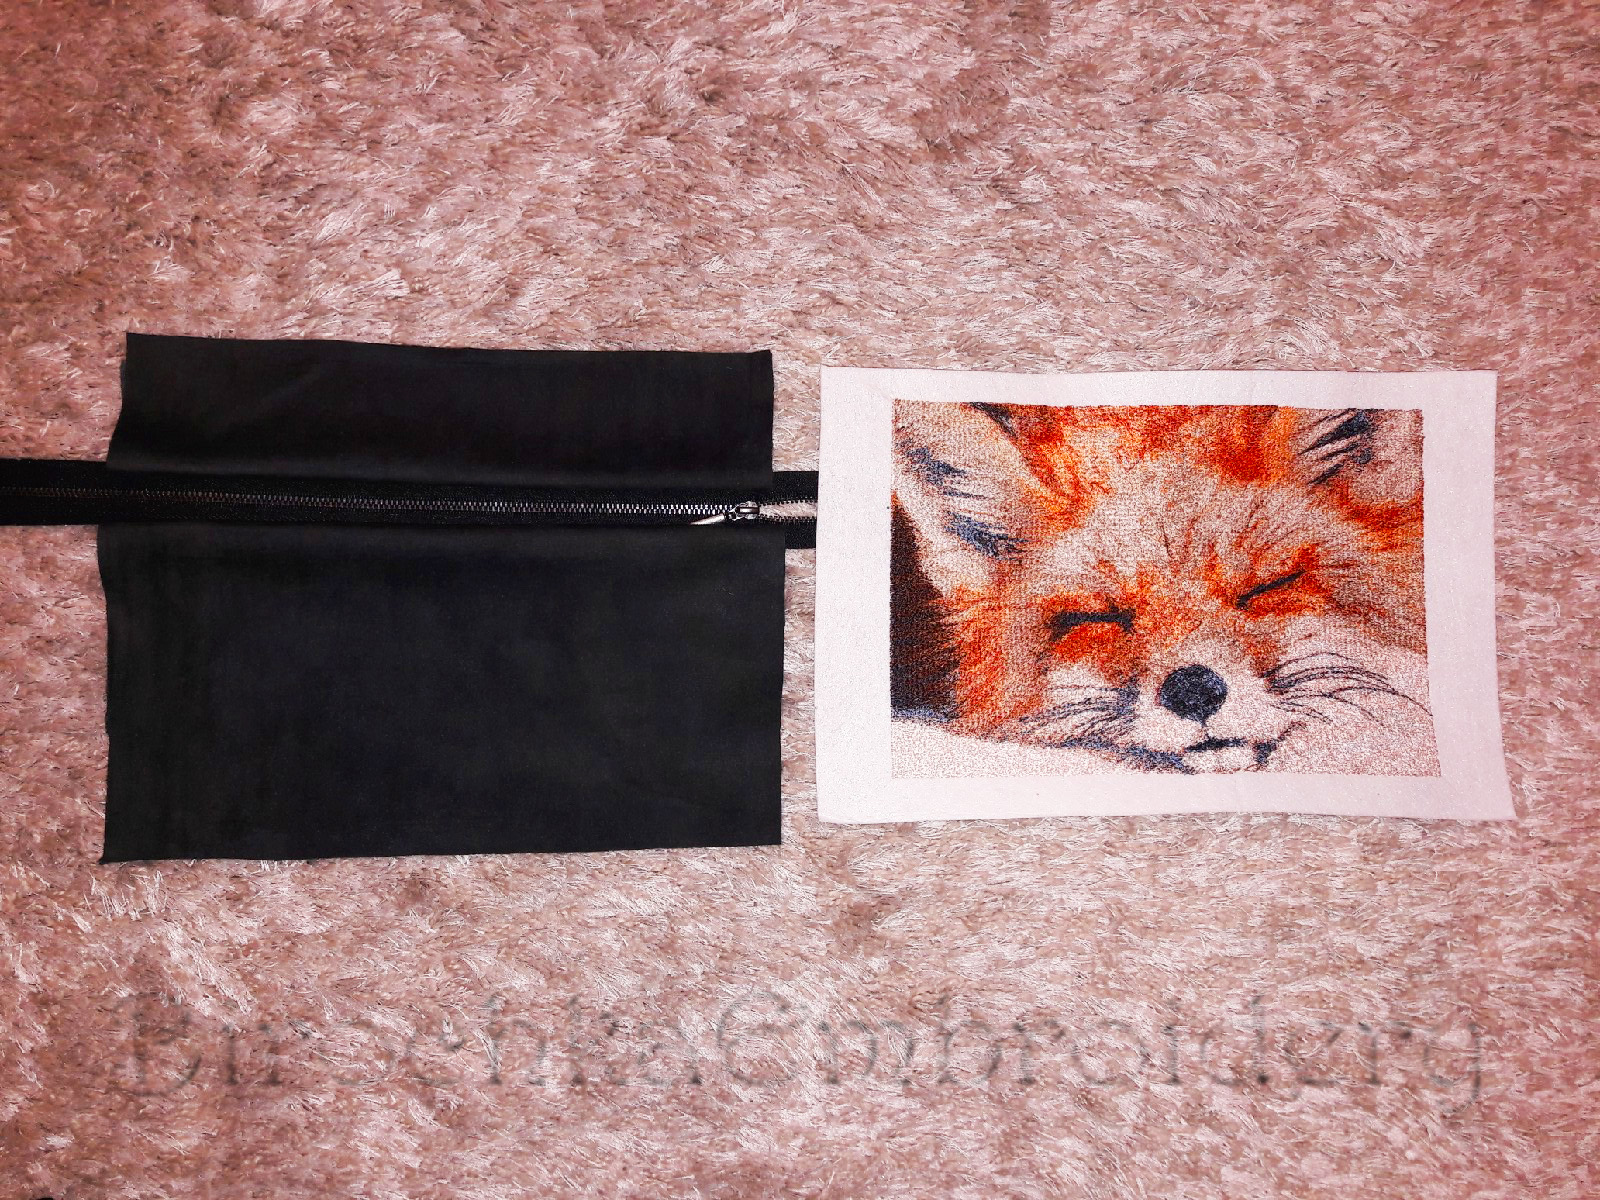

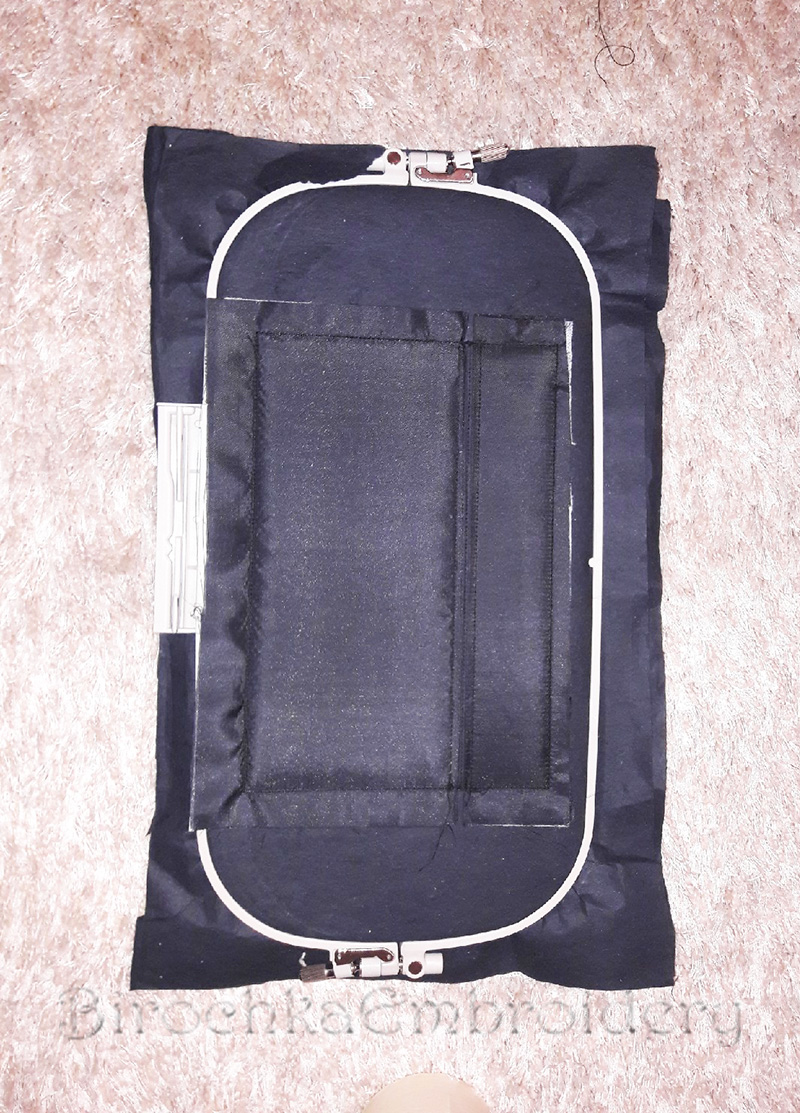
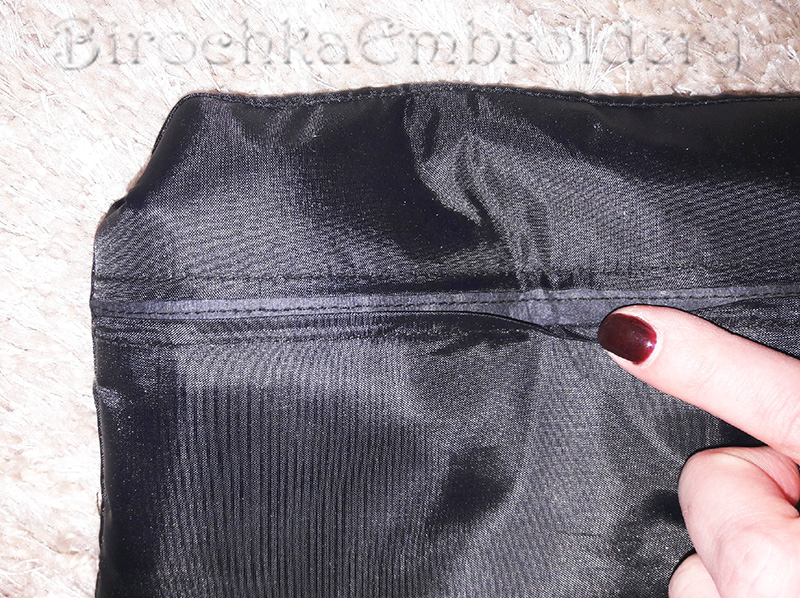
5. Attach a large billet back side of the bag and stitch.

6. Attach a small billet back side of the bag and stitch.

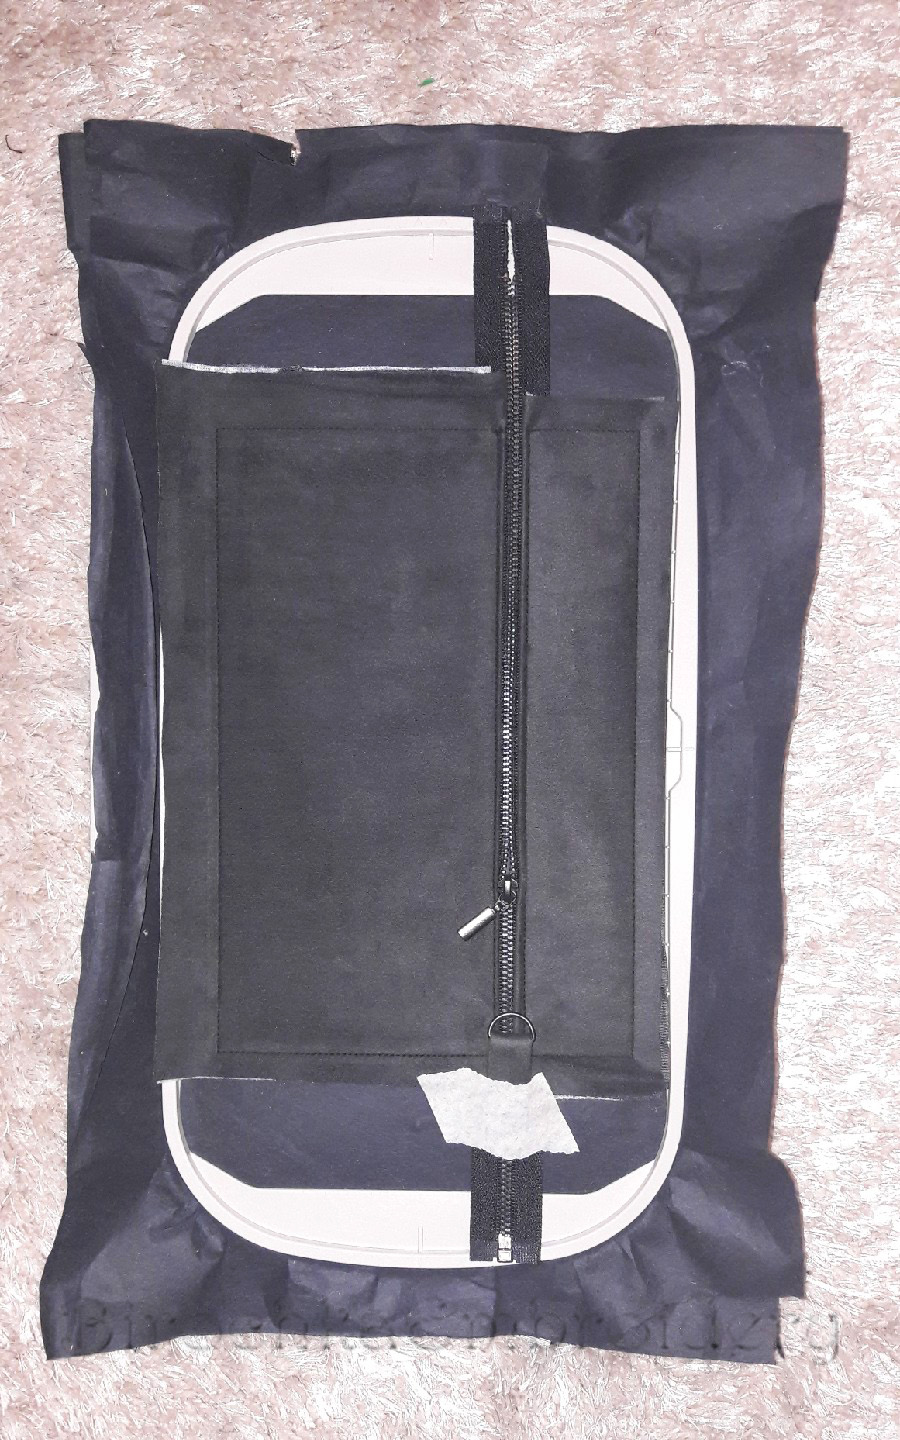
7. Next, turn the hoop over and alternately attach the pieces of lining fabric and sew them.

8. Attach the loop for the handle with the masking tape. Shift the zipper closer to the center. Top we attach the fabric for the front of the bag, face down and stitch.
9. Again, turn the hoop, fasten on the other side a large blank for the lining and sew the last line.
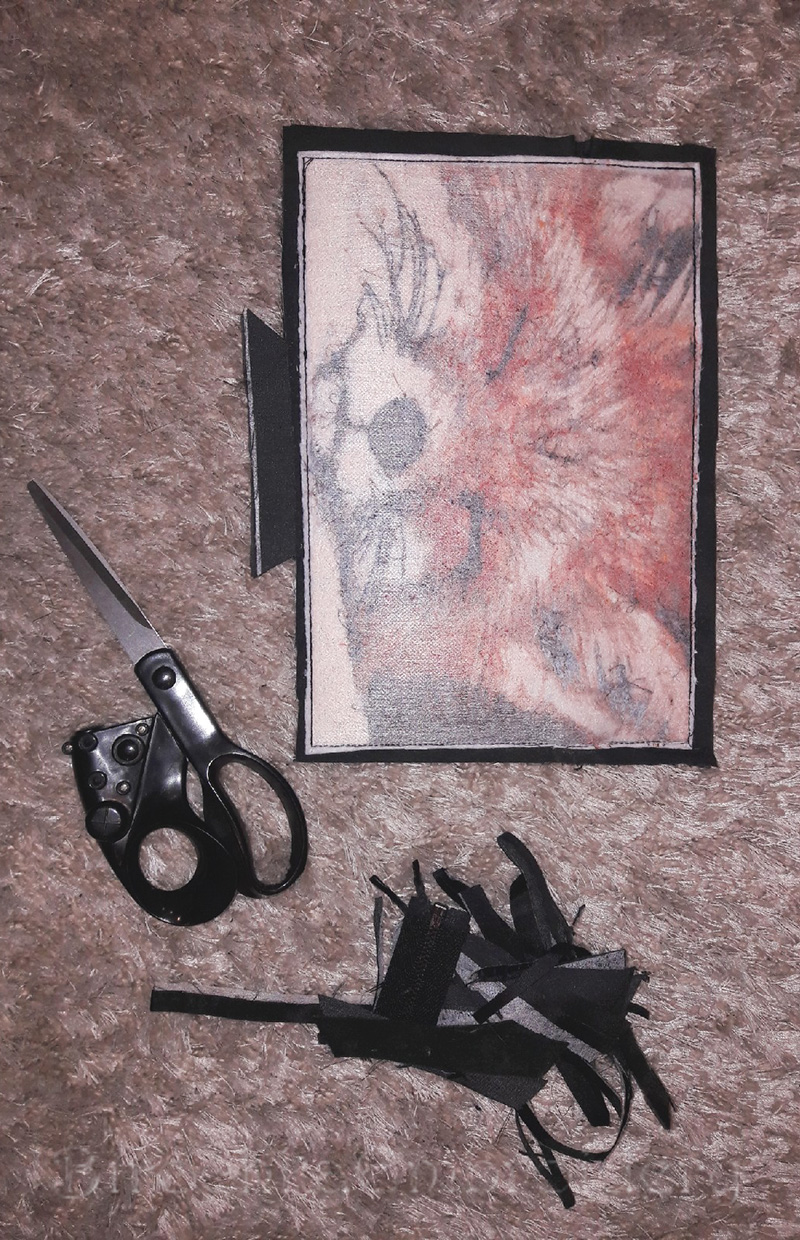
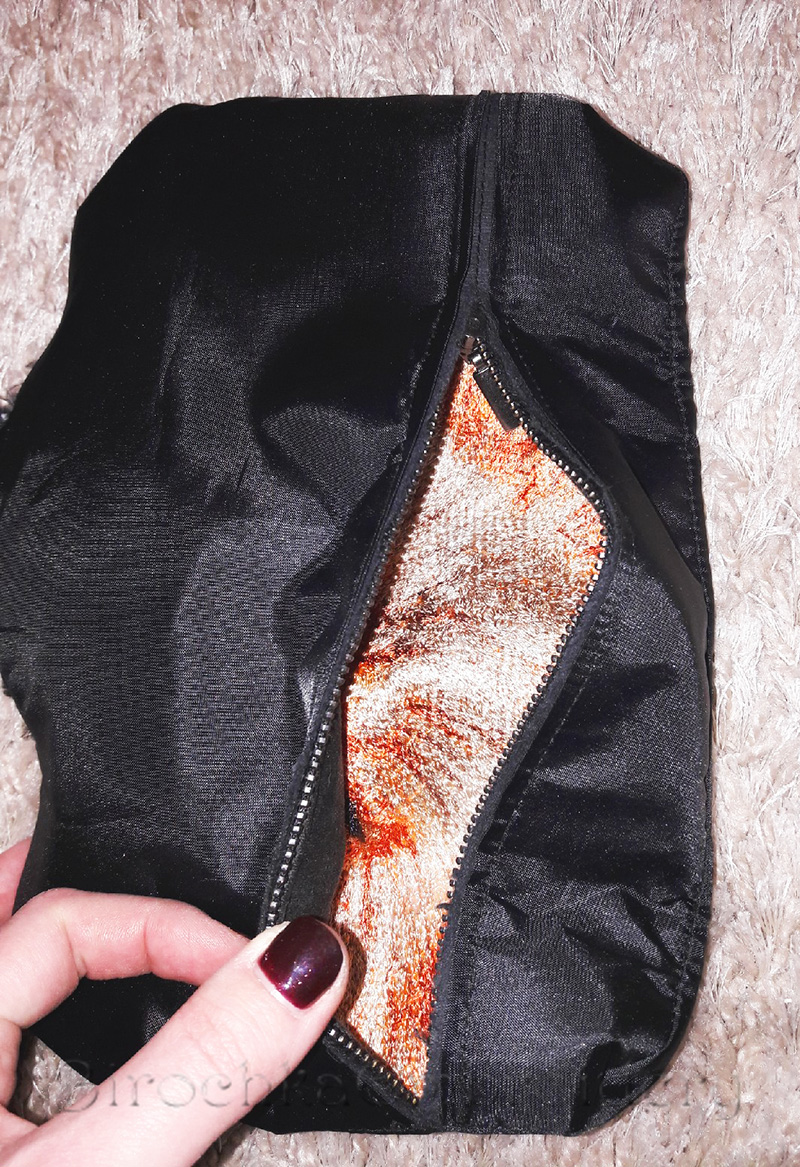
10. Get the product from the hoop, tear off the stabilizer and cut off the excess fabric.
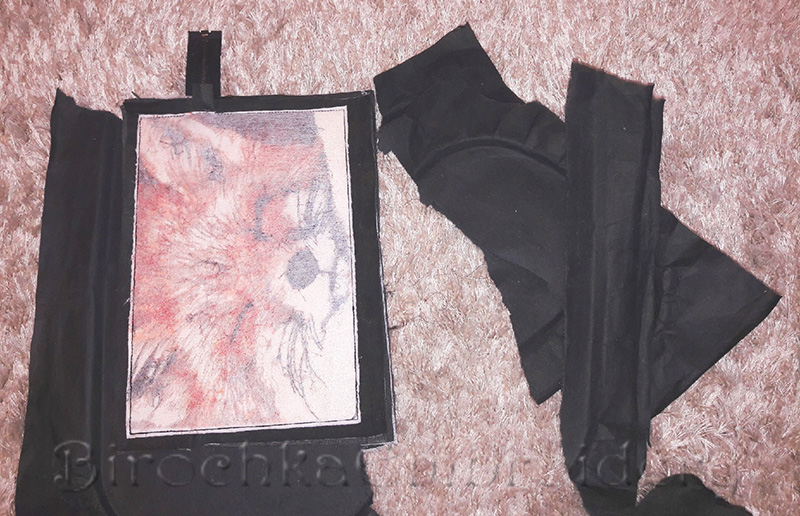

11.Turn out the bag through the hole in the lining. After that, you can immediately sew the remaining hole.

12. Remove the stabilizer near the zipper.
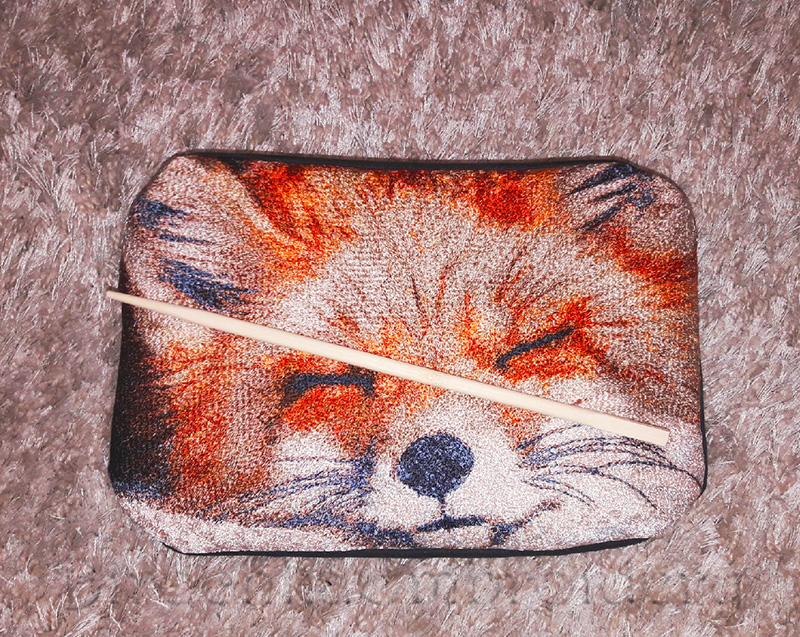
13. Turn out the bag, straighten the corners with a pencil or thin stick.
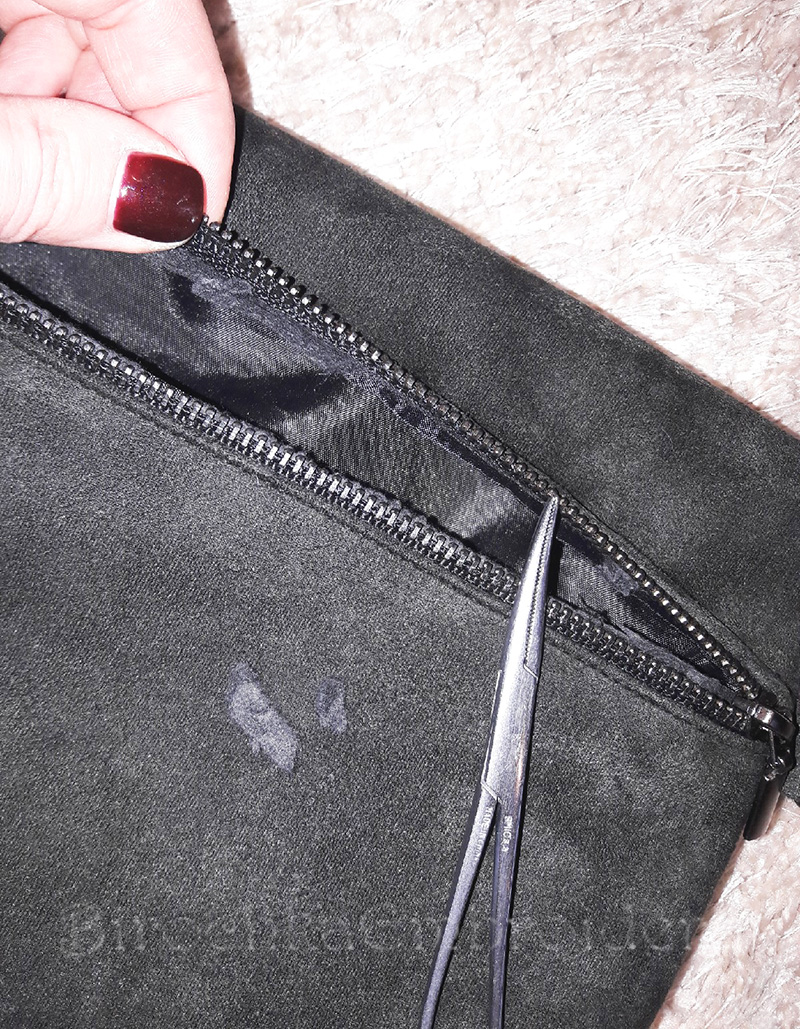
14. Using tweezers, remove the remaining stabilizer on a zipper.
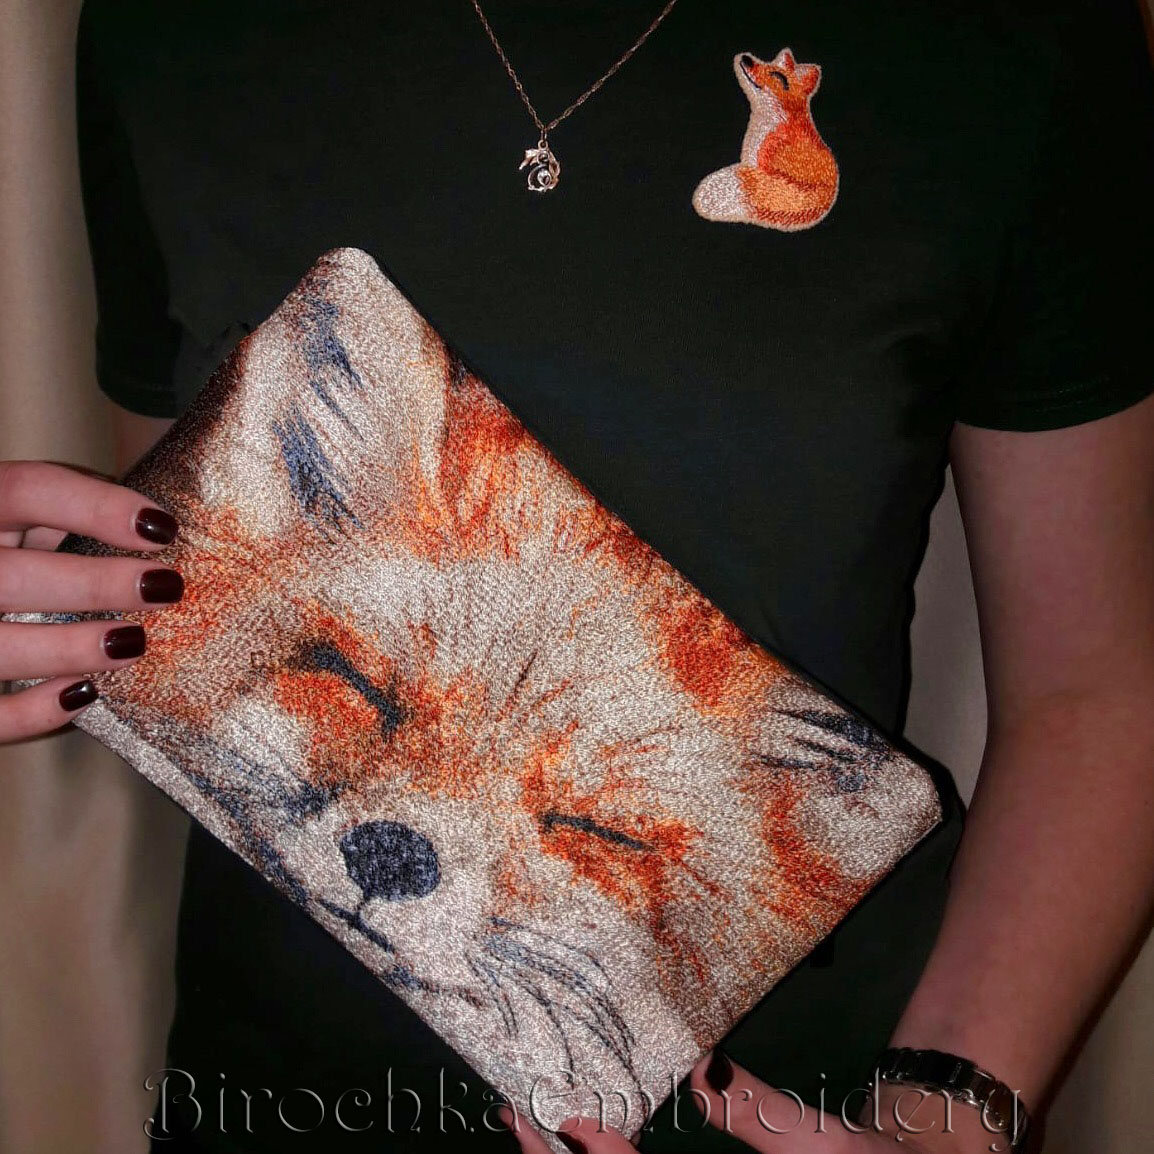
Voila! Handbag is ready! Feast your eyes!
You can buy design here:
Fox Сlutch Bag in the hoop machine embroidery design and tutorial how to make
tres beaux qu’elle marque de fil utilisez vous
un grand merci
these are threads of Chinese manufacture
Thank you for the free designs.