Hi everyone! Welcome to my next how-to embroidery tutorials!
FSL is one of my favorite styles of embroidery, which is why I offer such a variety of my own original designs in my shop. I love using FSL to create fun and original accessories, like brooches, necklaces, and hair clips, to dress up my favorite outfits! Floral FSL pieces make wonderful gifts for friends and family who love to accessorize with style. You can also use FSL to create jewelry and customized clothing for yourself, your friends, or for sale!
Today, I will teach you how to create beautiful FSL Hydrangea Flower.
1. To get started, choose your colors! The instructions have a suggested color story you can use or you can pick any colors you like! To get a seamless result, make sure that the top and bottom thread matches in color
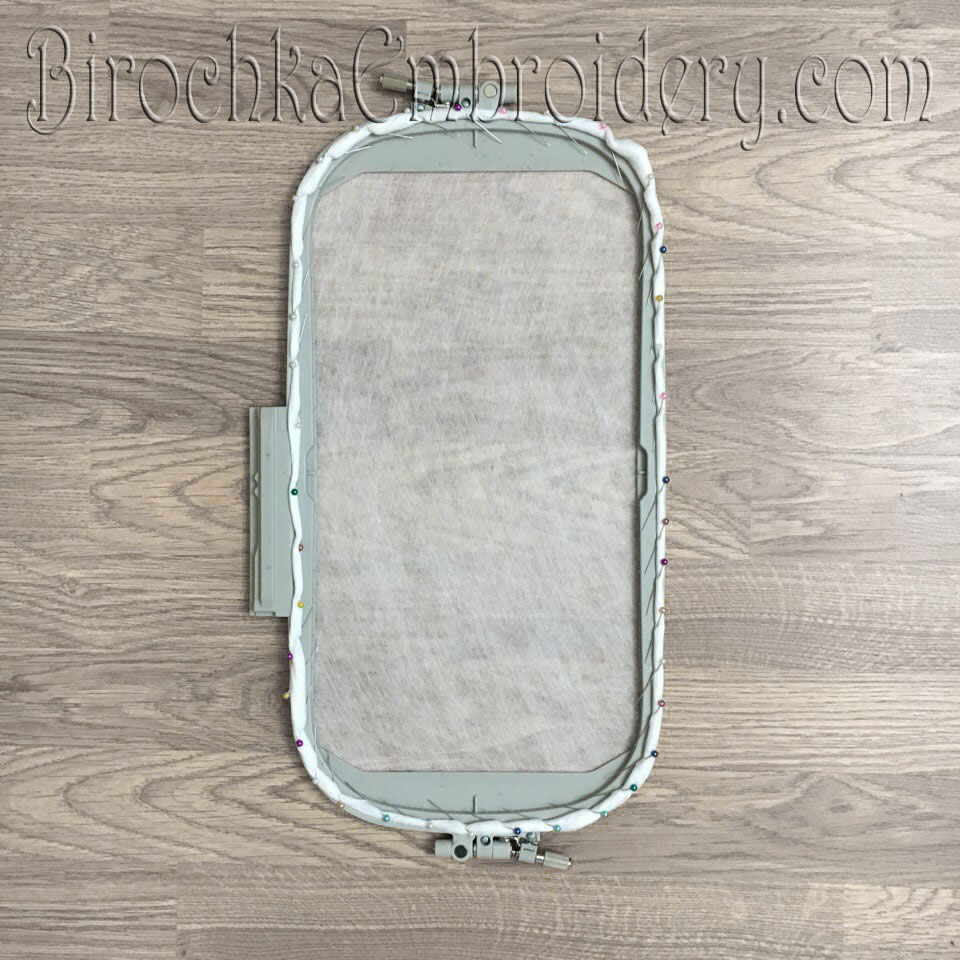
2. Prepare your water-soluble stabilizer. If your stabilizer isn’t thick enough, use two layers. To layer, cut 2 pieces of stabilizer in opposite directions (perpendicular to each other). Next, iron on low-medium heat (never high heat!) to remove any wrinkles. Then, spray pieces with spray glue and attach.To ensure that it is taught on the embroidery frame, secure the stabilizer with safety pins along the perimeter of the frame.
3. Embroider 14 small flowers and one detail with leaves. To make the sewing of flowers easier, you can skip the embroidery of the middle of the flowers (yellow in the design). And replace them with beads to your liking.
4.When you are done, remove the finished piece from the frame and cut off any excess pieces of stabilizer.
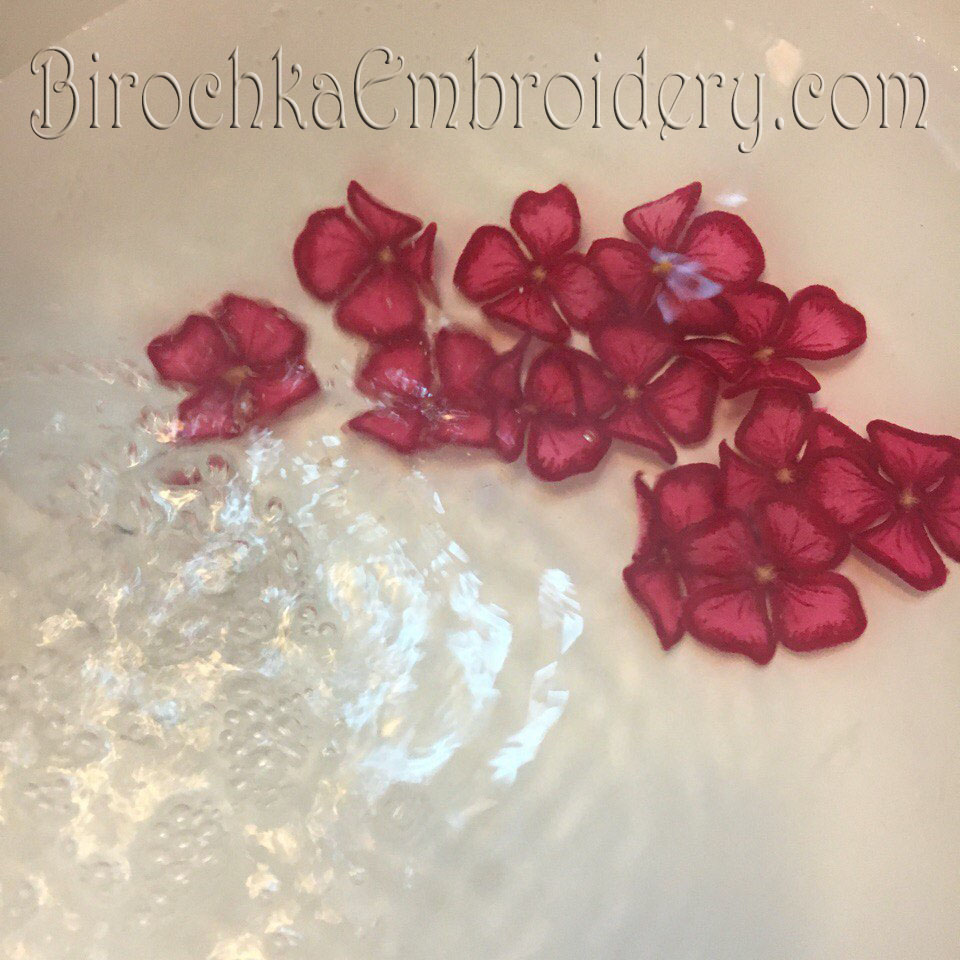
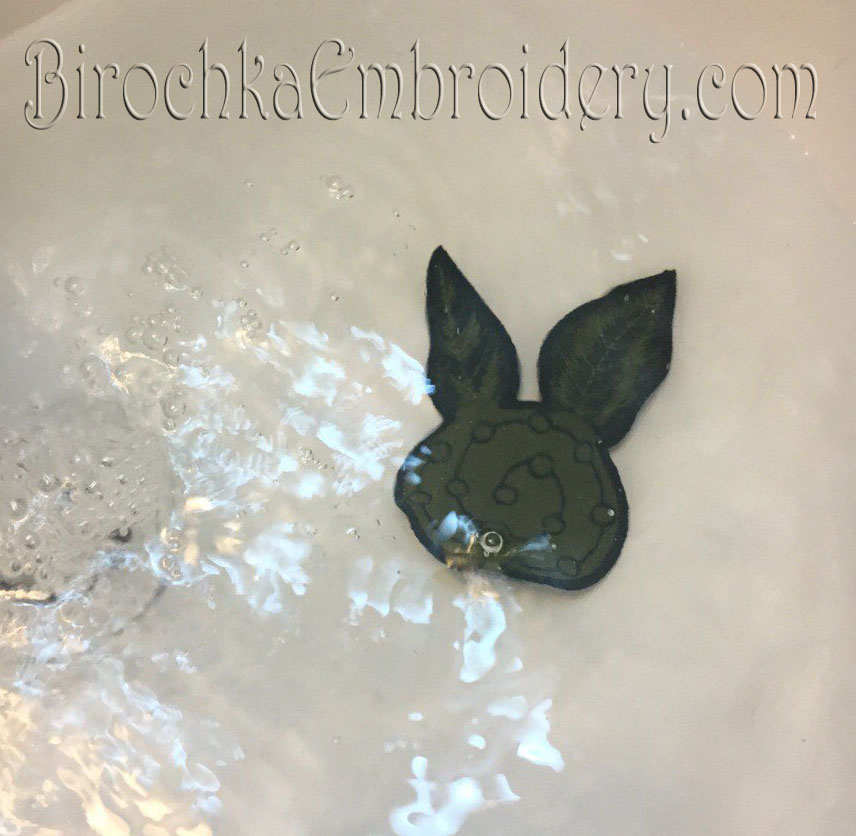
5. Rinse the finished piece with warm water to remove the stabilizer. Do not keep the embroidery wet for a long time – you don’t want to wash off the stabilizer completely as it will help the FSL piece hold its shape. Usually, during rinsing, the leaves bend a little bit. This is actually a good thing: leave them bent, for a natural floral look.
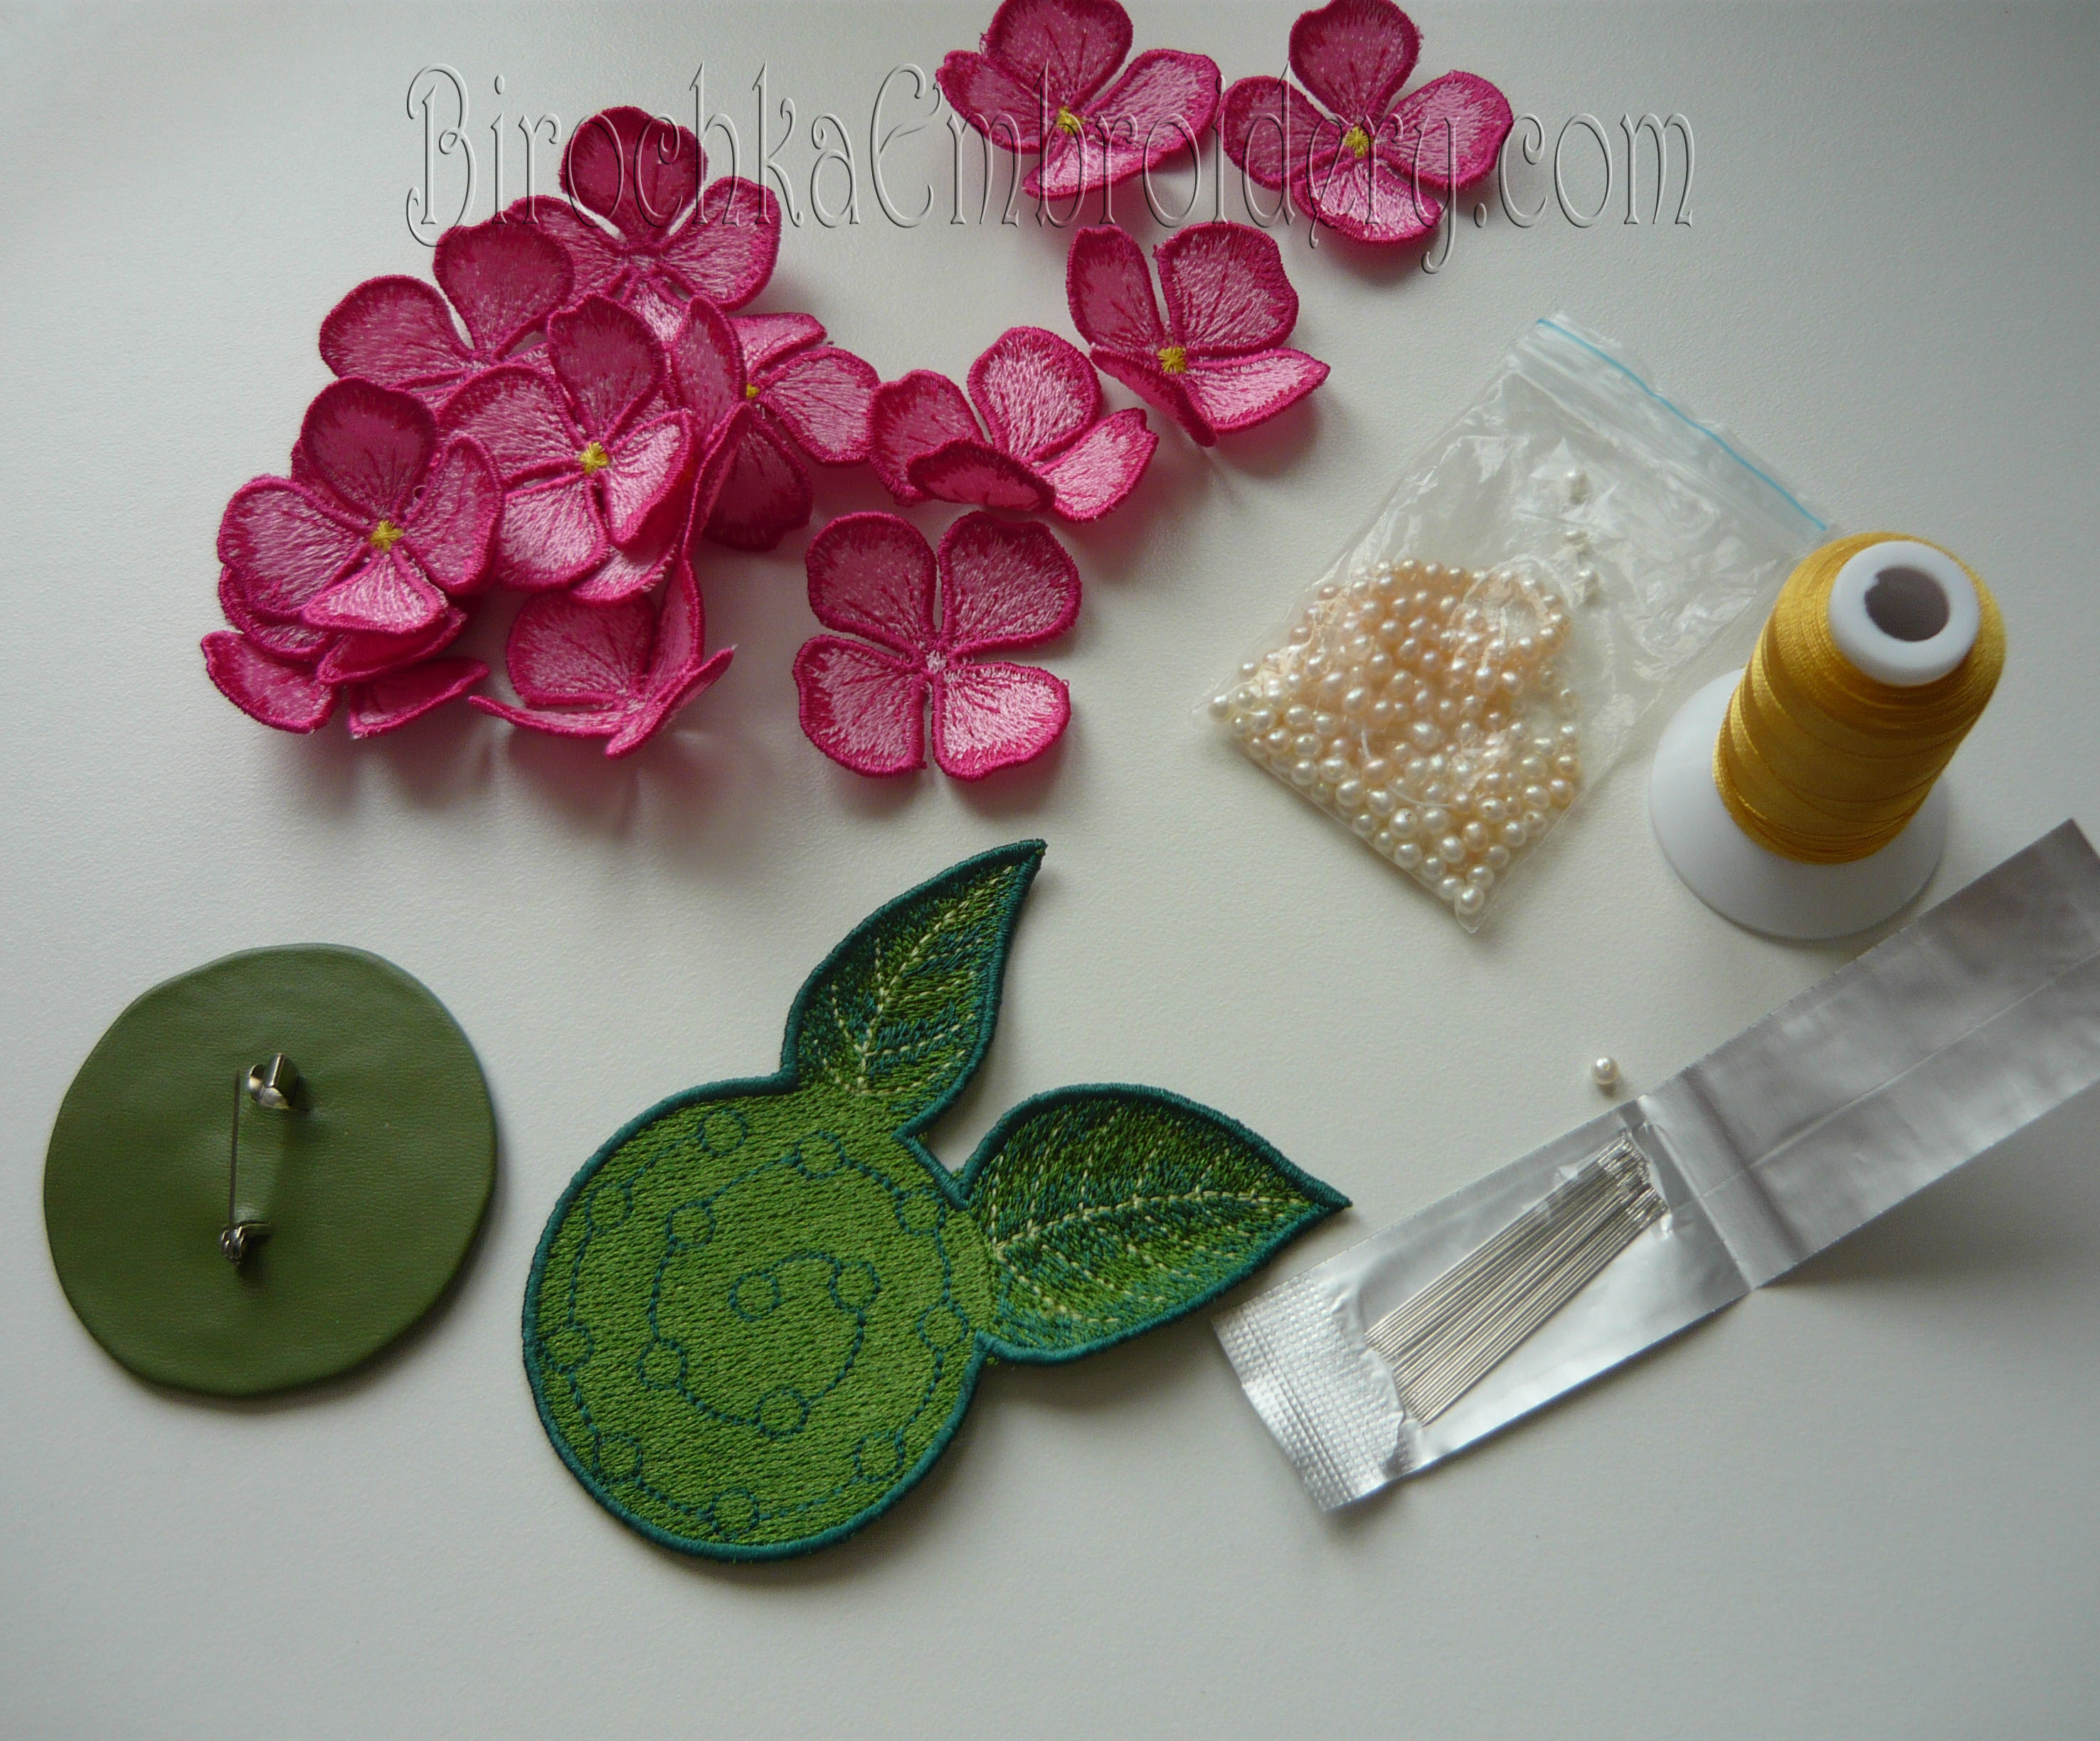
6. Leave to air dry or use a blow dryer to speed up the process. Prepare threads, needles, beads (if you did not embroider the middle of the flowers) and the clasp.
7. Sew all 14 flowers to the specified places
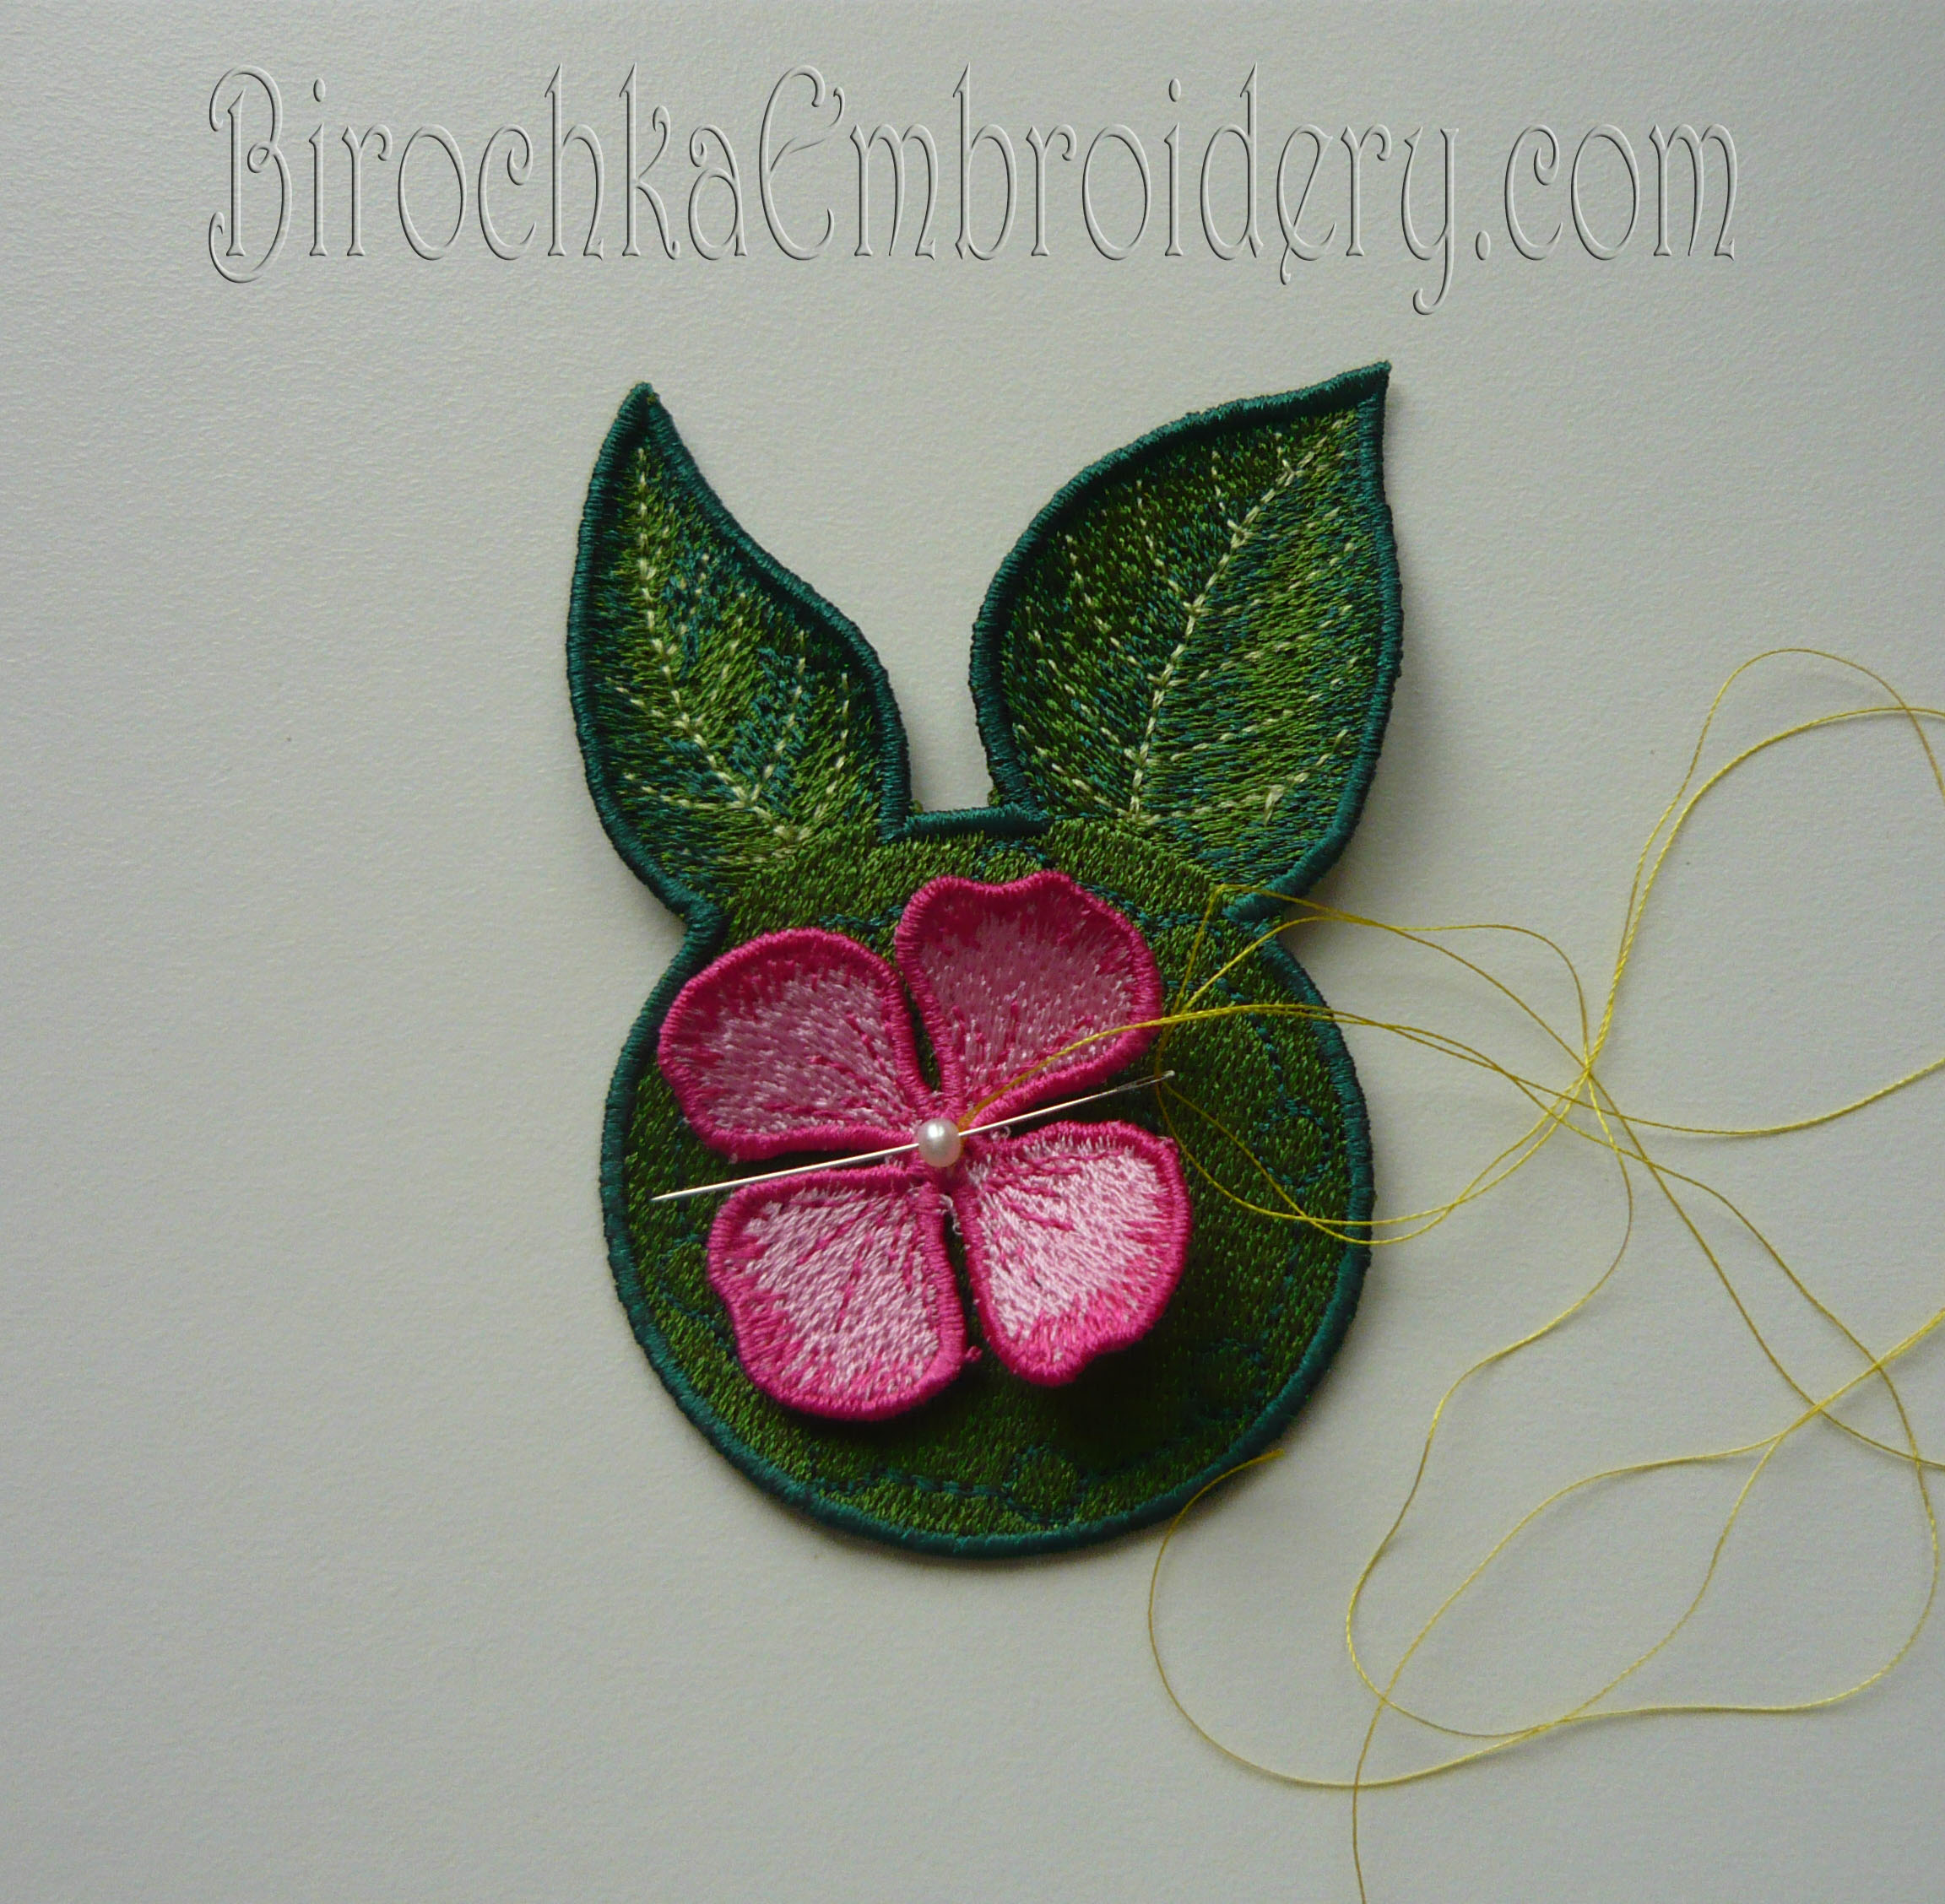
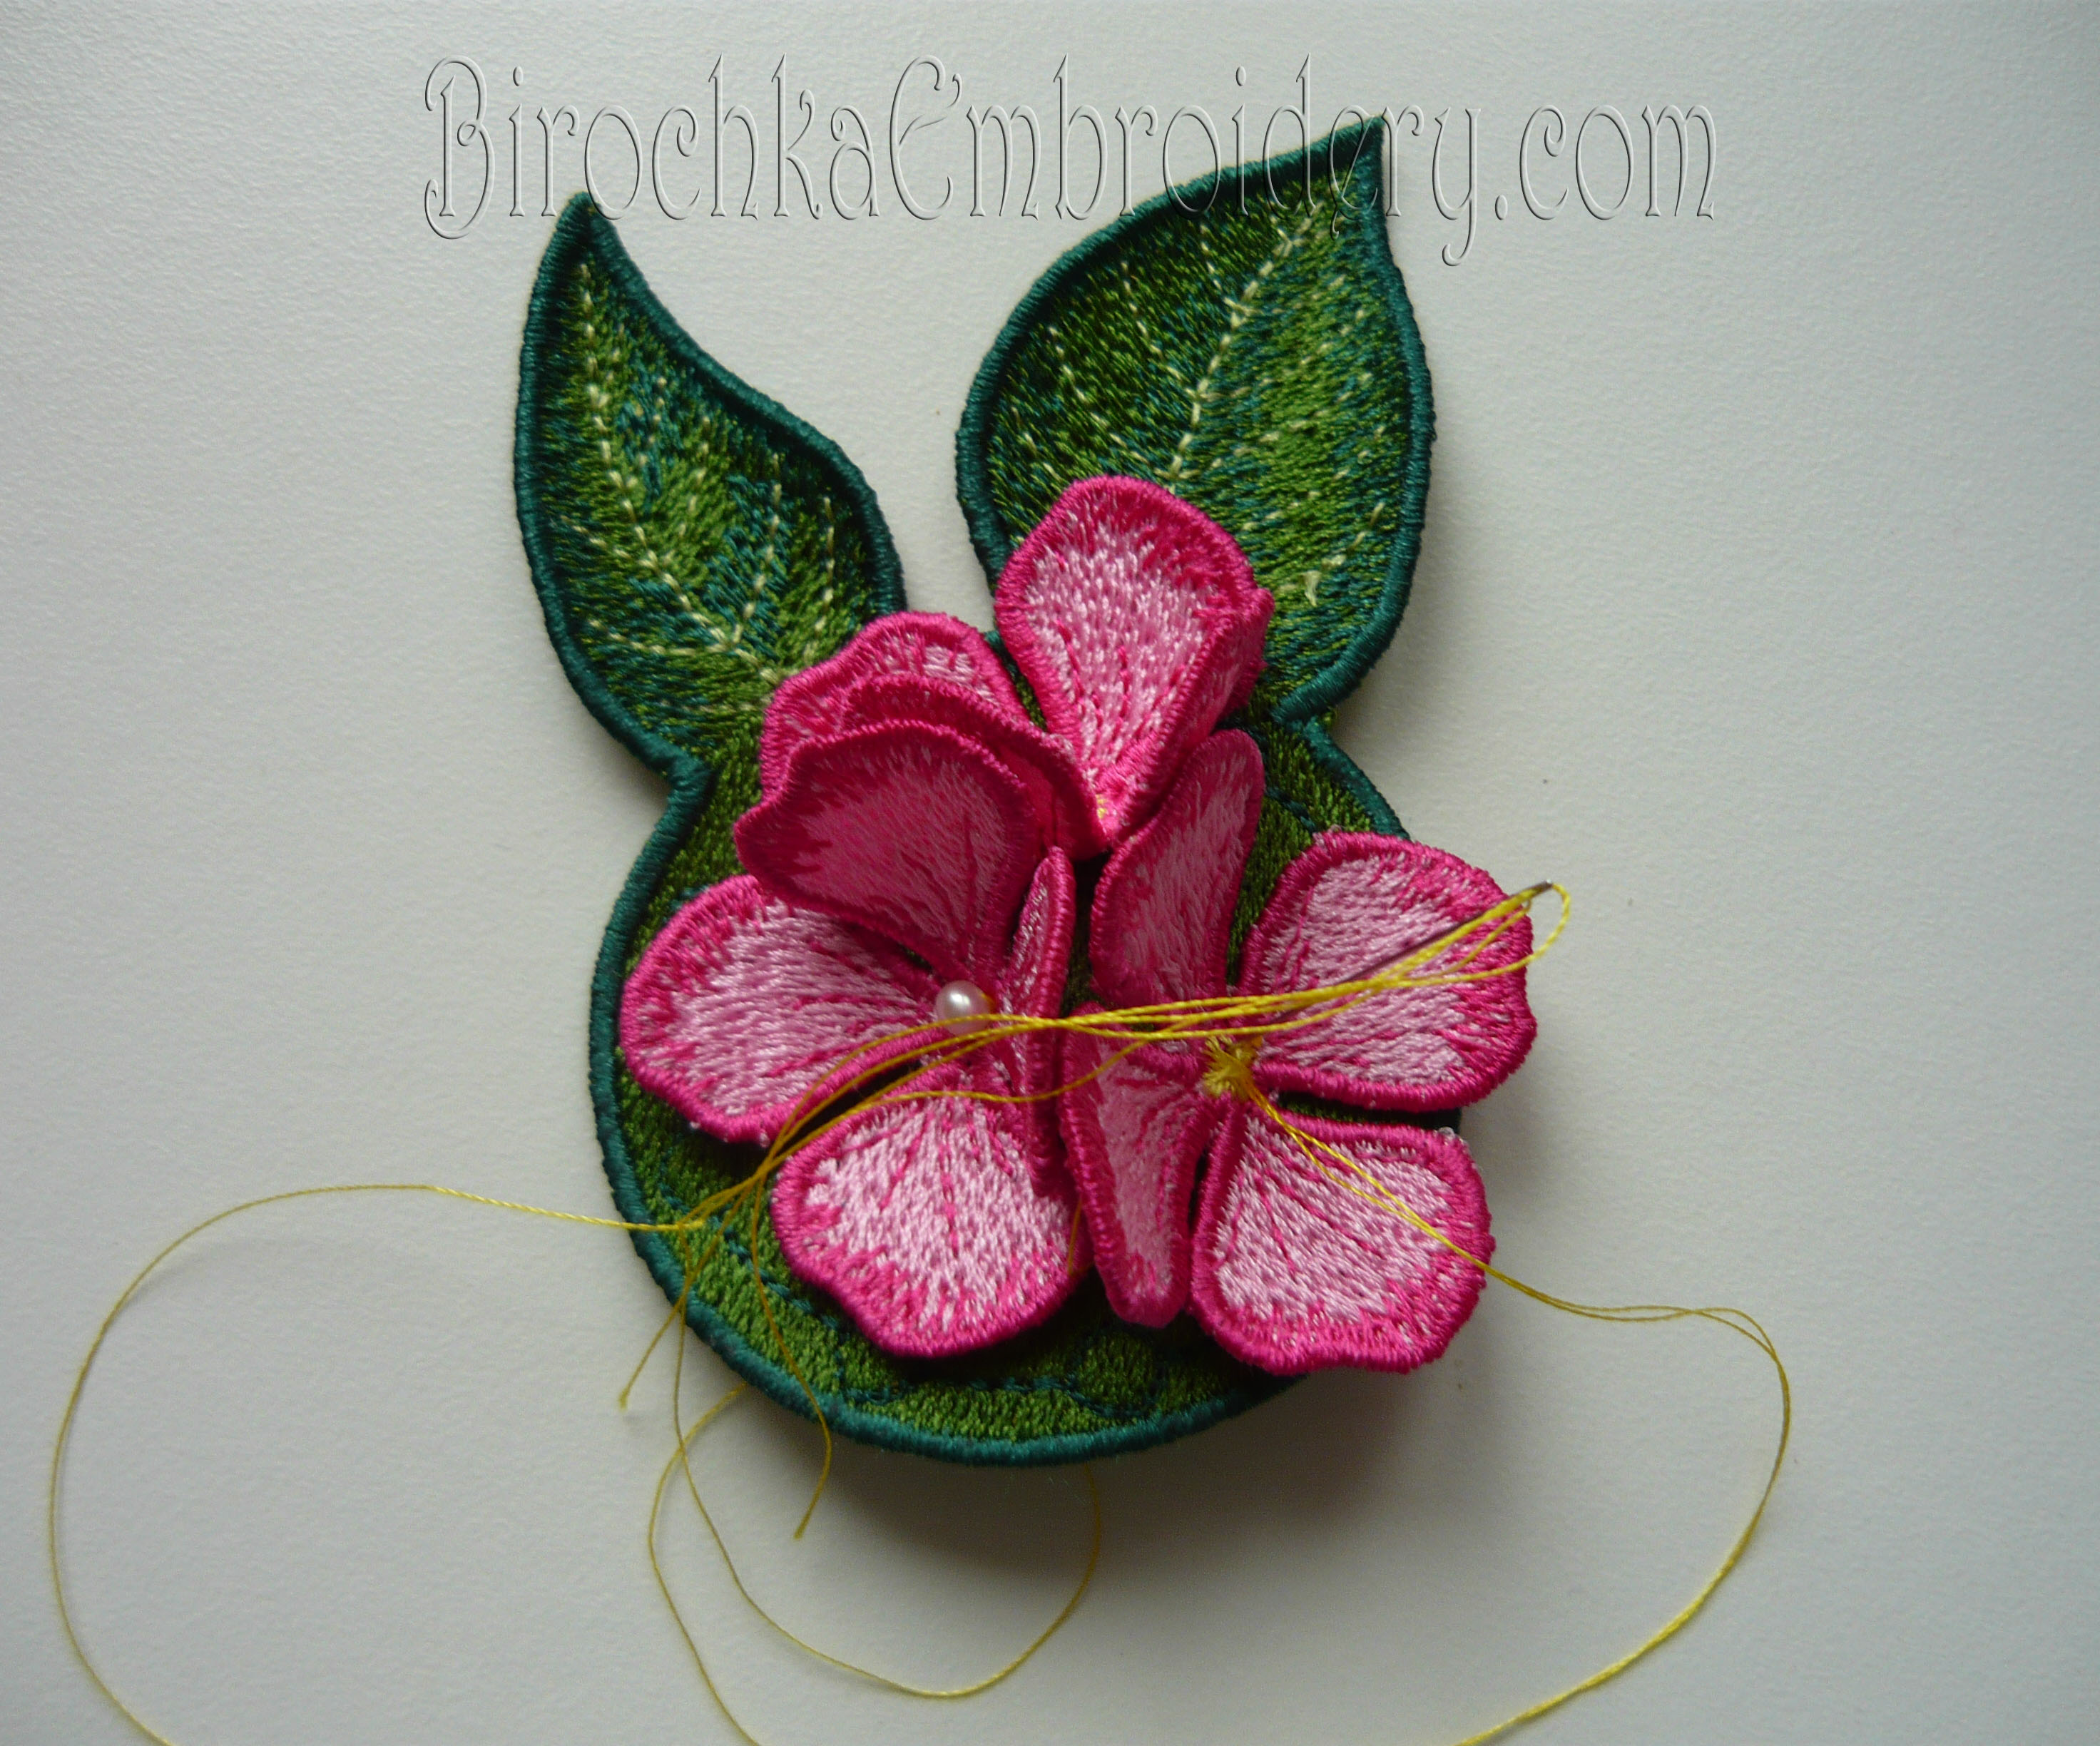
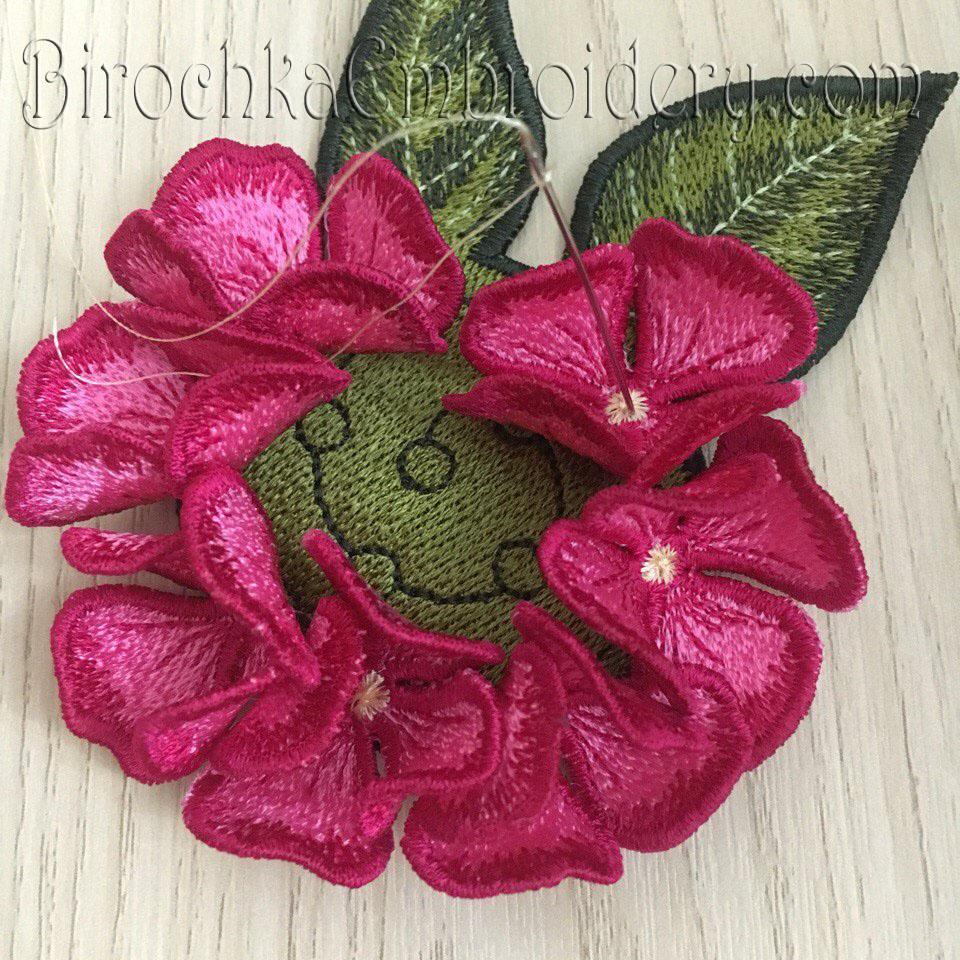
You can start sewing flowers from the center. But if it is convenient for you, then you can start sewing flowers from any other specified place.
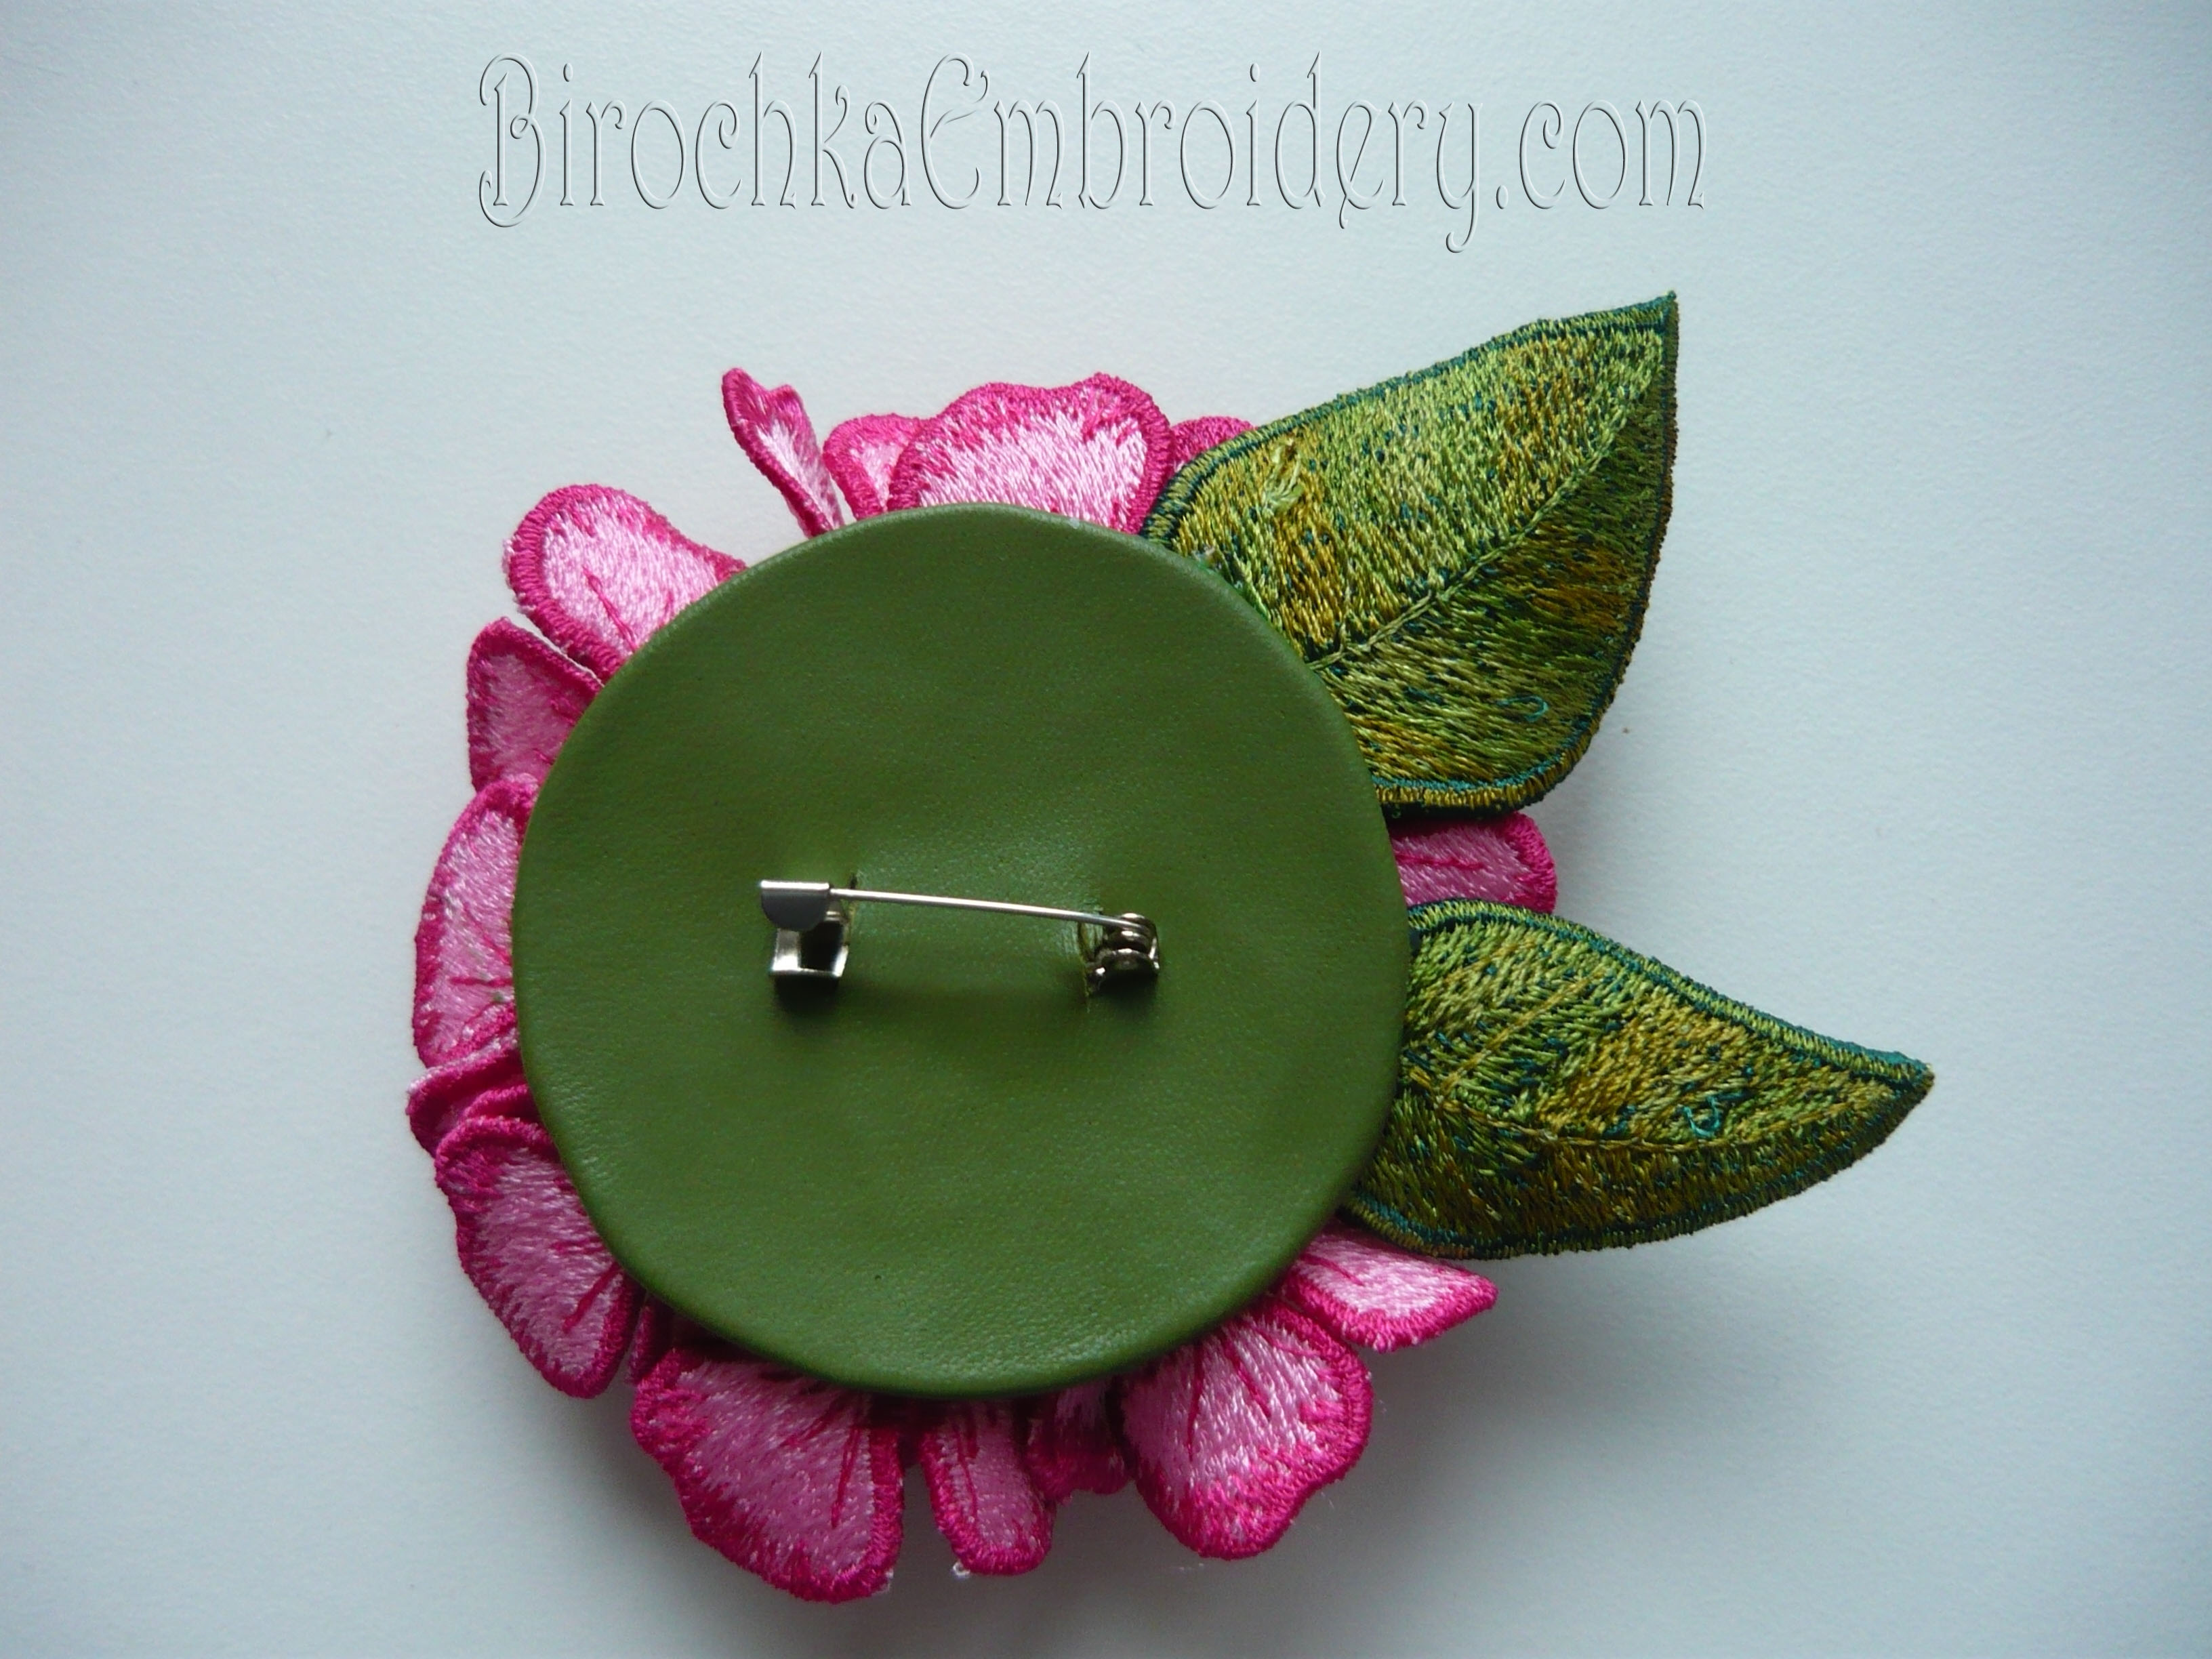
8. When all the flowers will sewn to the base, glue the fastener to the back of the base of the brooch. You can also strengthen the base of the brooch with a piece of leather or felt, it can be glued or sewn to the base.
You’re done! Enjoy your gorgeous creation!

If you’d like to see more of these tutorials, let me know in the comment section of this post! Submit any requests, so I can create tutorials that you want to see!
Buy Hydrangea Flower Brooch FSL can be here:
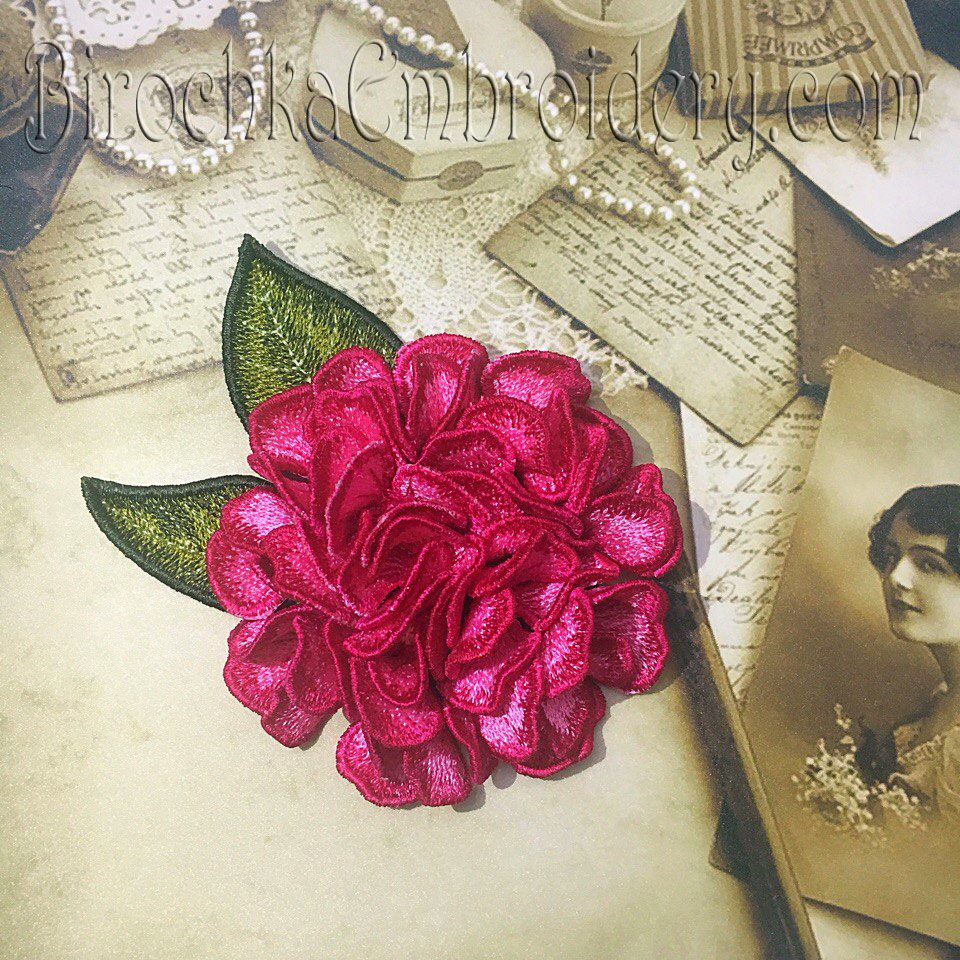
Use also an embroidered Hydrangea flower of with elements of 3D to create a bright and fashionable image:
Use this coupon for a 15% discount until March 8: ROSEALIDIU
That’s so beautiful!
Thank you!
Hello,
I would like to make these hydrangeas for my sons wedding to decorate the ends of seats in church. would like to make larger ones. Is that possible. Thank you
You can buy designs and embroider as many flowers as you want.